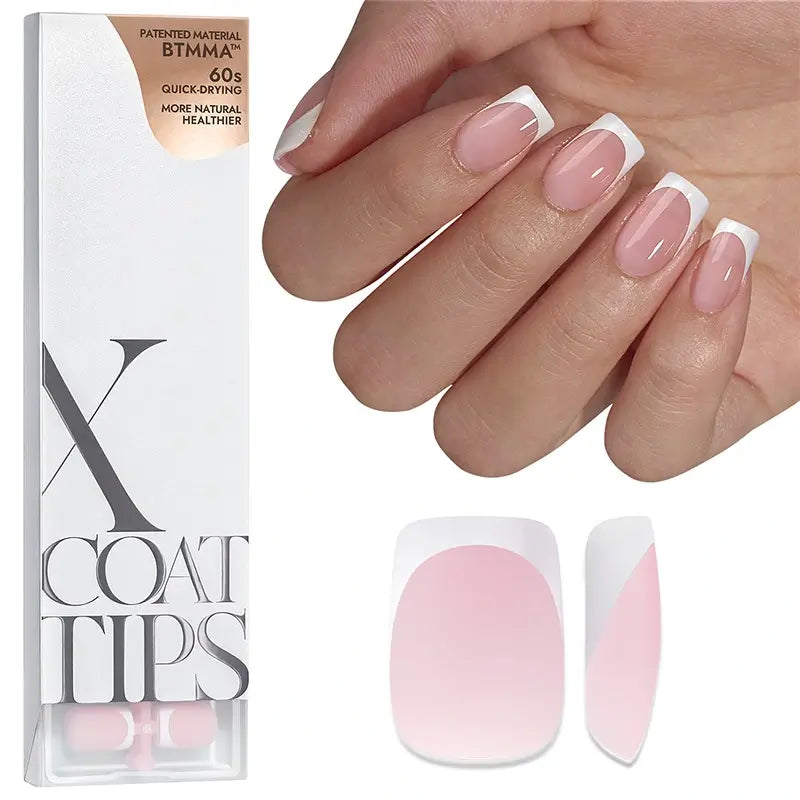

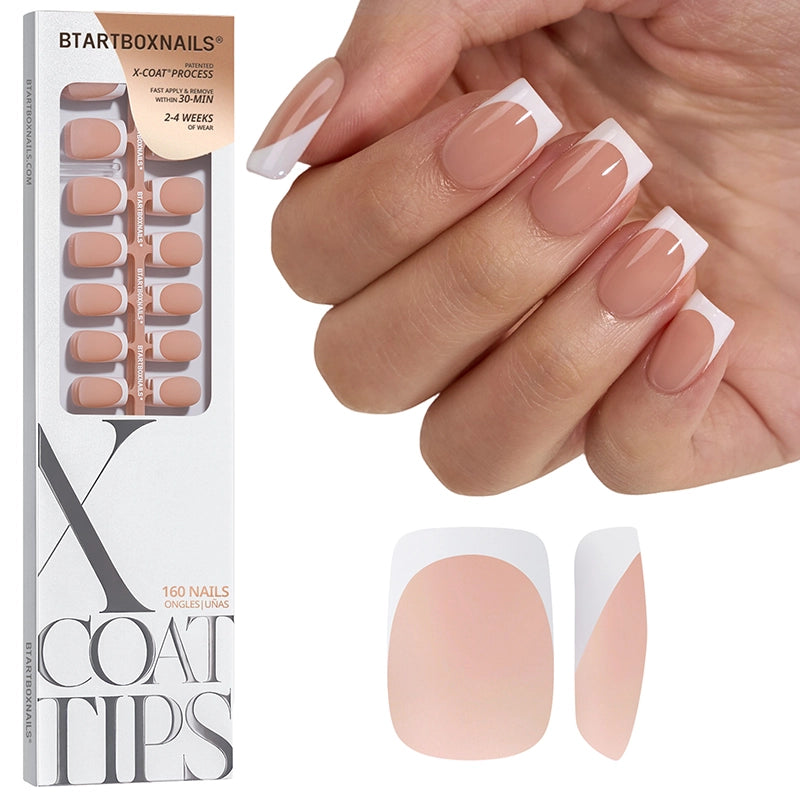
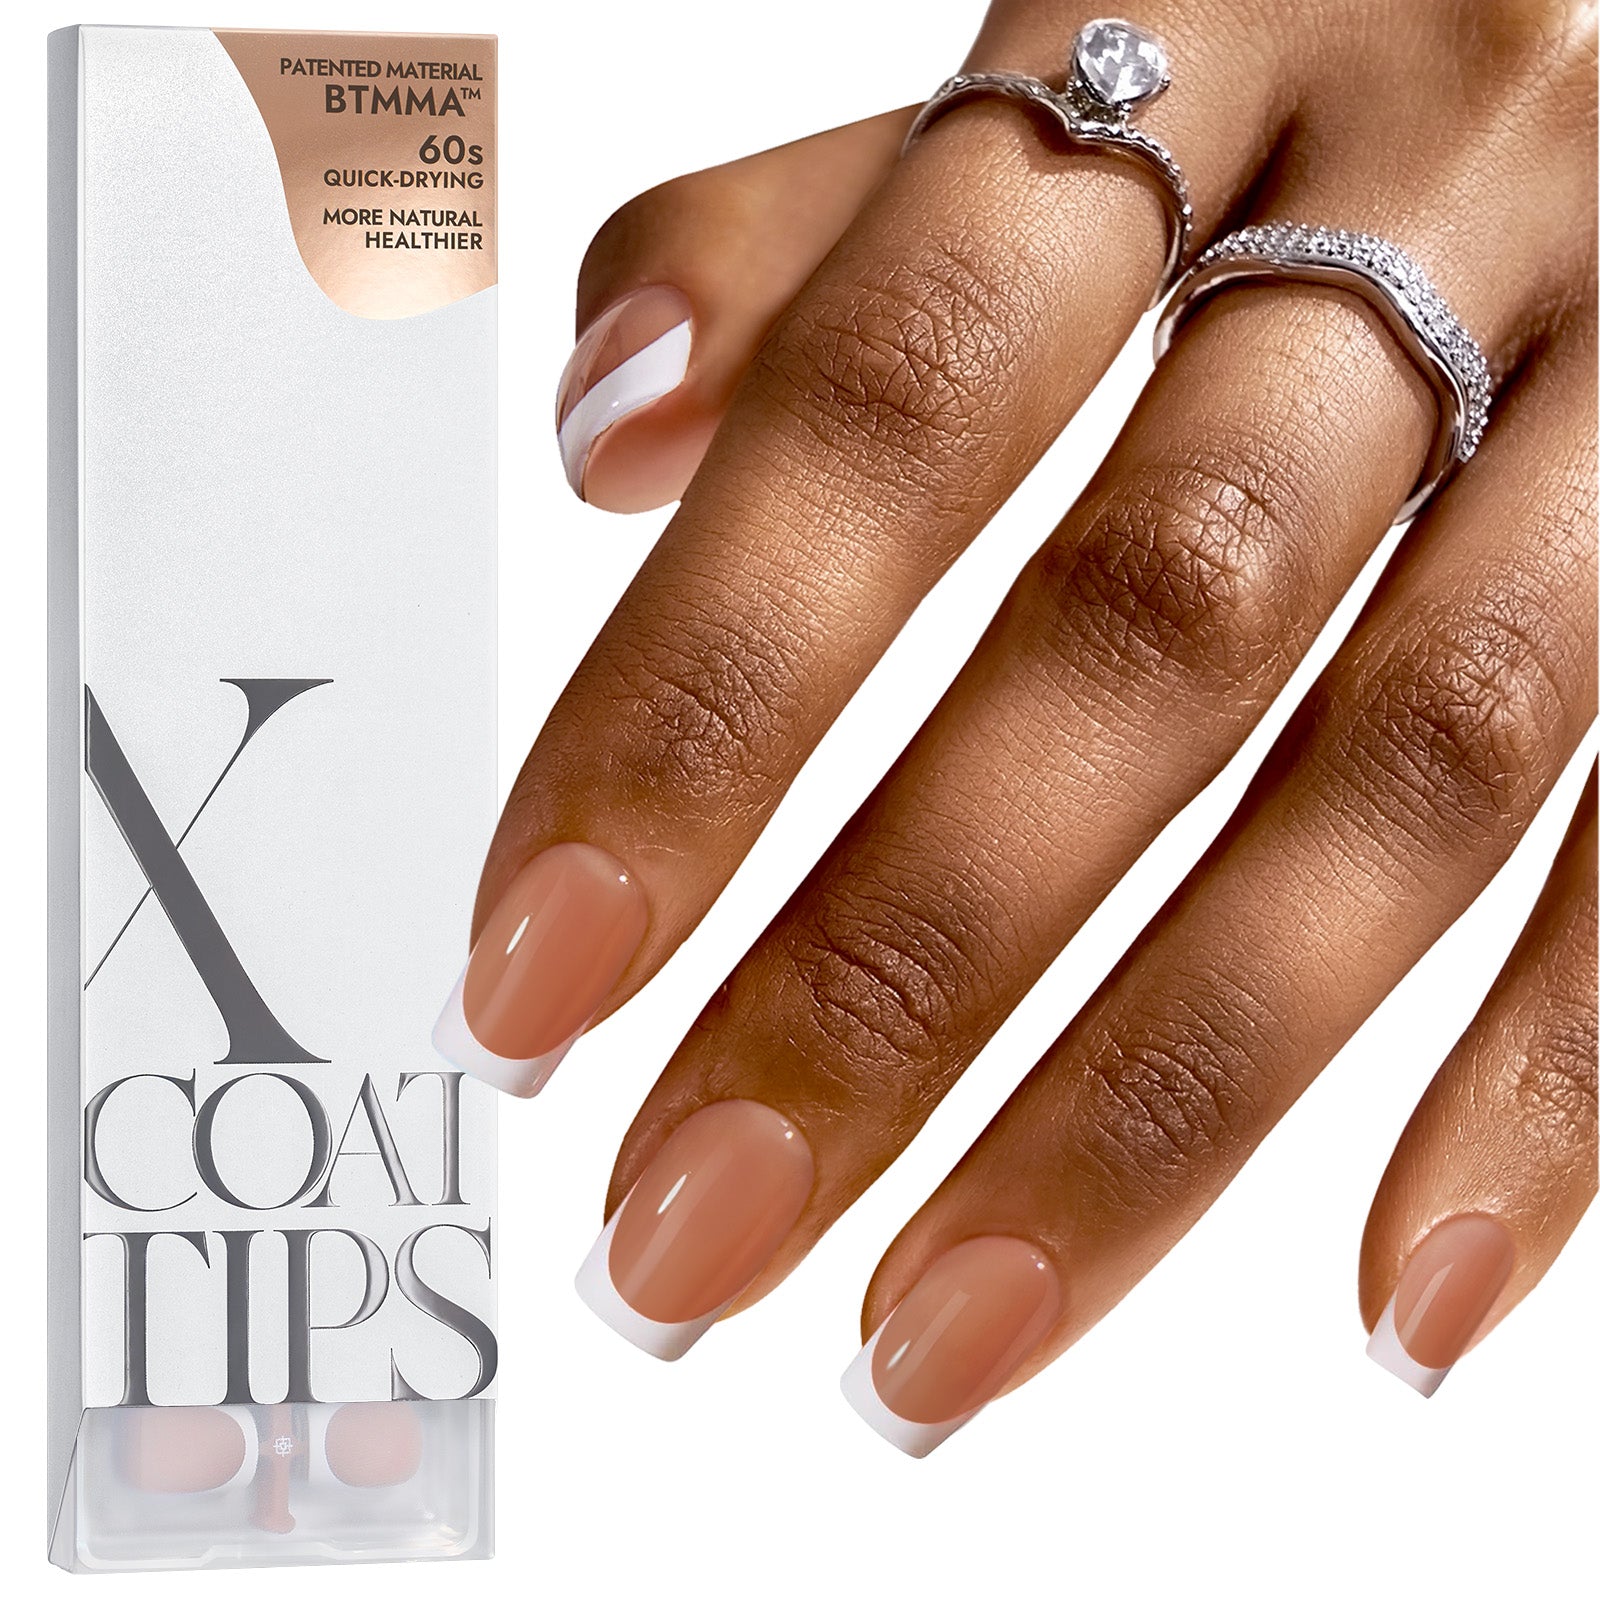

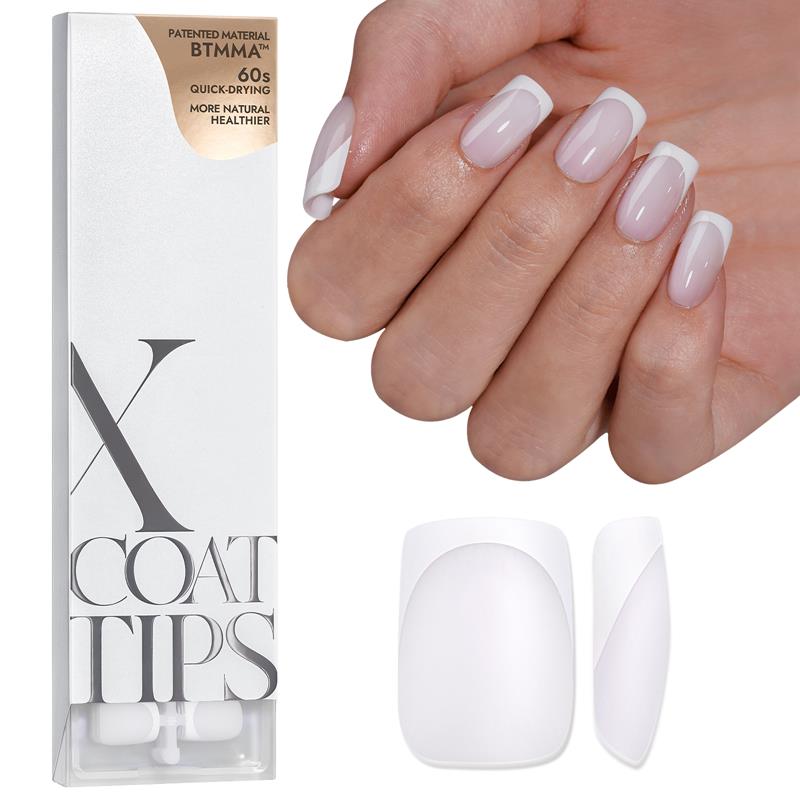


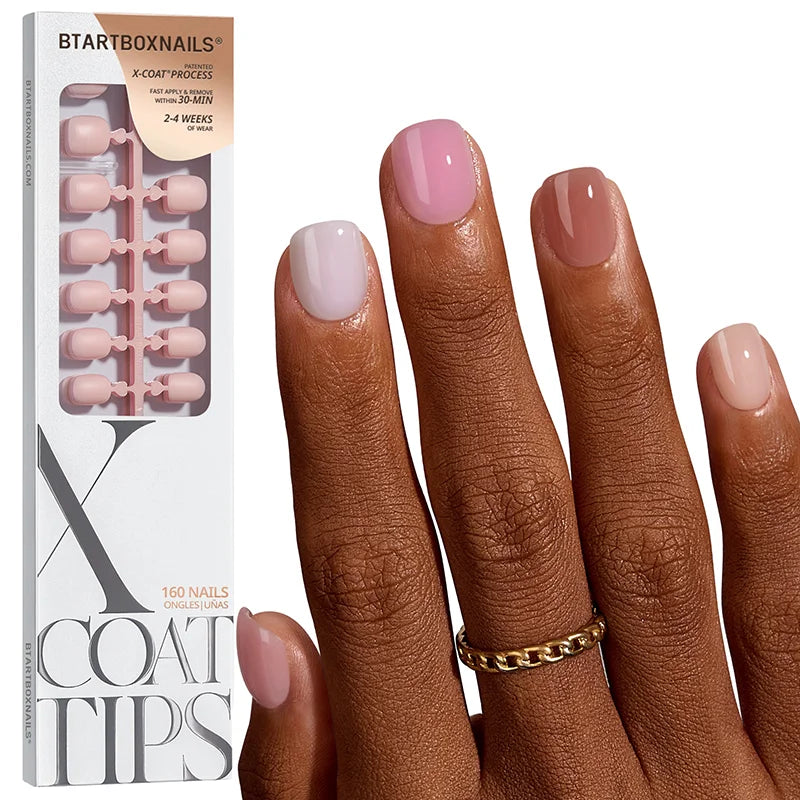

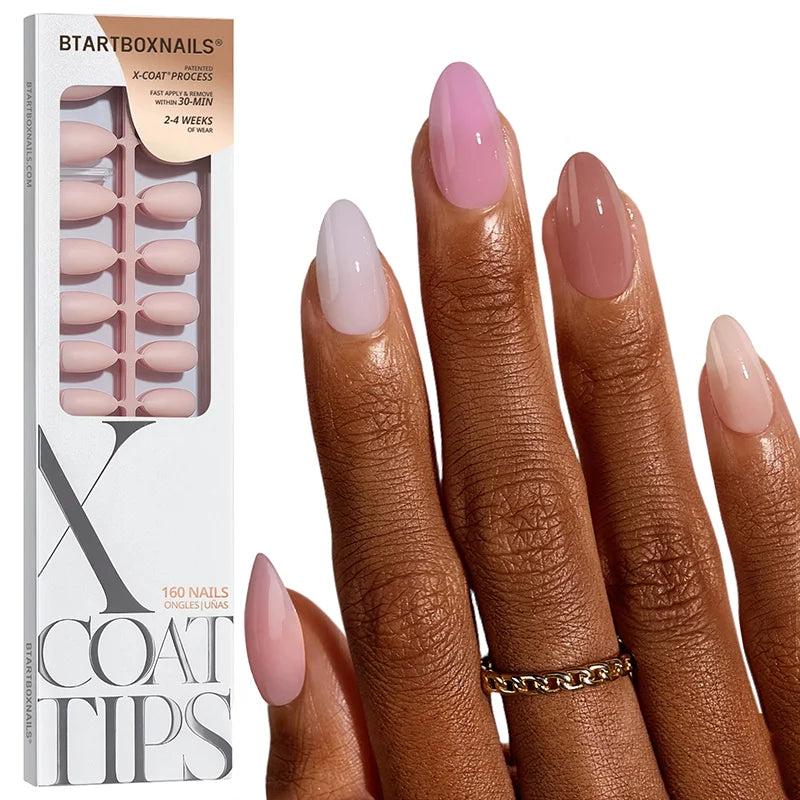
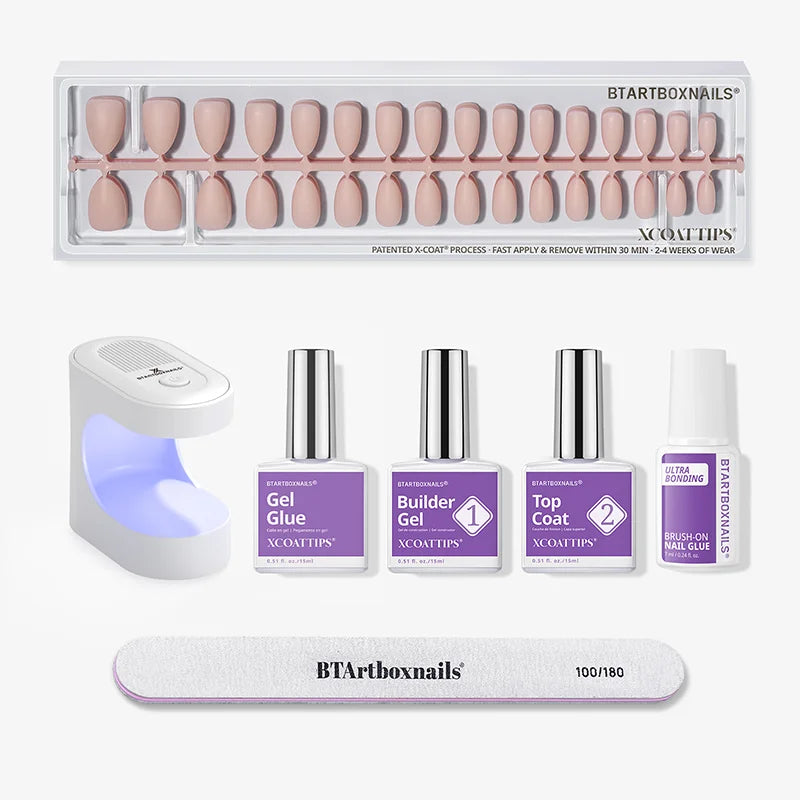
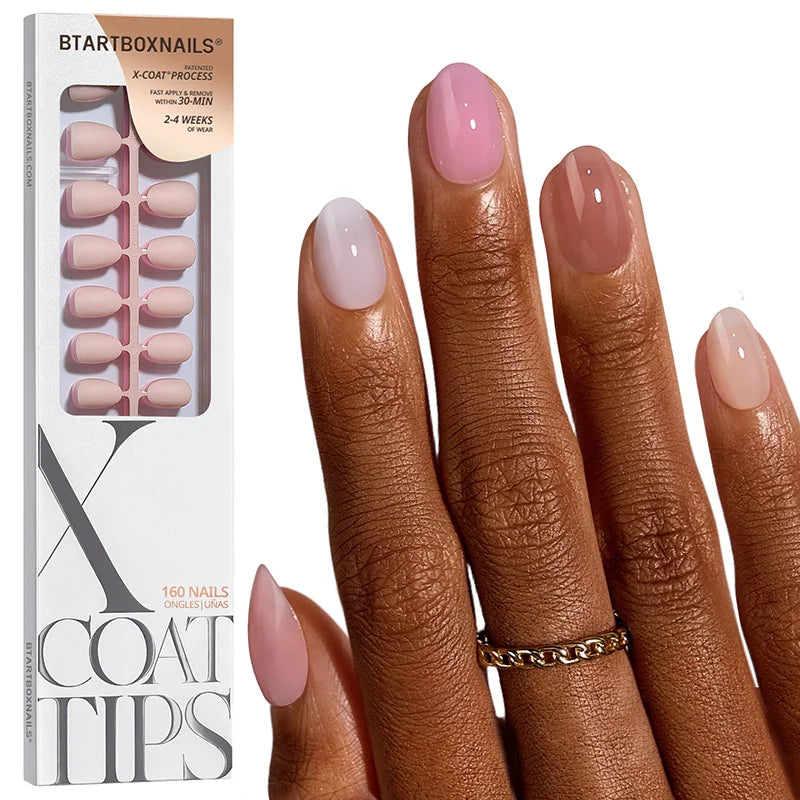
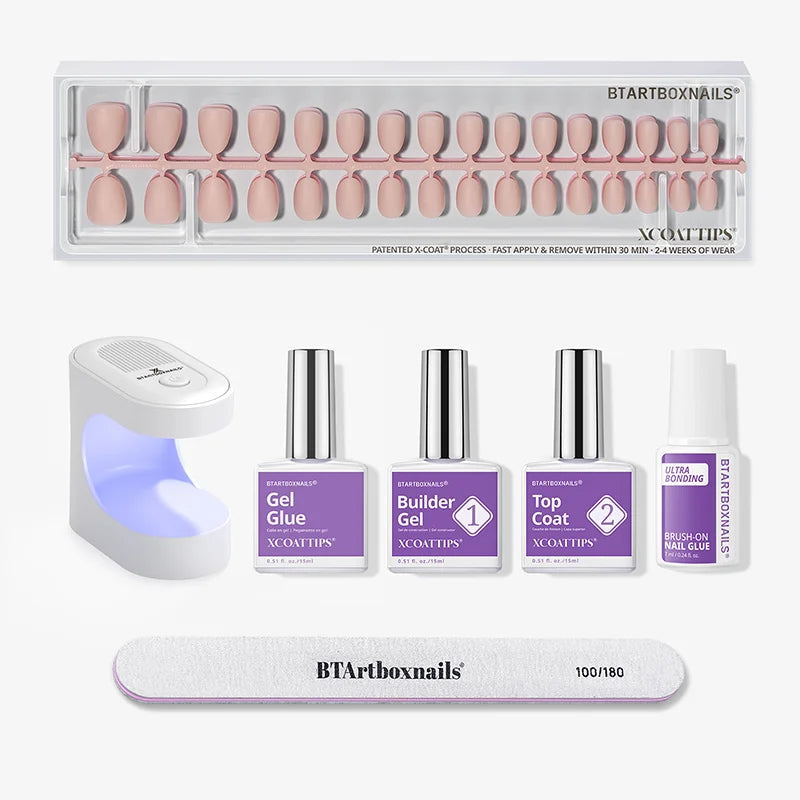


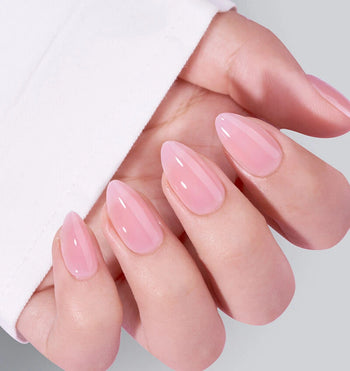
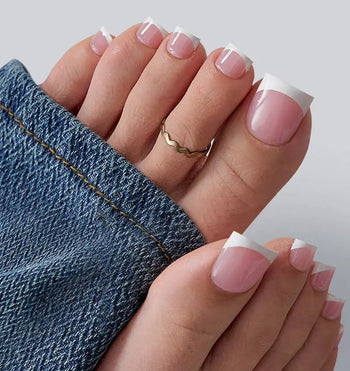


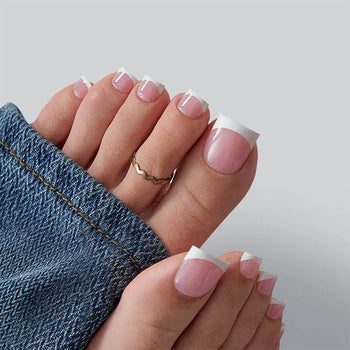


Yes, you can paint press-on nails, and it is one of the easiest ways to get a salon-style manicure without ever picking up a full set of acrylics. Plain, clear, nude, and even some pre-colored press-on nails can be customized with regular polish, gel polish, or water-based acrylic paint, as long as the surface and material are right for it.
Painting them before you apply them usually gives you a cleaner finish and more control over the design. If you love switching up your manicure or matching your nails to an outfit, press-ons make a great little canvas to work with. Here's how to paint them, which products actually work, and how to make the design last.
Key Takeaways
- Most press-on nails can be painted with regular polish, gel polish, or water-based acrylic paint
- Painting before application gives you cleaner, more controlled results
- Clean and lightly buff glossy press-ons only if the manufacturer allows it
- Thin coats that dry or cure fully hold up much better than thick ones
- Quality press-ons, primer, and nail accessories make a polished look easier to pull off at home
Can You Paint Press-On Nails?
Yes. Most plastic, glue-on, clear, nude, and soft-gel press-ons can be painted or repainted as long as they're clean and in good condition. Compatibility comes down to the material, the surface finish, and what the manufacturer says about it, so it's worth checking the product instructions before you start.
Painting before application is usually the simplest route. You can hold each nail comfortably, work on detailed designs, and keep polish off your skin and cuticles. You can also paint over press-ons after they're already on, which works well for refreshing a color, though it takes a bit more care around the skin and natural nail.
What Types of Press-On Nails Can You Paint?

Plain and clear press-ons are the easiest to customize. They give you a smooth base for solid colors, French tips, glitter, ombre, and other nail art.
You can paint pre-colored press-ons too, but the original shade will affect the new color. Dark nails often need a neutral or white base coat before a lighter shade goes on, and keep in mind that extra layers make the press-ons a little thicker, which can change how they fit.
When you're picking press-ons to customize, look for ones with:
- A smooth, sturdy surface
- A clear, nude, or white base color
- Enough thickness to resist bending
- A shape that matches your natural nails
- No deep scratches or damage on the surface
A finished style works well if you want instant wear, or a simpler set works as a base for your own design. Either way, check the product's instructions to confirm the surface is meant to be repainted.
What Can You Use to Paint Press-On Nails?
The right product depends on the finish and design you're going for. Press-ons can be made from different materials and coatings, so test anything new on one spare nail first and read the manufacturer's instructions.
Regular Nail Polish
Regular polish is the easiest option and works well for solid colors and simple nail art. It doesn't need a UV lamp, though it can take a few hours to harden all the way through.
Use thin layers rather than one heavy coat. A good base coat and top coat help the color look smoother and chip less.
Gel Polish
Gel polish gives press-ons a shiny, salon-style finish, but it needs to be cured under a compatible UV or LED lamp according to the gel's instructions.
Keep uncured gel off your skin, and don't wipe it onto your skin before curing. Nail glue, gel polish, and some polish ingredients can trigger allergic reactions, so stop using a product if you notice itching, redness, swelling, or a rash.
Acrylic Paint
Water-based acrylic art paint is great for small details on fake nails, things like flowers, dots, lines, and swirls.
Use a small nail art brush and keep the paint off your skin. Let it dry fully, then seal it with a compatible clear top coat so the design survives rubbing and water.
Nail Art Pens, Stickers, and Decorations
Nail art pens are great for precise lines and tiny details. Stickers, glitter, rhinestones, and small charms can dress up an otherwise simple set.
Keep decorations fairly flat and light. Bulky designs can make press-ons uncomfortable or affect the fit, so secure them with products made for nail use and don't let adhesive spread onto the skin.
Which Product Fits Your Design
| Product | Best For | Dry or Cure Time |
|---|---|---|
| Regular nail polish | Solid colors, simple designs | A few hours to fully harden |
| Gel polish | Glossy, salon-style finish | Cures under UV or LED lamp |
| Acrylic paint | Fine art, flowers, swirls | Air dries, then seal with top coat |
| Nail art pens | Precise lines, tiny details | Dries quickly, low mess |

A primer step like this helps polish and gel grip a press-on surface instead of sliding or chipping off early, which matters most on smooth or glossy nails.
How to Prepare Press-On Nails Before Painting
A little prep makes a big difference in how well the polish sticks and how clean your design looks. Getting this part right, along with generally prepping your nails for press-ons, also helps prevent doing detailed nail art on a set that doesn't fit correctly.
Size and Shape the Nails
Match each press-on to the correct natural nail before you paint. File the length and sides now, since filing after painting can strip away part of your design.
Lay the nails out in order from thumb to pinky. It makes application faster and keeps you from mixing up sizes.
Clean the Surface
Clean the press-ons with whatever cleanser the manufacturer recommends. If the instructions allow it, a small amount of isopropyl alcohol can help remove residue.
Let the nails dry completely before applying polish or paint, and try not to touch the surface afterward. Oils from your skin can make polish peel sooner, and rubbing alcohol isn't a substitute for proper hygiene. It can dry out your natural nail and the skin around it too.
Lightly Buff Glossy Press-Ons
If the manufacturer allows it, lightly buff a very glossy surface with a fine nail buffer. The goal is cutting down the shine, not roughing up or thinning the surface.
Skip aggressive filing, especially on soft-gel or prefinished press-ons. Brush away the dust after buffing, and test on one nail first if you're not sure.
How to Paint Press-On Nails Step by Step

Painting press-ons goes smoother when you work in thin layers and give each product time to dry. Use a nail stand, sticky putty, or reusable adhesive tabs to hold each nail steady while you work.
1. Apply a Base Coat
Apply a thin layer of base coat to each press-on. It helps color stick and can keep dark polish from staining the nail underneath.
Only coat the visible surface, keeping the underside and adhesive area product-free. Let regular base coat dry before moving on, or cure gel according to the product directions.
2. Add the First Color Coat
Wipe extra polish off the brush before applying it. Start near the center of the nail and move carefully toward each side.
Keep the coat thin and avoid flooding the edges. A small gap around the edge helps stop polish from pooling.
3. Apply Additional Thin Coats
Wait until the first coat is dry before adding another. Two thin coats almost always look smoother than one thick one.
Covering a dark press-on with a light color? Apply a neutral or white base first so the new shade looks brighter and more even. Just don't stack so many layers that the nail turns bulky.
4. Add Your Nail Art
Once the base color is dry, add your design. A few easy ideas:
- French tips
- Dots and flowers
- Glitter accents
- Ombre shades
- Swirls or animal prints
- Simple hearts or stars
A polish shade or gel polish paired with a small detail brush is usually all you need for a clean, stylish design. For gel work, cure each layer as directed under a compatible lamp.
5. Seal the Design
Apply a thin top coat over the finished design. A glossy top coat adds shine, while a matte one gives a soft, modern finish.
Seal the free edge lightly to cut down on chipping, but keep product off the underside or adhesive area. If you used acrylic paint, pick a compatible top coat and apply it carefully so the design doesn't smear.
6. Let the Nails Dry Completely
Regular polish can feel dry on top while still soft underneath, so give it plenty of time to fully harden before wearing the nails.
Gel needs to be cured under a compatible UV or LED lamp. Don't rely on how the surface feels, and never apply press-ons while the polish is wet, sticky, or easy to dent.
Should You Paint Press-Ons Before or After Applying Them?
Painting before application is usually the better method. It gives you more control and keeps polish away from your natural nails and skin. Painting after application still works if you want to refresh a set you're already wearing. Just clean and lightly buff the surface first, only if the manufacturer allows it, then use thin layers and protect the skin around each nail.
Don't paint over a press-on that's lifting, cracked, or trapping moisture. Remove and replace it instead of covering the problem with more product. If you're using glue or adhesive tabs, keep the underside and application area free from polish too, since product there can make the press-on less secure. Clean, dry natural nails and a clean underside help wear time, though they won't guarantee the press-on stays attached.
How to Repaint and Change the Color of Press-Ons
You can often repaint press-ons if they're still smooth, strong, and undamaged. Remove loose polish or lightly buff the old color before adding a new one, but check the manufacturer's instructions before using a buffer or remover.
Avoid soaking plastic press-ons in strong remover for a long time. Acetone and other solvents can soften, cloud, discolor, or damage some artificial nail materials, so if you're trying to strip color without harming the nail itself, it's worth reading up on removing press-ons without acetone first.
When you're going from a dark color to a light one, use a neutral base coat first, and don't add so many layers that the nails start looking thick or fitting differently.
When it's time to take the press-on off completely, follow the adhesive maker's removal steps rather than a polish remover, unless the instructions specifically say it's fine. Our guide on removing nail glue from fake nails walks through the safest way to do that without damaging the natural nail.
How to Make Painted Press-Ons Last Longer
Careful application protects both the design and your natural nail. Small habits make a real difference in how long the manicure looks fresh, though wear time also depends on fit, adhesive, and daily activities.
- Clean and lightly buff press-ons before painting, if the manufacturer allows it
- Use thin coats of polish or gel
- Let every layer dry or cure fully
- Seal the free edge lightly with top coat
- Wear gloves when using cleaning products
- Avoid using your nails to open packages or scrape surfaces
- Skip prolonged soaking, especially right after application, and dry your hands well
- Repair small chips early with matching polish
- Store reusable press-ons somewhere clean and dry
What Affects How Long Painted Press-Ons Last
| Factor | Impact on Wear |
|---|---|
| Coat thickness | Thin coats dry harder and chip less than thick ones |
| Surface prep | Clean, dry nails hold polish far longer |
| Water exposure | Frequent soaking softens polish and adhesive |
| Daily activity | Rough tasks chip designs faster |
Common Mistakes When Painting Fake Nails
Even a cute design can peel fast if the surface isn't prepared right. Watch for these common mistakes when you customize fake nails.
Using Thick Coats
Thick polish takes longer to dry and can wrinkle, dent, or crack. Thin coats create a smoother finish and are easier to control, and thick gel layers can stay undercured underneath even when the top looks fine.
Skipping Surface Preparation
Oil and dust stop polish from sticking. Clean the press-ons, and only lightly buff a very glossy finish if the manufacturer allows it.
Filing After Painting
Filing after painting removes color from the sides and damages your design. Shape the nails first, before any polish goes on.
Applying Wet Press-Ons
Wet polish can smudge during application and interfere with glue or adhesive tabs. Wait until nails are fully dry or cured before wearing them.
Painting Over Lifted Nails
Polish can't repair a loose press-on. Remove it according to the adhesive instructions, clean and dry the area, and only reapply once the natural nail looks healthy.
Using Uncured Gel or Harsh Paint
Uncured gel can irritate skin and trigger allergic reactions. Skip household, industrial, oil-based, or unknown solvent-based paints on press-ons. Stick with water-based acrylic art paint or products made for nail use, and keep everything off the skin.
Are Painted Press-On Nails Safe?
Painting press-ons is generally safe when you use products made for nails, follow the directions, and avoid skin contact. That said, nail glue, gel polish, and other ingredients can cause irritation or allergic reactions, and poor hygiene, trapped moisture, or forceful removal can damage the natural nail underneath.
Work in a well-ventilated area and keep polish, glue, gel, and paint off your skin as much as possible. Ventilation helps but doesn't eliminate the risk of skin allergies, so avoid contact with uncured gel and similar products.
Don't apply press-ons over damaged, painful, red, discolored, separating, or irritated natural nails. See a healthcare professional if the problem continues. Stop using a product right away if you notice burning, itching, swelling, blistering, or a rash, and get persistent or spreading symptoms checked by a doctor or dermatologist.
Always remove press-ons using the adhesive manufacturer's directions. Never pull, peel, pry, or force them off, since that can damage the natural nail.


Frequently Asked Questions
Can I put nail polish over my press-on nails?
Yes, you can put nail polish over many press-on nails. Clean and lightly buff the surface first only if the manufacturer allows it and the surface is very glossy. Apply thin coats and finish with a top coat.
Can I paint my own press-on nails?
Yes, you can paint your own press-on nails before applying them. Clear, nude, and blank sets are usually the easiest to customize. Size and shape them first, and keep the underside and adhesive area free from paint.
Can you change the color of press-on nails?
Yes, many press-ons can be repainted if they're clean, intact, and compatible with the product you want to use. Lightly buff the original color only when allowed, and use a base coat before adding the new shade. Avoid stacking too many layers.
Can I put acrylic paint on fake nails?
Yes, water-based acrylic art paint works well for designs on fake nails, especially small details like flowers, dots, and lines. Keep it off the skin, let it dry fully, and seal it with a compatible clear top coat.
What are the best paintable press-on nails?
Clear, nude, white, or blank press-ons with a smooth, sturdy surface are usually easiest to paint. Choose a set that fits your natural nails and check whether the manufacturer allows repainting. Skip anything cracked, warped, or very thin.
Your Nails, Your Canvas
Most press-on nails can be painted with regular polish, gel polish, or water-based acrylic paint, so there's a lot of room to make a set feel like your own. For the cleanest results, size and shape the nails first, clean and lightly buff the surface only when it's allowed, use thin coats, and let everything dry or cure before you wear them.
Browse the full BTArtbox nail products collection for press-ons, polish, primer, and accessories that make it easier to build a design you'll actually want to wear.