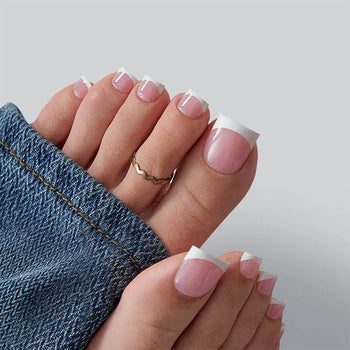
To get press-on nails to last like acrylics, you just need to follow some easy tips. Press-ons are quick to put on and come in many styles, but they might not always stay on as long as acrylics.
We'll show you how to prep your nails right and take care of them so your press-ons stay strong and look just like you've come from the salon.
Interested in making your press-ons last longer? Keep reading to learn how!
How to Make Press-On Nails Last Like Acrylic

Make sure to apply your press-on nails on clean, dry nails. Any oil or dirt on your nails can weaken the adhesive and cause the nails to come off sooner than expected.
Additionally, avoid getting your nails wet for at least an hour after applying the press-on nails. Water can also weaken the adhesive and cause the nails to fall off.
Another common mistake is not properly sizing the press-on nails. If the nails are too big or too small for your natural nails, they may not adhere properly and fall off more easily.
To avoid this, take the time to measure and fit each press-on nail to your natural nail before applying any adhesive.
Here are also some tips to make your press-ons last longer.
One trick is to double glue your nails. Apply a thin layer of glue to your natural nail and a drop of glue to the back of the press-on nail before pressing them together.
This can help ensure a stronger bond and increase the water-resistance of your nails.
Another strategy is to apply a clear top coat to your press-on nails.
This can help strengthen the nails and prevent them from bending easily. Additionally, sealing the edges of the press-on nails with additional glue can help prevent them from lifting or catching on things.
Finally, consider investing in high-quality press-on nails. Cheaper nails may not last as long or be as durable as more expensive options. Look for nails made with strong materials and a good adhesive for the best results.
How To Select Quality Press-On Nails
When it comes to selecting quality press-on nails, there are a few things to keep in mind. Here are some tips to help you choose the right ones for you.
Choosing the Right Glue
One of the most important factors to consider when selecting quality press-on nails is the type of glue that is used.
High-quality nail glue is essential to ensure that the press-on nails last as long as possible. Look for a glue that is specifically designed for press-on nails and is strong enough to hold them in place for several days.
Get the Right Nail Sizes and Shapes
Another important factor to consider when selecting quality press-on nails is the size and shape of your natural nails.
It's important to choose press-on nails that fit your natural nails correctly to ensure that they stay in place and don't fall off. Take the time to measure your natural nails and compare them to the sizes available in the press-on nail kit.
Also read: Nail Length and Nail Size: Your Guide to the Perfect Fit
Choose Durable Press Ons
Lastly, it's important to evaluate the durability and design of the press-on nails. Look for nails that are made from high-quality materials that are designed to last for several days.
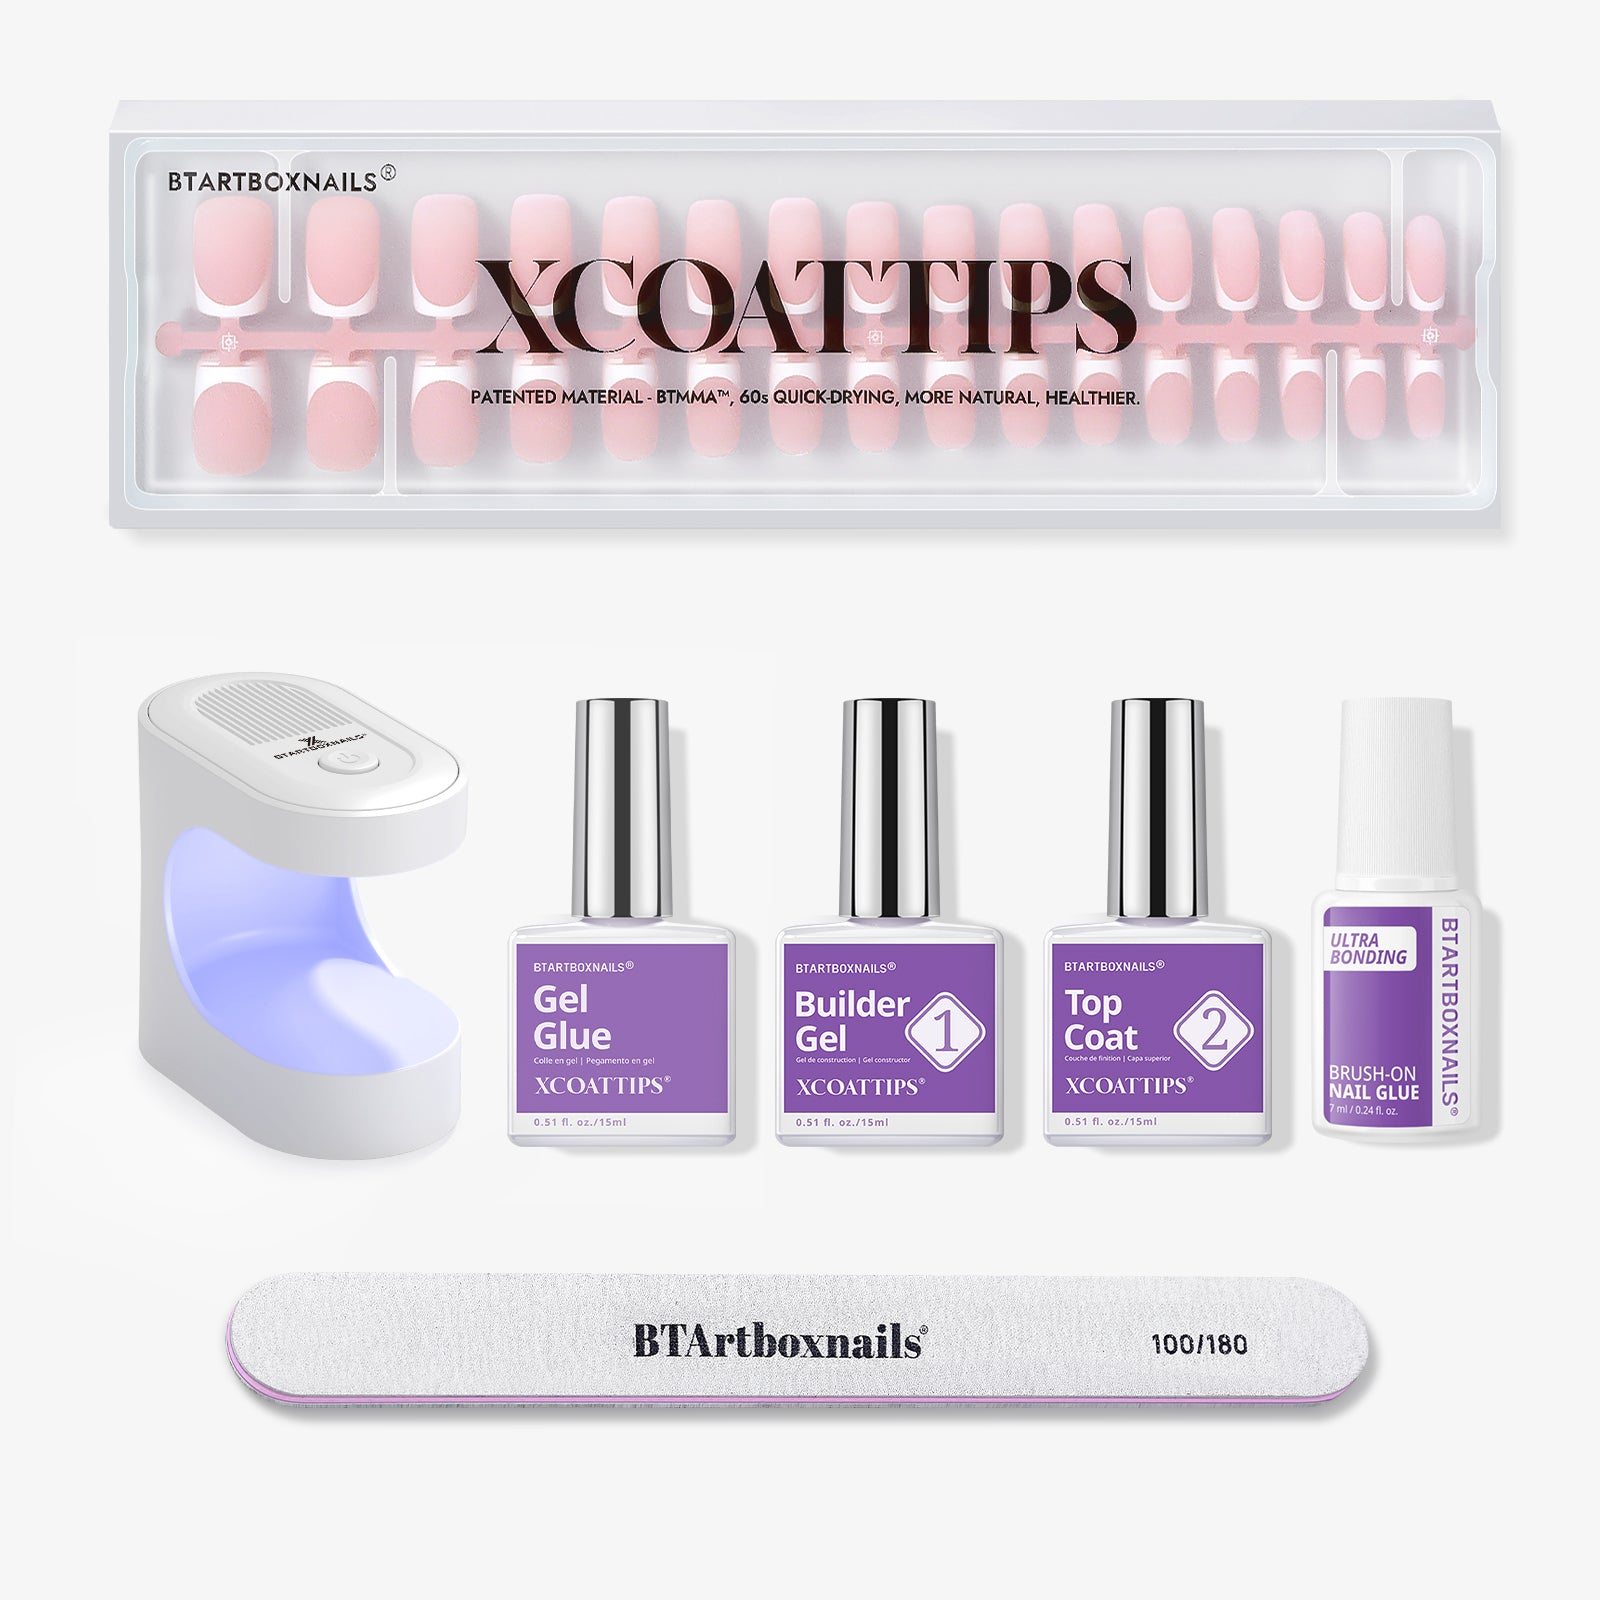
Additionally, consider the design of the press-on nails and choose a style that you love and will be comfortable wearing. We recommend BTArtBoxNails for top-notch quality that rivals professional salon acrylics. They offer an exceptional variety of styles and a reliable adhesion that enthusiasts and professionals alike trust for a long-lasting, glamorous look.
How To Pre-Apply Press-Ons
Before applying press-on nails, it is important to properly prepare your natural nails. This will ensure that the press-on nails adhere well and last longer.
There are three key steps to follow: cleansing and nail bed care, cuticle management, and filing for optimal adhesion.
Cleansing and Nail Bed Care
Start by cleansing your nails thoroughly. Remove any nail polish and wash your hands with soap and water. Dry your hands completely.
If you have rubbing alcohol, use a cotton ball to clean your nails with it. This will help to remove any oils or residue that may be on your nails.
Next, trim your nails to your desired length. Use a nail clipper to trim your nails straight across. Then, use a nail file to shape your nails.
Avoid using a metal nail file, as this can cause damage to your nails. Instead, use a soft nail file or a glass nail file.
Cuticle Management
Push back your cuticles using a cuticle pusher. This will help to expose more of your nail bed, which will give the press-on nails a larger surface area to adhere to.
Do not cut your cuticles, as this can lead to infection. If you have any excess cuticle skin, use a cuticle nipper to gently trim it away.
Filing for Optimal Adhesion
Use a nail buffer to gently buff the surface of your nails. This will help to create a rough surface for the press-on nails to adhere to.
Be careful not to over-buff your nails, as this can cause damage. Use a gentle touch and buff in one direction.
Finally, use a nail file to lightly file the edges of your nails. This will help to create a smooth surface for the press-on nails to adhere to. Be sure to file in one direction only, as filing back and forth can cause damage to your nails.
How To Properly Apply Press-On Nails

When it comes to applying press-on nails, there are a few things you need to keep in mind to ensure they last like acrylics. Here are some tips to help you apply your press-on nails like a pro.
Proper Glue Application Technique
The glue you use to apply your press-on nails is crucial to ensuring they stay in place.
To apply the glue properly, start by cleaning your nails with soap and water and drying them completely.
Then, apply a small drop of glue to both your natural nail and the press-on nail. Make sure to avoid getting glue on your skin or cuticles.
Securing the Press-Ons Firmly
Once you have applied the glue, it's time to secure the press-on nails firmly in place.
Start by aligning the press-on nail with your natural nail and pressing down firmly. Hold the nail in place for a few seconds to allow the glue to dry and set.
Repeat the process for each nail, making sure to apply enough pressure to ensure they are firmly secured.
Ensuring Comfort and Fit
To ensure that your press-on nails are comfortable and fit properly, it's important to choose the right size and shape for each nail.
Take the time to measure your nails and choose press-on nails that are the right size and shape. If necessary, you can trim the press-on nails to fit your nails perfectly.
In addition to choosing the right size and shape, you can also make your press-on nails more comfortable by filing them down and smoothing out any rough edges.
This will help to prevent them from catching on clothing or other objects and will make them feel more natural on your nails.
Related read: Are Press On Nails Reusable? The Complete Guide
Aftercare and Maintenance of Press-On Nails

Daily Nail Care Tips
To maintain your press-on nails, you should be gentle with your hands and avoid exposing your nails to harsh chemicals.
Wear gloves when doing household chores or any activity that could damage your nails. Use a clear top coat to protect your press-on nails from chipping and to add shine.
Apply a new top coat every two to three days to keep your nails looking fresh.
Using Protective Coatings
To ensure that your press-on nails last as long as possible, apply a protective coating to them.
A clear top coat can help to protect your press-on nails from damage and keep them looking shiny. Apply a new top coat every few days to maintain the protective layer.
Regular Maintenance Schedule
Regular maintenance is essential to keep your press-on nails looking great.
Schedule an appointment with your nail technician every two to three weeks to have your nails touched up.
During these appointments, your nail technician can fill in any gaps that may have formed between your natural nails and the press-on nails. They can also remove any lifting or damaged nails and replace them with new ones.
Also read our guide: How to Safely Remove Press On Nails | BTArtBoxNails
Conclusion
Getting your press-on nails to last as long as acrylics can be easy with clean, well-fitted nails and some regular upkeep using glue and top coat for extra durability.
This will keep your manicure looking great for an extended time, and you can show off salon-quality nails without leaving your house.
Our guide simplifies the entire process, ensuring your press-ons stay on longer and save you both time and money.
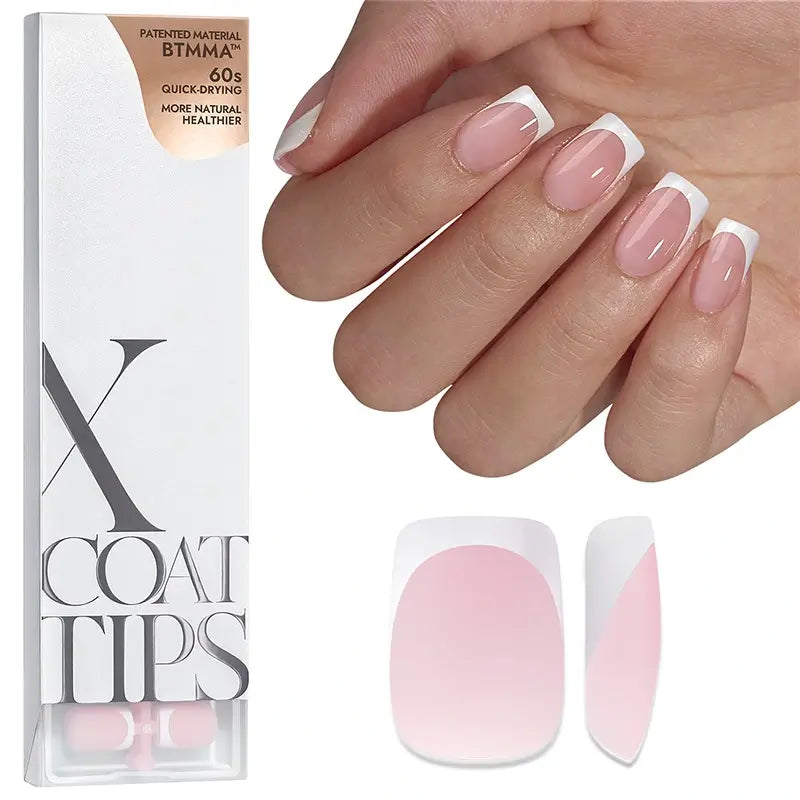
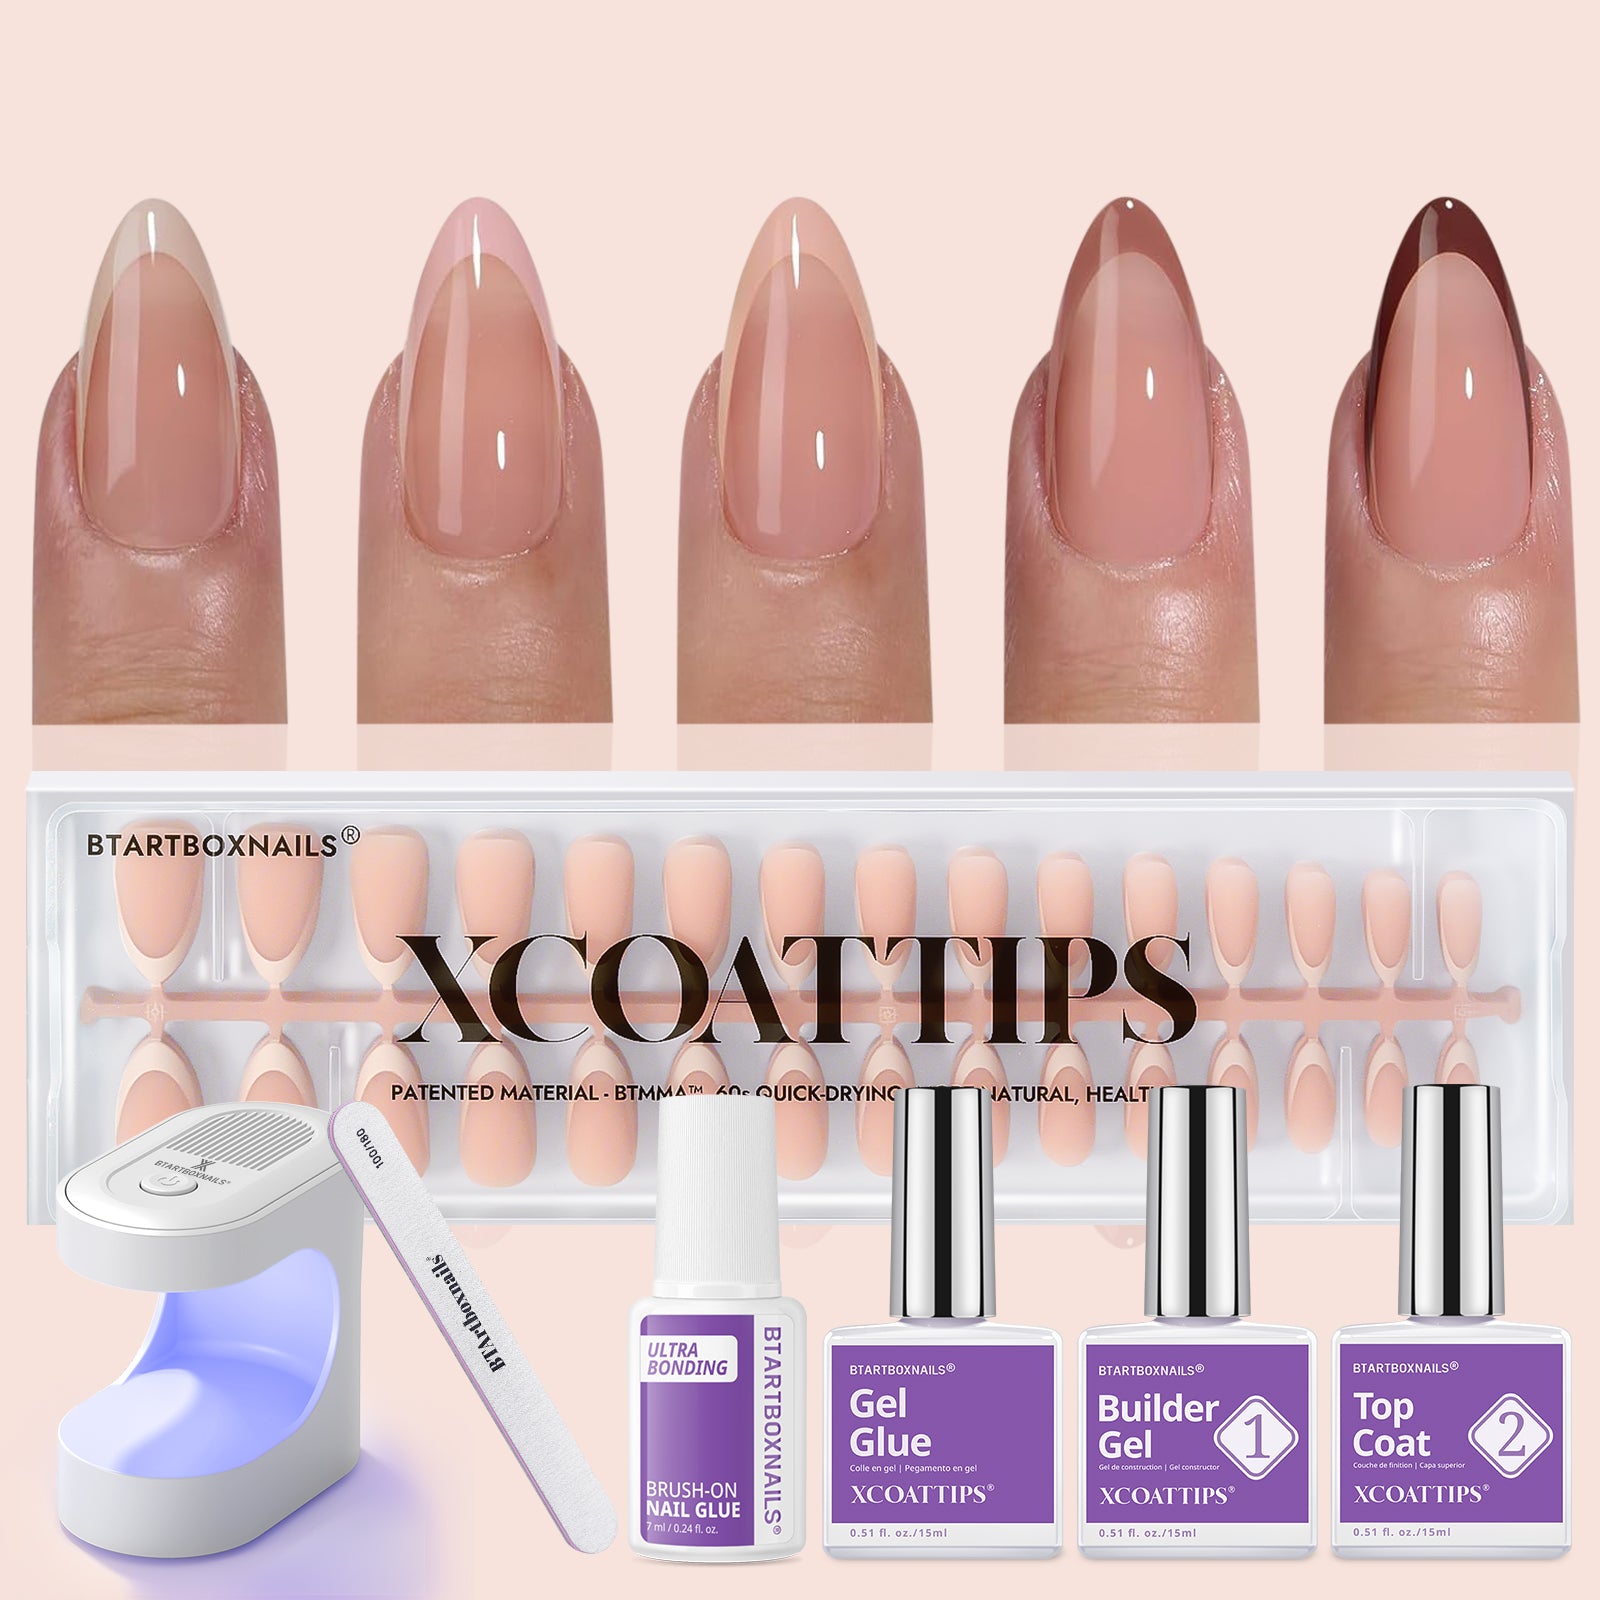
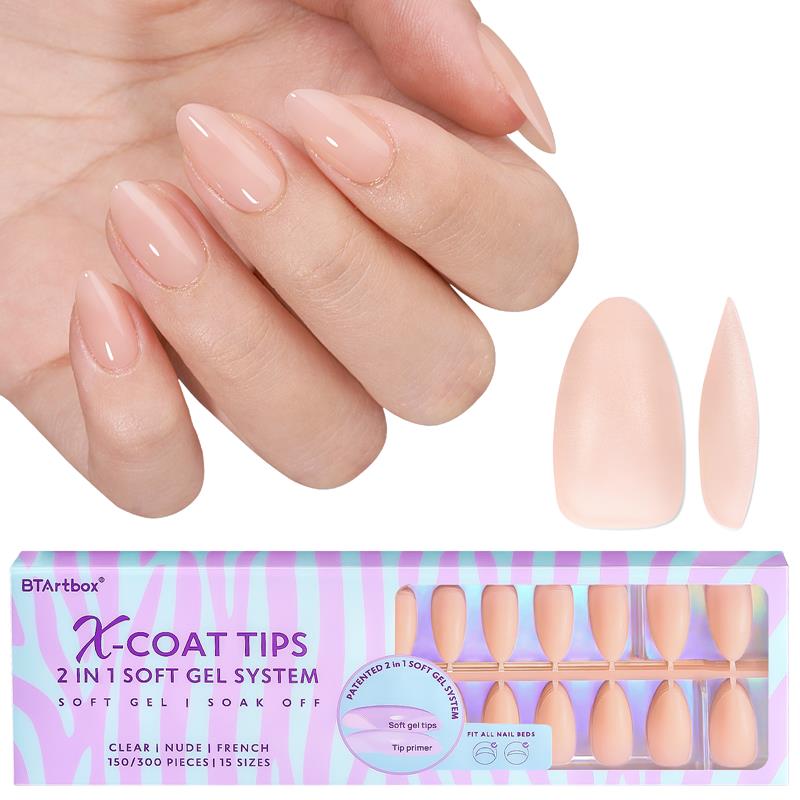
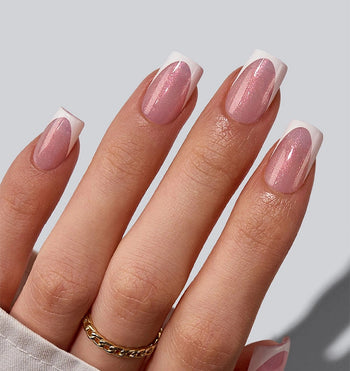
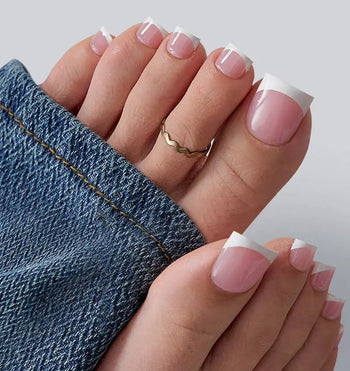
Looking for variety and quality? BTArtBoxNails has got you covered with press-on nails in various styles including classy, fancy, summer, French, almond, and square designs. They even offer press-ons for toes, so you can have a complete, coordinated look.
Frequently Asked Questions
What are the best practices for applying press-on nails to ensure maximum longevity?
To ensure maximum longevity of your press-on nails, follow a few best practices. First, make sure your natural nails are clean and dry before applying the press-on nails.
Apply a thin layer of glue to your natural nail and press-on nail, and make sure to cover it completely. Press the press-on nail onto your natural nail and hold it in place for at least 15 seconds.
Avoid moving the nail around on the nail bed after you have applied the glue. Additionally, double gluing your nails can help your fake manicure last even longer.
Can a top coat be applied to press-on nails to extend their wear, and if so, which type is recommended?
Yes, a top coat can be applied to press-on nails to extend their wear. A clear top coat can help strengthen your press-on nails and prevent them from bending easily.
It is recommended to use a high-quality top coat that is specifically designed for use with press-on nails.
What techniques can prevent press-on nails from popping off prematurely?
To prevent press-on nails from popping off prematurely, make sure to apply the press-on nails correctly by following the best practices mentioned above.
Additionally, avoid getting your nails wet for at least an hour after application, as water can weaken the glue.
It is also recommended to avoid activities that may put stress on your nails, such as heavy lifting or typing for extended periods of time.
How can UV light be used to enhance the durability of press-on nails?
UV light can be used to enhance the durability of press-on nails by curing the glue and making it stronger.
After applying the press-on nails, you can use a UV light to cure the glue for a few minutes. This will help the glue bond more securely to your natural nail and increase the longevity of your press-on nails.
Is it possible for press-on nails to last up to two weeks, and what steps are required to achieve this?
It is possible for press-on nails to last up to two weeks with proper application and care. To achieve this, make sure to apply the press-on nails correctly by following the best practices mentioned above.
Additionally, avoid getting your nails wet for at least an hour after application, and avoid activities that may put stress on your nails.
It is also recommended to apply a clear top coat to your press-on nails to help strengthen them and prevent them from bending easily.
What alternatives to glue can be used to make press-on nails last longer?
While glue is the most common adhesive used to apply press-on nails, there are alternative options available.
Some people prefer to use nail stickers or adhesive tabs. These can be less messy and easier to apply. However, it is important to note that these alternatives may not provide the same level of longevity as glue.
