If you’re wondering how to use chrome powder on nails, you’re not alone. This trendy nail technique creates a stunning, mirror-like finish that can elevate your look.
Applying chrome powder is simple and can be done at home, saving you a trip to the nail salon.
To use chrome powder on nails, start with a base coat and apply two layers of your chosen nail polish, curing each layer if using gel. Once dry, rub the chrome powder onto the nail with an applicator, then seal with a top coat for a shiny finish.
Whether you’re looking for a subtle shine or a bold statement, mastering this technique will have everyone asking where you got your nails done.
Keep reading to discover the step-by-step process and tips for getting the best results!
What Is Chrome Powder?

Chrome powder is a popular nail art product that gives your nails a shiny, metallic finish. It comes in a fine powder form and can create a stunning chrome effect when applied correctly.
To use chrome powder, you start with a base coat and a gel top coat. The powder sticks to the tacky surface of the top coat, transforming your nails into a reflective surface.
Key Features of Chrome Powder:
- Variety of Colors: Chrome powder is available in many colors, letting you choose your favorite shade or mix different ones.
- Application Methods: You can apply the powder with a sponge applicator, silicone brush, or even your fingertip for a more personalized touch.
- Durability: When sealed properly with a top coat, chrome nails can last a long time, resisting chips and scratches.
Using chrome powder is a fun way to elevate your nail game. The shiny, mirror-like finish can fit any occasion, whether you want something bold or subtle. With just a little practice, you can master the chrome effect and enjoy an eye-catching look.
Just remember, the key to a great result is to ensure that your base is smooth and the gel top coat is still tacky when you apply the powder.
Also Read: Can You Use Regular Nail Polish with Gel Top Coat?
How To Choose the Right Chrome Powder

Choosing the right chrome powder can make all the difference in your nail art. Here are some tips to help you pick the perfect one:
-
Color Options: Chrome powders come in various colors. Think about what suits your style. Popular choices include silver, gold, rose gold, and even holographic tones.
-
Quality Matters: Look for reputable brands that offer high-quality chrome powders. Read reviews and check ratings online. Quality products ensure a better finish and last longer.
-
Finish Type: Consider whether you want a mirror-like shine or a softer sheen. Each type offers a different aesthetic, so choose one that matches your vision.
-
Compatibility: Ensure the chrome powder you select works well with the base coat and top coat you're using. Some powders may require specific products for the best results.
-
Texture and Grain Size: The texture of the powder can affect the final look. Finer powders tend to give a smoother, more reflective surface. Coarser powders can create unique textures.
- Application Method: Some powders come with applicators or specific instructions. Check if you prefer using a sponge, brush, or your fingers for the application.
Always test a small amount first if you're unsure about how a powder will look on your nails. This way, you can find the perfect match for your style without any surprises.
Preparing Your Nails
Before using chrome powder, it's important to properly prepare your nails. This ensures a smooth application and helps the chrome effect last longer.
Tools and Materials
To begin, gather the necessary items for your nail prep. Here’s a list of what you’ll need:
- Nail file: To shape your nails and smooth edges.
- Cuticle pusher: This helps push back your cuticles gently.
- Nail clippers: For trimming nails to your desired length.
- Buffer block: Use this to smooth the nail surface for an even shine.
- Base coat: A clear base coat prepares your nails for the chrome powder.
- UV/LED lamp: You’ll need this to cure the base coat.
Complete your nail art with our essential nail accessories, providing everything you need for a flawless and creative manicure experience!
Start by trimming and shaping your nails with the clippers and file. Push back your cuticles carefully, ensuring not to injure the skin.
Then, buff the surface of your nails to create a smooth area for the chrome powder to adhere.
Apply a thin layer of base coat, which is crucial for bonding the powder.
Finally, cure the base coat under the lamp to finish your prep.
Related Read: How to Use Builder Gel on Natural Nails: Step-by-Step Guide
Step-By-Step Guide on How To Apply Chrome Powder on Nails

Applying chrome powder to your nails is a fun way to achieve a striking look. Follow these steps to ensure a smooth and beautiful application process.
Base Coat Application
Start by prepping your nails. Clean, trim, and shape them to your liking. Use a gentle cuticle pusher to push back your cuticles for a neat appearance.
Next, apply a base coat to all nails.
This is important because it provides a foundation for the gel polish. Use a thin layer; thick layers can affect drying time and adhesion.
Make sure to cover the entire nail and seal the free edge to prevent chipping.
Cure the base coat under a UV or LED lamp for about 30 seconds or as instructed by the product.
This step is essential as it ensures that the base coat hardens properly and adheres well to the gel polish that follows.
Transform your look effortlessly with our stunning press on nails, perfect for achieving a salon-quality manicure in minutes!
Curing the Gel Polish
Once your base coat is fully cured, it’s time to apply the gel polish. Choose a color that suits your style.
Apply a thin, even layer to each nail, ensuring you cover the whole surface.
Again, don’t forget to seal the free edge. This adds extra protection and helps prevent chips.
Cure the gel polish under a UV lamp for the time specified on the bottle, usually about 30 seconds to 1 minute, depending on the product.
If you want a deeper color, apply a second layer of gel polish, cure it again, and ensure each nail looks vibrant.
Applying the Chrome Powder
With the gel polish cured, the next step is chrome powder application.
Use a sponge-tip applicator or silicone brush for this step.
Gently rub the chrome powder onto the nail surface. Start from the cuticle and move towards the tip in one smooth motion for full coverage.
Make sure to press down lightly but firmly, ensuring the powder adheres well to the tacky gel top coat.
You may need to apply a bit more powder for a bolder effect. If desired, feel free to repeat this step for a more intense look.
The chrome effect will appear as you apply, so take care not to miss any spots.
Sealing the Chrome Effect
After you achieve the chrome look, it’s crucial to seal the effect.
Use a no-wipe gel top coat for this. Apply a thin layer over the entire nail, making sure to cover the edges and tips to lock in the chrome effect.
Cure the no-wipe top coat under the LED lamp for the recommended time.
This step protects your design from chipping and makes it shine.
A clear top coat can also be used if you prefer, but a no-wipe top coat is often the best choice for chrome nails.
Tips and Tricks for Long-Lasting Chrome Nails

Creating a beautiful chrome nail look is exciting, and keeping it long-lasting is key. Here are some helpful tips to ensure your nails shine.
-
Prep Your Nails Properly
Start with clean nails. Remove any old polish and gently buff the surface to ensure the chrome powder adheres well.
-
Use a Quality Base Gel
Apply a high-quality gel base coat. This foundation helps the chrome powder stick and will enhance the mirror-like finish.
-
Apply a Tacky Top Coat
After curing the base, use a top coat that remains tacky. This stickiness helps the chrome powder bond effectively.
-
Layering for Intensity
If you want a more vibrant look, apply a second layer of top coat before adding more chrome powder. This technique helps achieve that stunning, reflective effect.
-
Seal It Well
After you achieve your desired look, seal the chrome with a non-wipe top coat. This protects your design and keeps it shiny.
-
Avoid Water Exposure
Try to limit exposure to water for the first 24 hours after application. Water can weaken the bond and affect the finish.
-
Consider Nail Stickers
For added flair, use nail stickers with your chrome design. They can create unique patterns that enhance the chrome effect.
Also Read: 10 Essential Tips for Long-Lasting Nail Polish & Top Products
Maintenance and Removal

To keep your chrome nails looking fresh, proper maintenance is key.
Avoid using harsh chemicals on your nails that can dull the finish. Instead, use gentle soaps and moisturizers.
When it comes to nail polish removal, acetone is your best friend. Here’s how to do it safely:
-
Gather Materials:
- Acetone or a non-acetone remover
- Cotton balls or pads
- Aluminum foil (optional)
-
Soak the Cotton: Saturate your cotton ball or pad with acetone.
-
Apply to Nails: Place the soaked cotton on your nail, covering it completely.
-
For better results, wrap it with a small piece of aluminum foil to hold it in place.
-
Wait: Allow it to sit for about 10-15 minutes. This helps break down the chrome powder.
-
Gently Wipe Off: After soaking, gently wipe the cotton off. If needed, repeat the steps for any remaining chrome.
-
Care for Your Nails: After removal, wash your hands and apply a nourishing cuticle oil to keep your nails healthy.
Common Mistakes to Avoid

Using chrome powder on your nails can create stunning nail art, but there are a few common mistakes to watch out for.
Skipping the Base Coat
Always start with a base coat. It helps protect your natural nails and gives the chrome powder something to adhere to. Skipping this step can lead to uneven application.
Not Waiting for the Top Coat to Dry
After applying your gel top coat, ensure it’s tacky, not fully dry when applying the chrome powder. If it dries too much, the powder won’t stick well.
Using Too Much Powder
You don’t need a lot of chrome powder. A small amount goes a long way. Using too much can create a messy look instead of a sleek finish.
Neglecting to Buff
After applying the chrome, gently buff the nails to remove excess powder. This step is essential for a polished look. If you skip it, your nails may end up looking dull.
Forgetting to Seal
To make your chrome nails last, always seal them with a non-wipe top coat. Not sealing can cause the chrome effect to fade quickly.
Shine bright with our gold press on nails, the perfect way to add a touch of glamour and sophistication to your overall look!
Quick and Easy Way to Achieve Chrome Nails
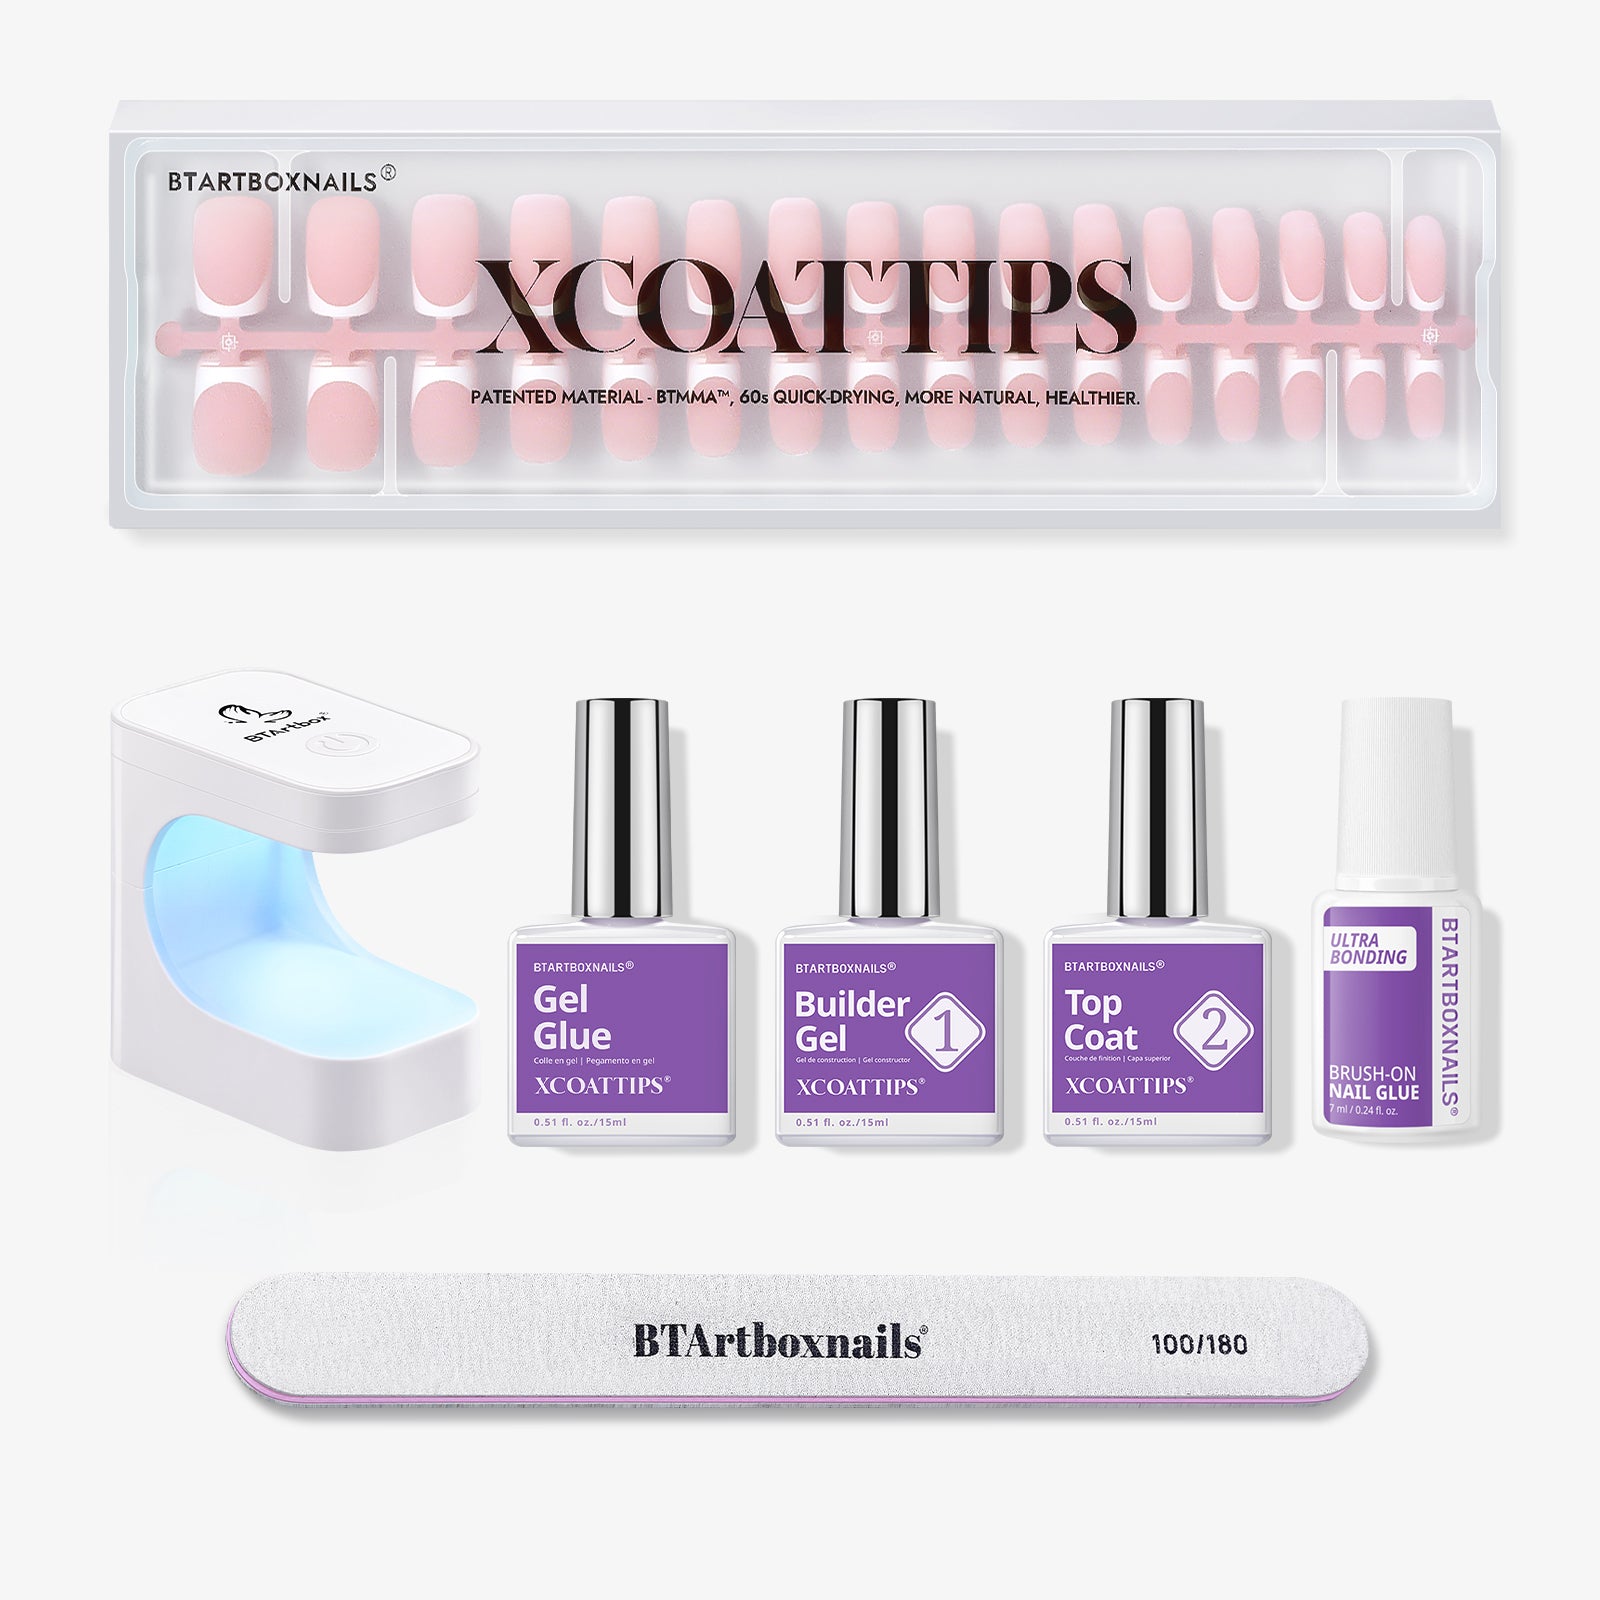
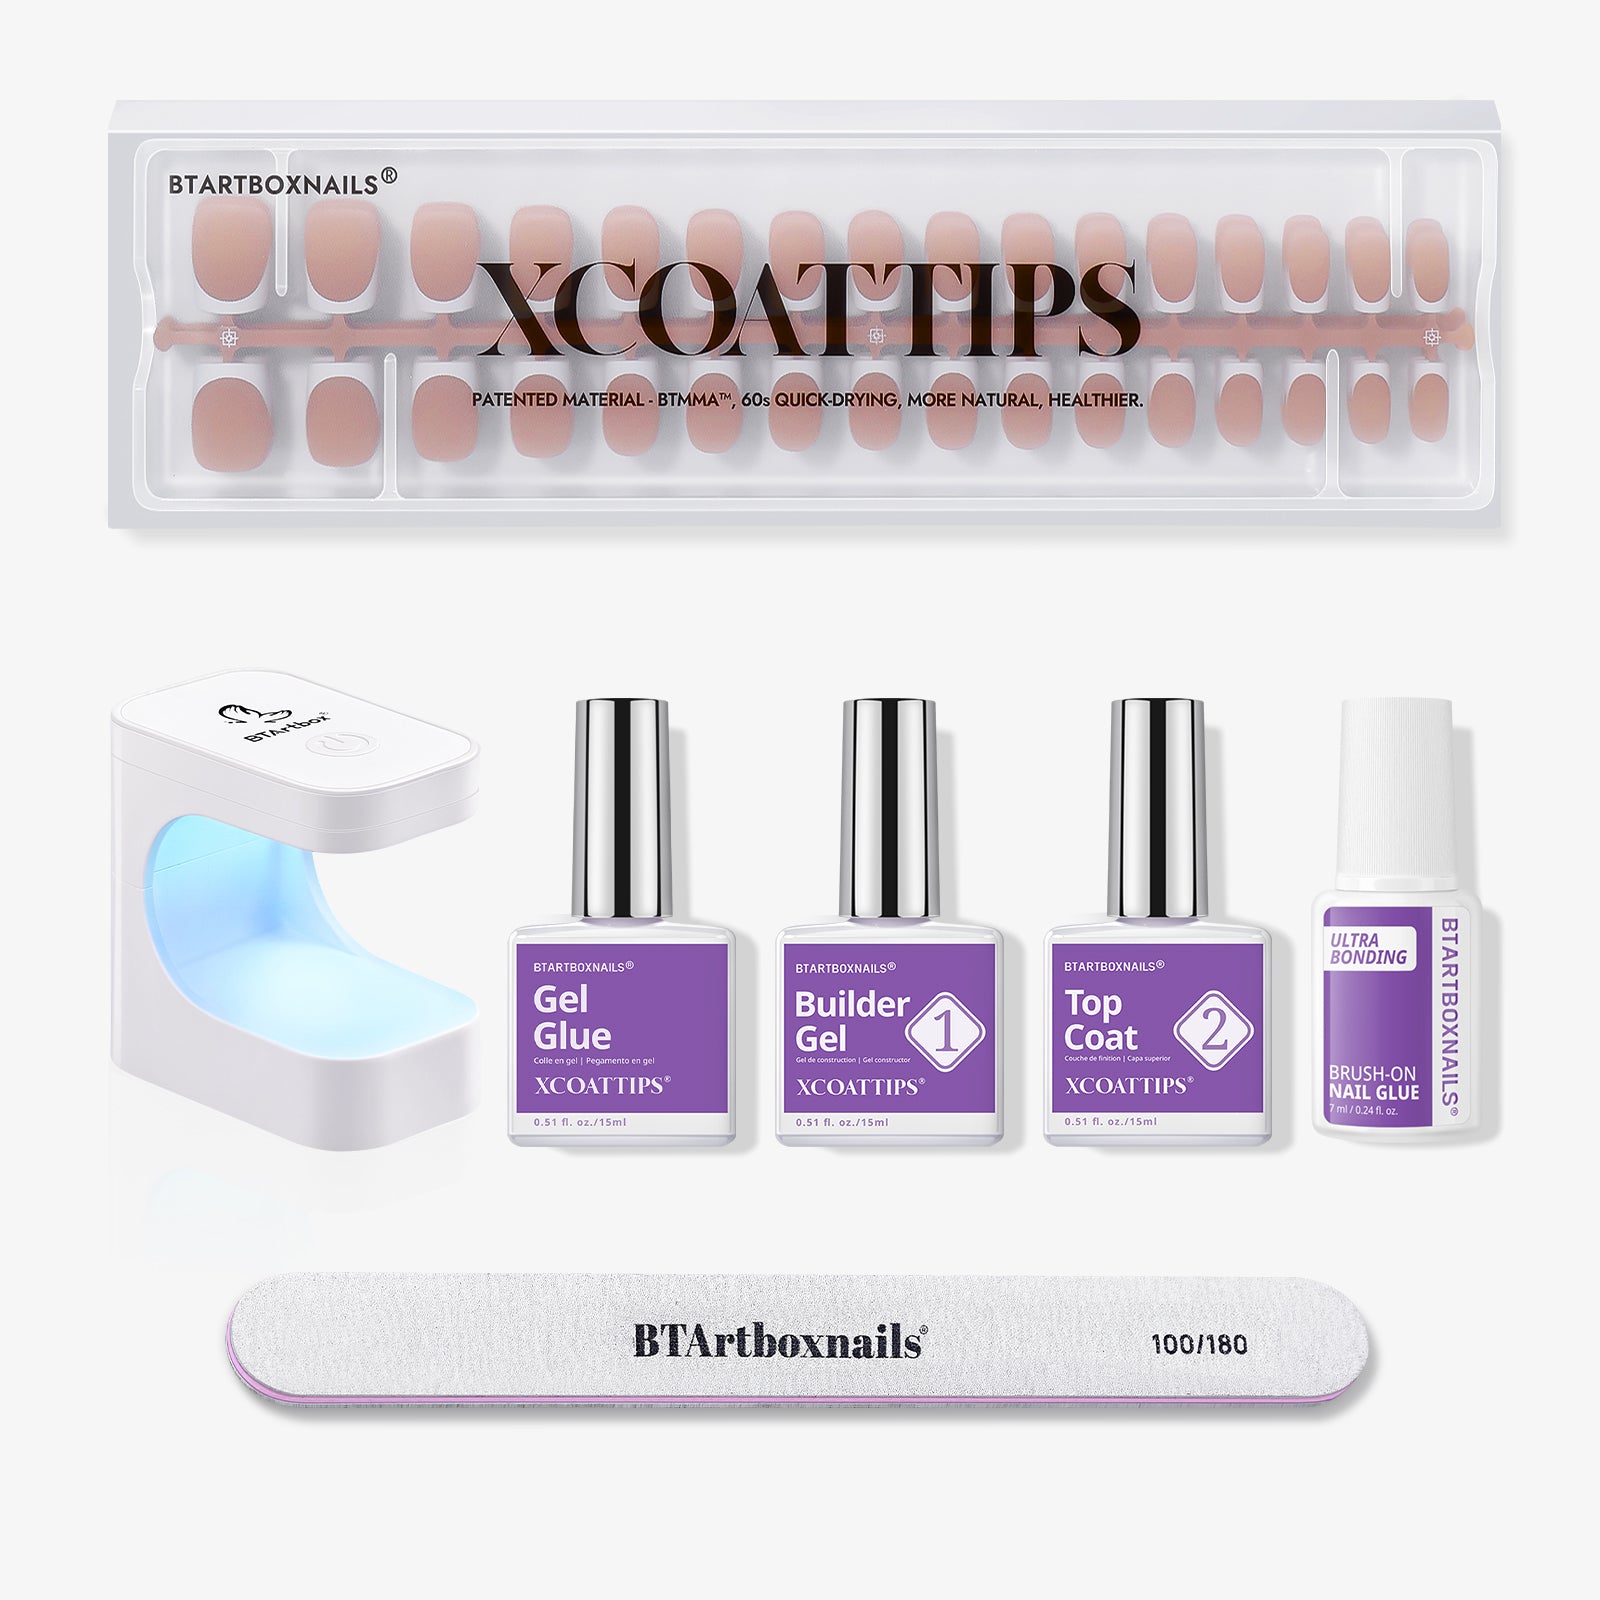
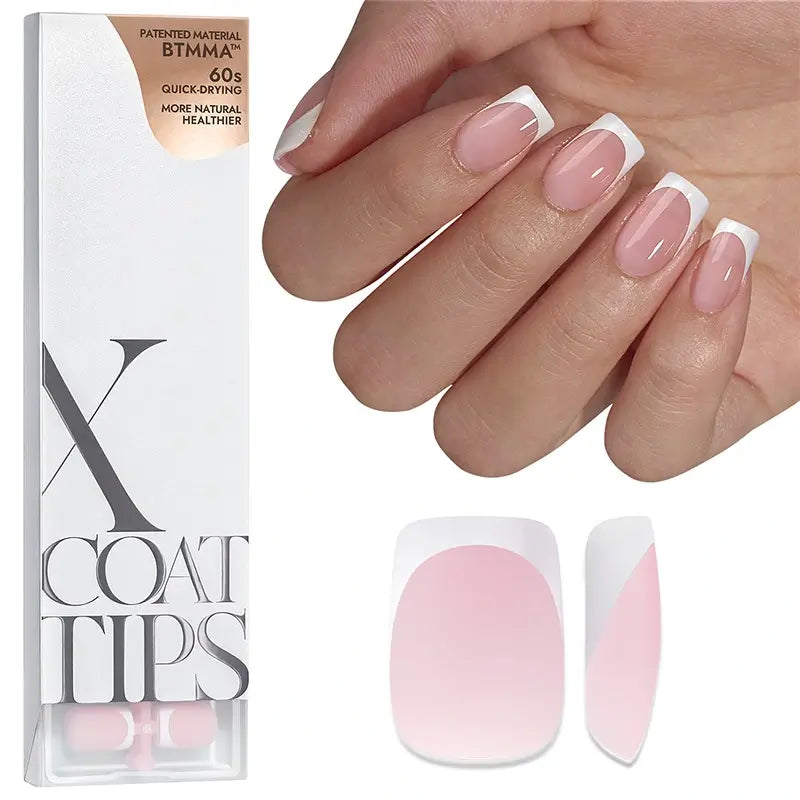
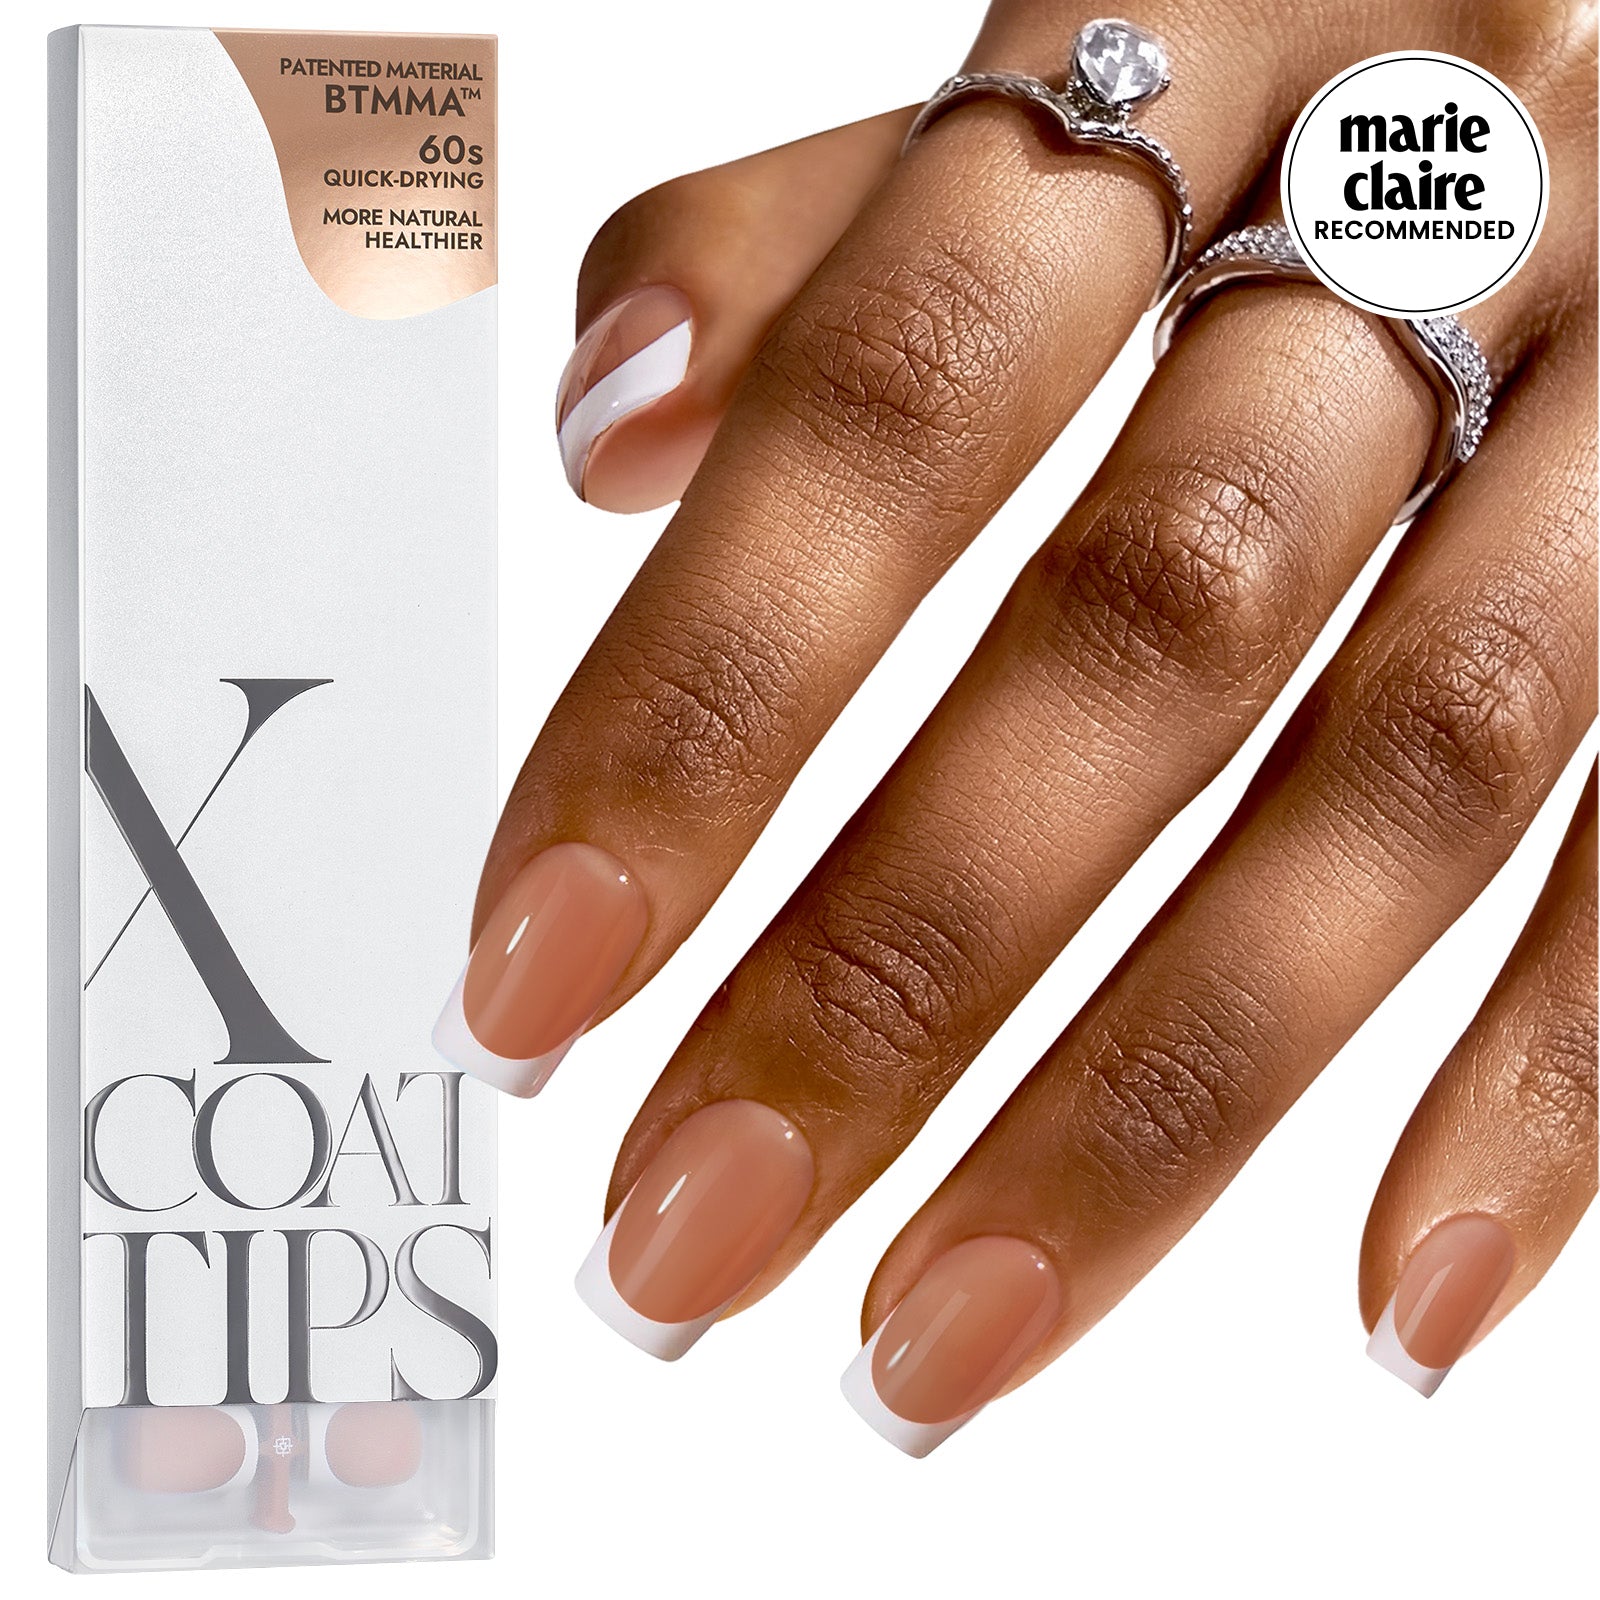
For a quick and effortless way to achieve stunning chrome nails, consider using fake nails from BTArtBoxNails. Their pre-made options allow you to skip the lengthy application process while still enjoying a glamorous look. Simply choose your favorite style, apply, and you're ready to shine!
YCOATTIPS® Chrome - Medium Almond
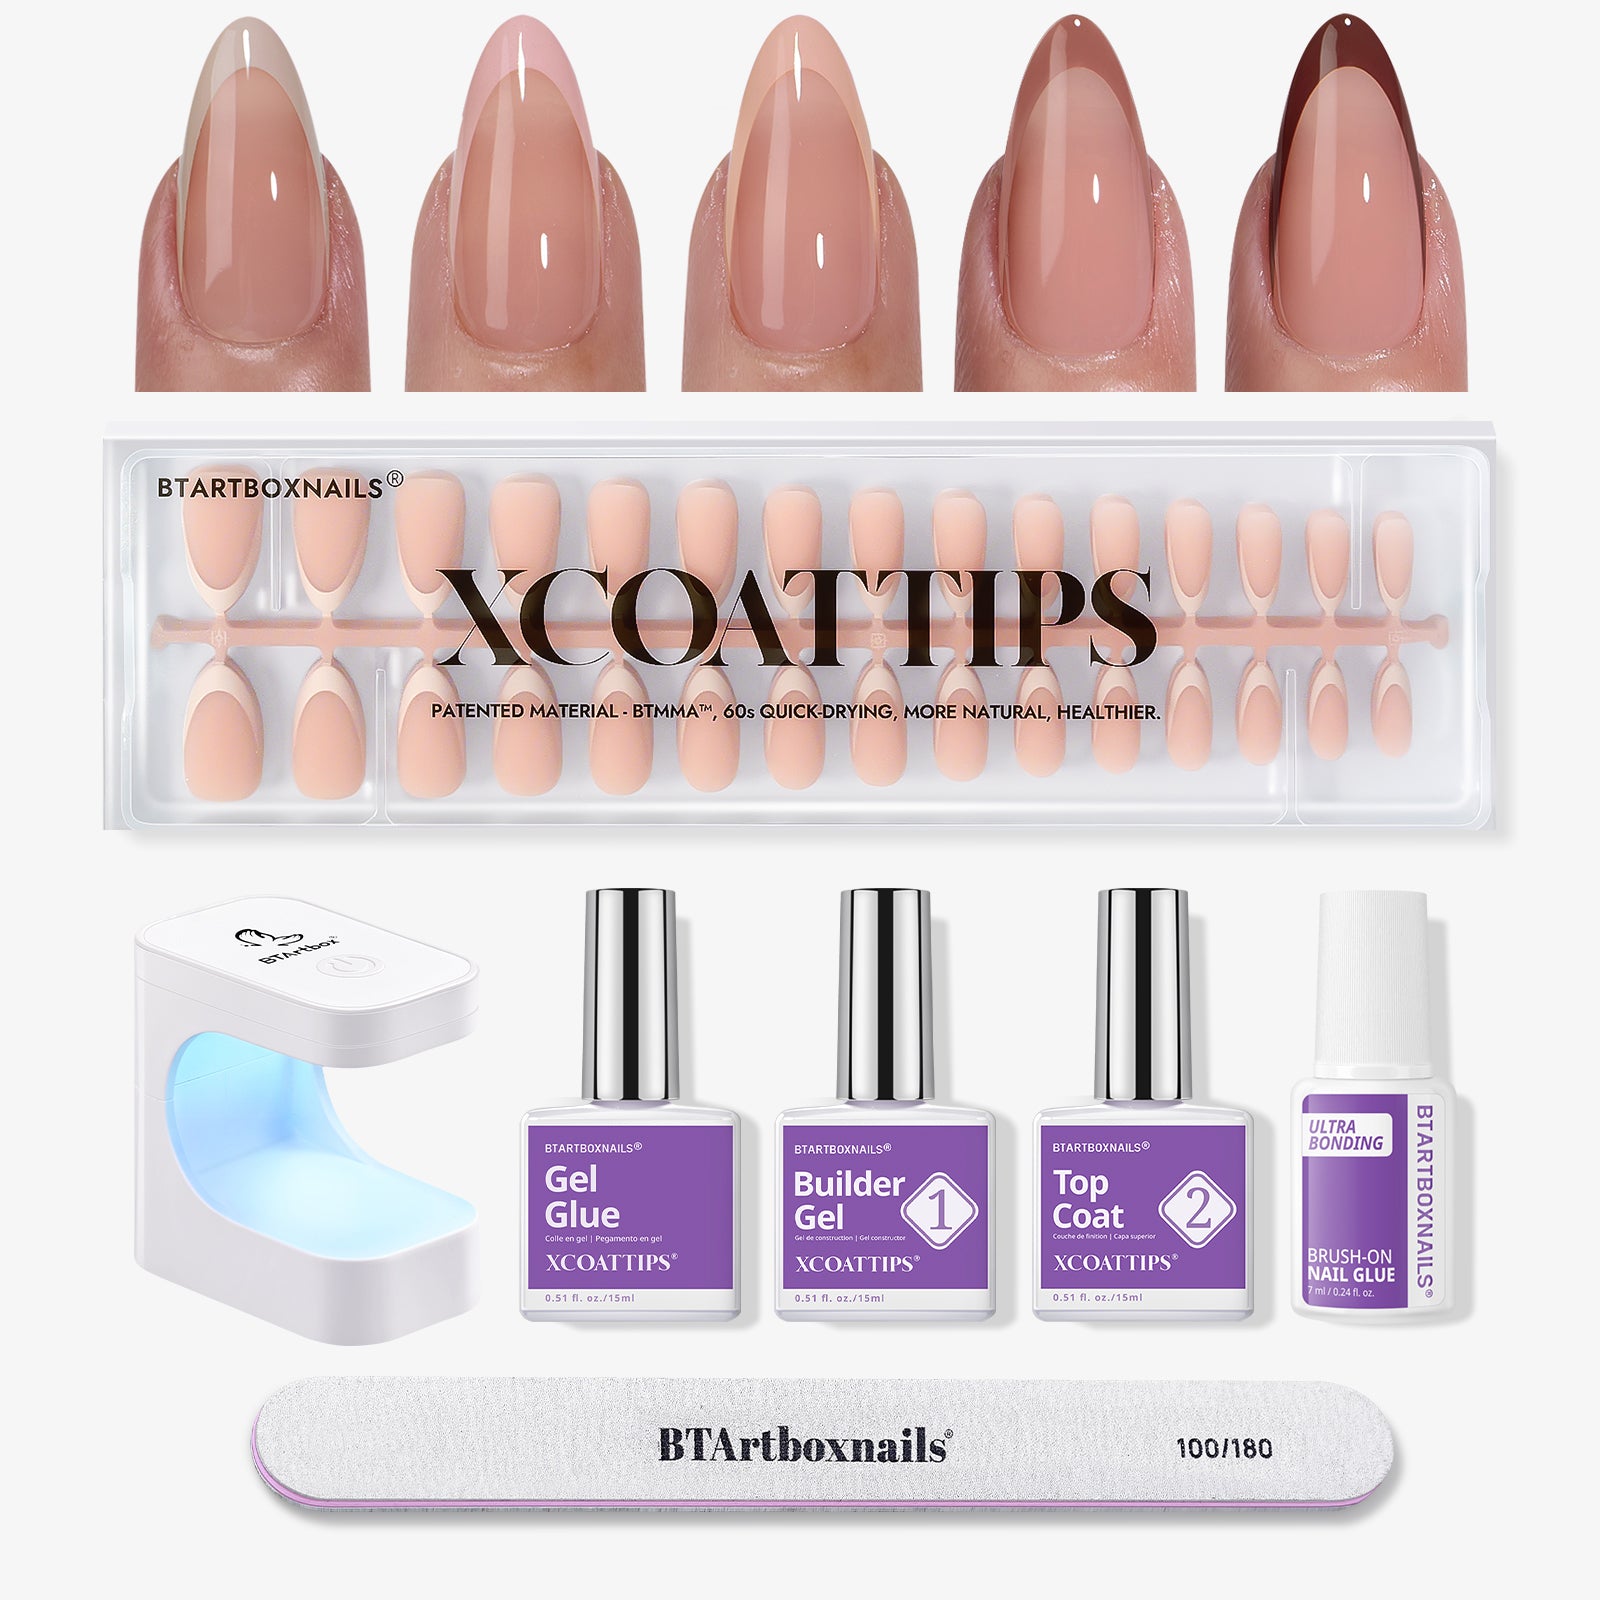
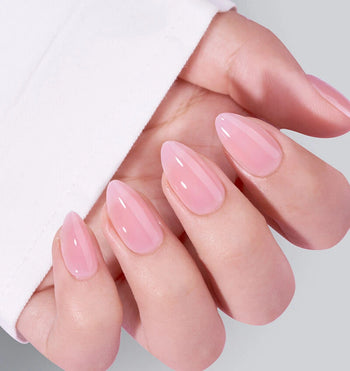
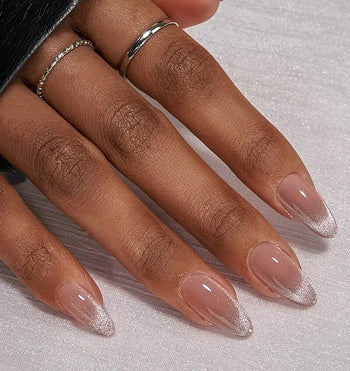
The YCOATTIPS® Chrome in Medium Almond features a beautiful almond shape and is available in stunning shades like pink, blue, peach, nude brown, and pearl white. These nails offer a sleek and stylish finish, perfect for any occasion or outfit.
XCOATTIPS® Toe Nail - Short - Glazed
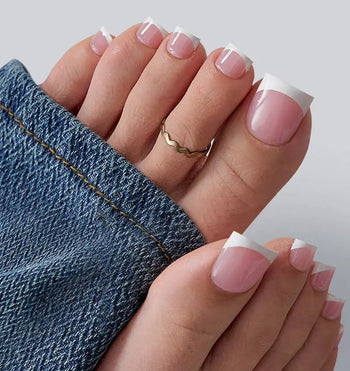
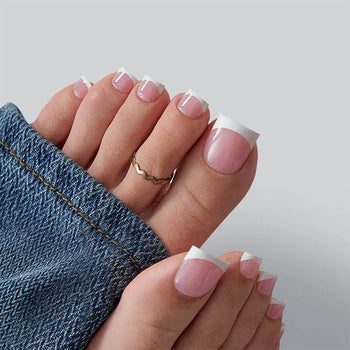
The XCOATTIPS® Toe Nail in Short - Glazed comes in elegant colors such as pink, white, and nude brown. These easy-to-apply press-on toenails provide a polished look that complements any summer style, making them a must-have for your pedicure collection.
Also Read: How to Get Press On Nails to Stay On (Tips and Tricks)
Conclusion
Using chrome powder on your nails can turn your manicure into a stunning work of art. With the right techniques and quality products from BTArtBoxNails, you can achieve a reflective finish that looks salon-quality.
For an easy and quick option, consider opting for BTArtBoxNails’ pre-made nails, which simplify the process even further. Just follow each step carefully for the best results.
Experimenting with different colors and chrome powders from BTArtBoxNails opens up endless creative possibilities.
Whether you prefer a subtle shimmer or a bold metallic look, their products can elevate your style. With a little practice, you'll impress everyone with your beautiful, shiny nails.
Frequently Asked Questions
How do you apply chrome powder to gel polish?
Start by applying a gel polish base coat to your nails. After curing, apply a gel top coat and cure again.
Once the top coat is tacky, use an applicator to rub the chrome powder onto the nails evenly, ensuring full coverage.
Finally, buff lightly and seal with a non-wipe top coat for lasting shine.
Is a top coat necessary after applying chrome powder?
Yes, a top coat is essential. It helps protect the chrome effect you’ve just created and adds shine. Without a top coat, the chrome powder can wear off quickly, leaving your nails dull.
Can chrome powder be used with regular nail polish?
Chrome powder works best with gel polish due to the tacky layer of gel. However, some people use it with regular nail polish by applying a thick layer of polish and letting it dry until it’s slightly tacky.
Keep in mind that results may not be as vibrant or long-lasting.
What is the correct way to use chrome nail powder without gel?
If you’re using chrome powder without gel, apply a base coat of regular nail polish and let it dry completely.
Then, apply another layer of nail polish and wait for it to become slightly tacky.
Gently rub in the chrome powder using a soft applicator, and finish with a clear top coat.
How should chrome powder be applied to dip nails?
To use chrome powder on dip nails, first dip your nails as usual.
After the final dip and sealing, wait for the top layer to dry.
Then, lightly buff the surface and apply the chrome powder with an applicator to achieve an even look.
Seal it with a clear top coat to protect the design.
Why does chrome powder sometimes not adhere to nails?
Chrome powder may not stick for a few reasons. If the nail surface is too dry or has residue, the powder can fail to adhere.
Additionally, if you do not use a tacky layer or proper top coat, the powder may not bind properly.
Always ensure nails are clean and appropriately prepared before application.
