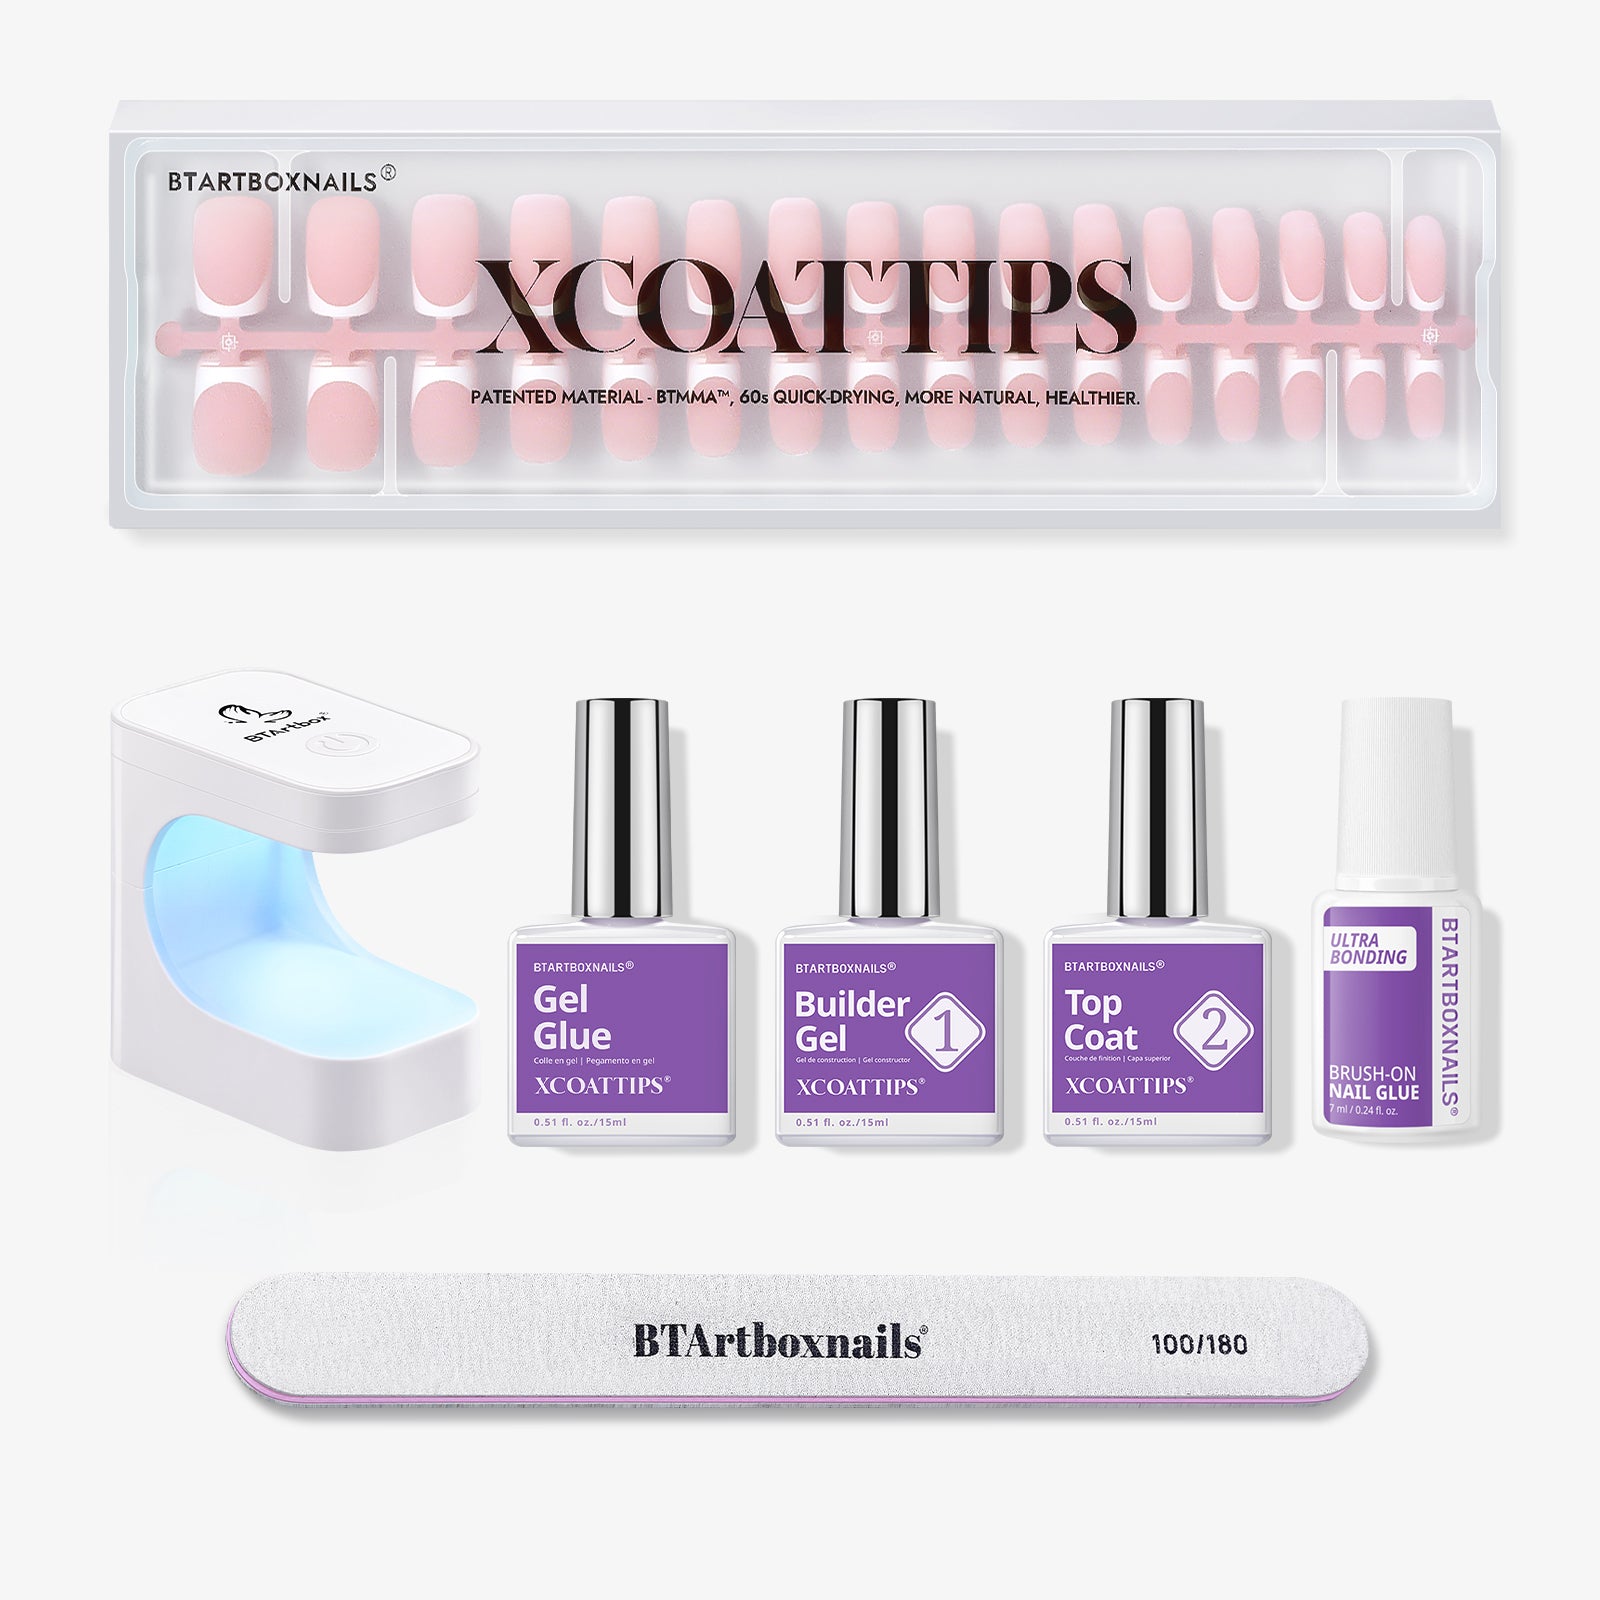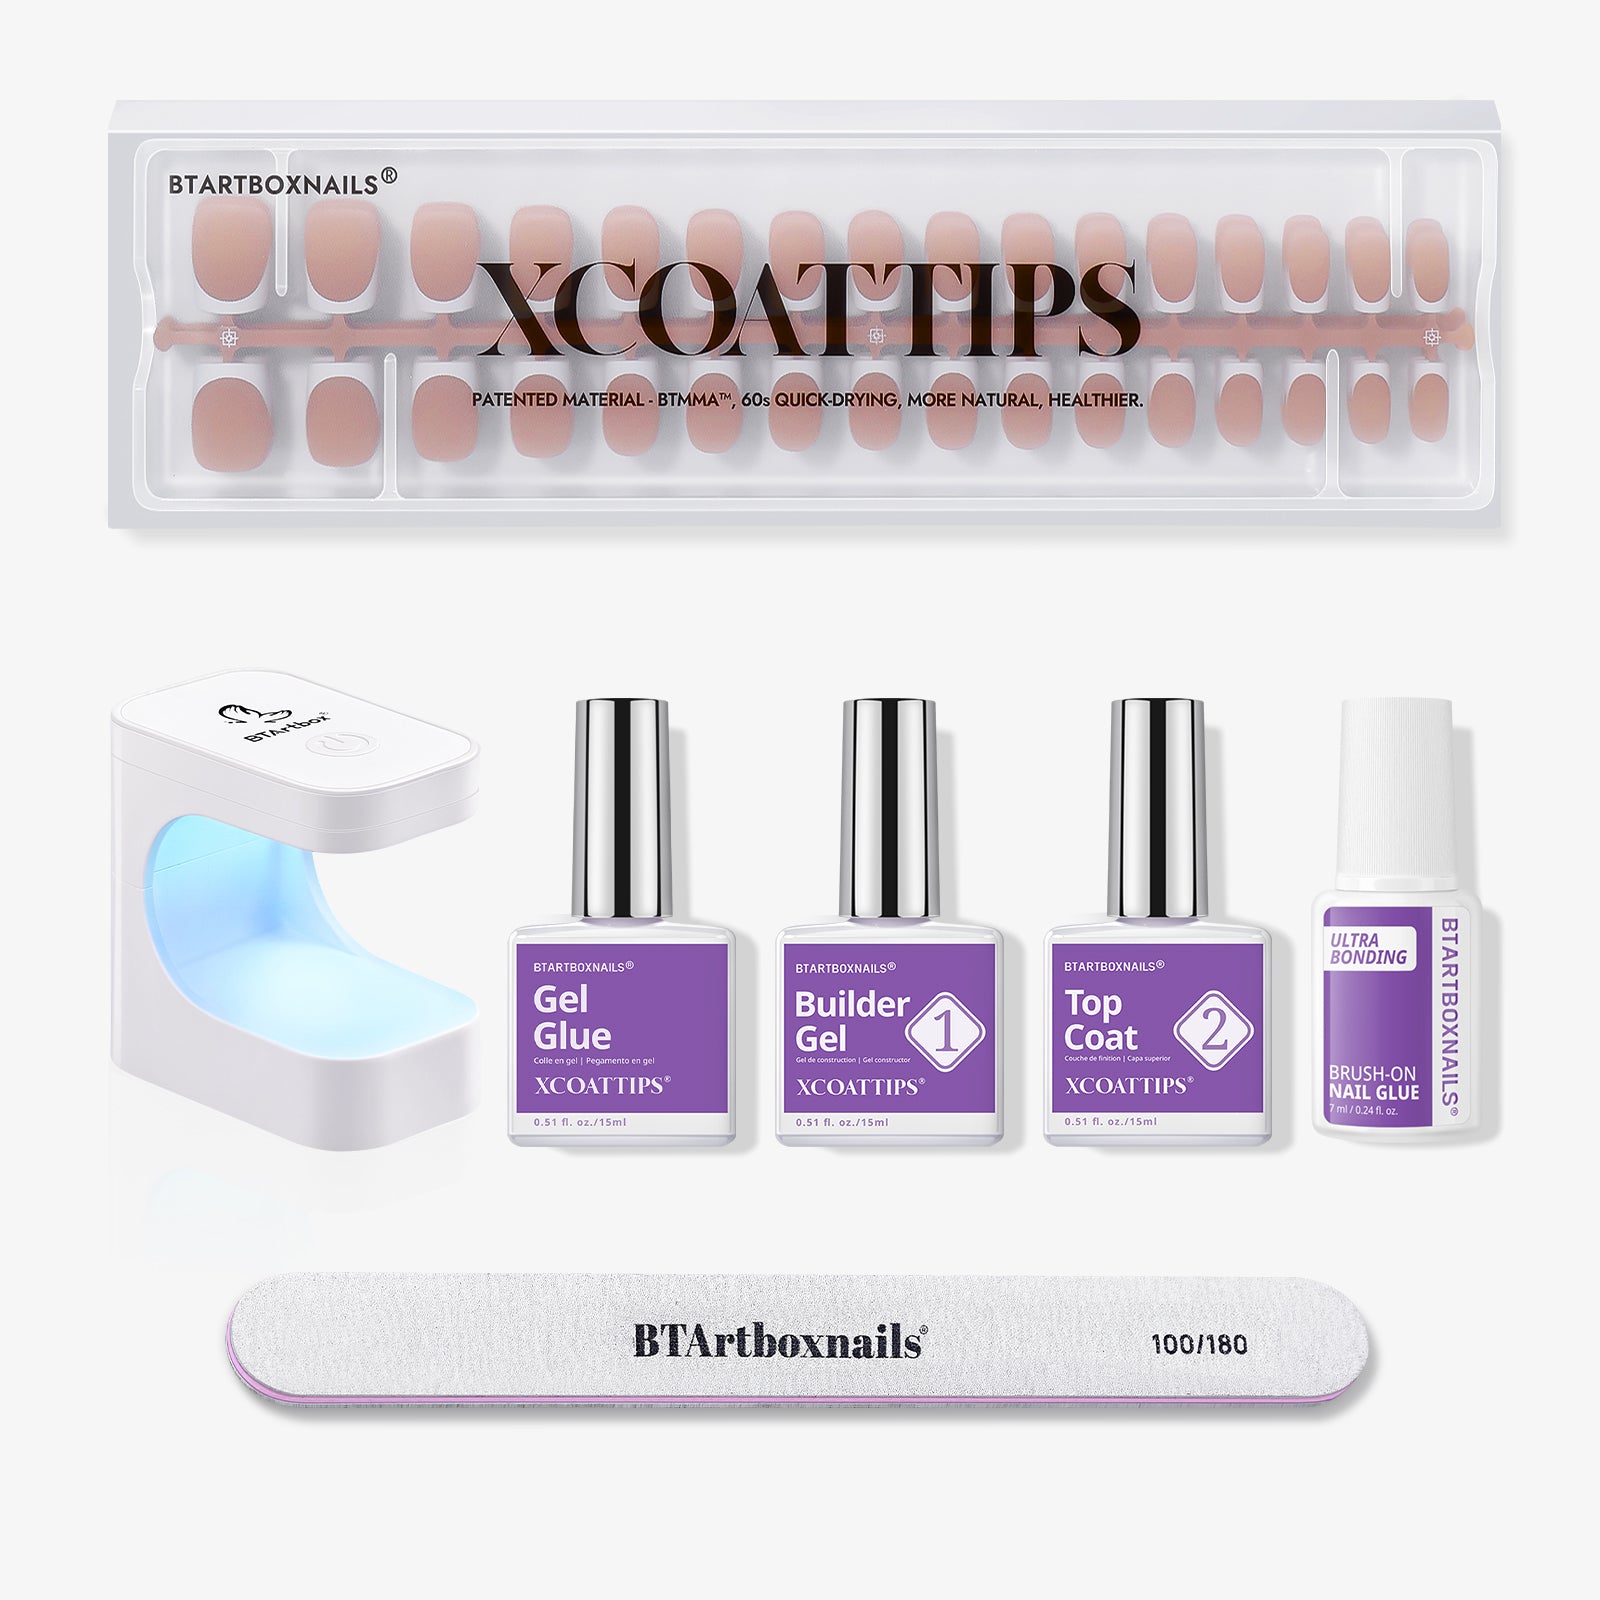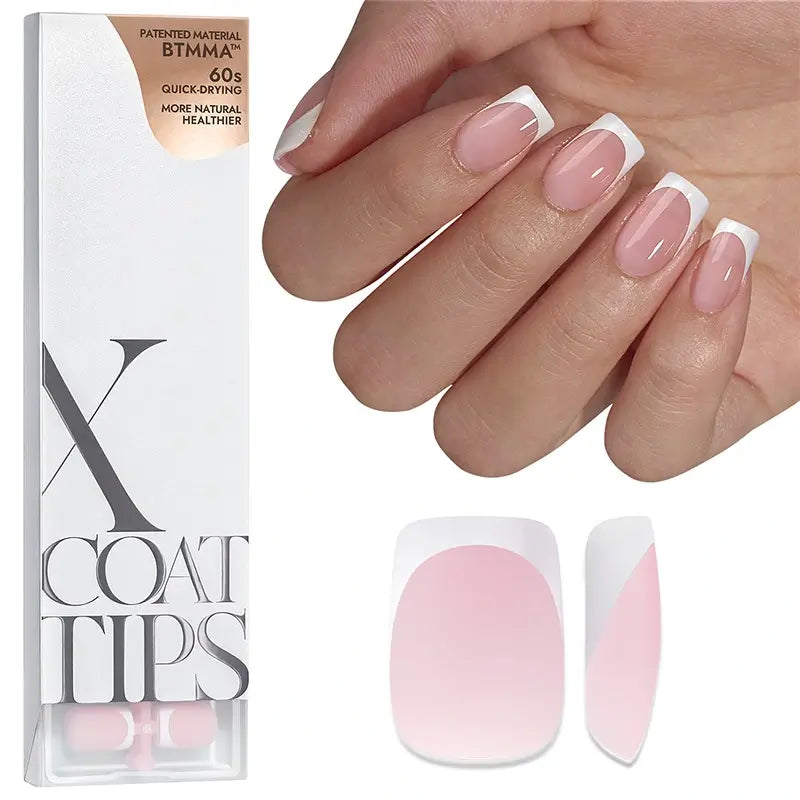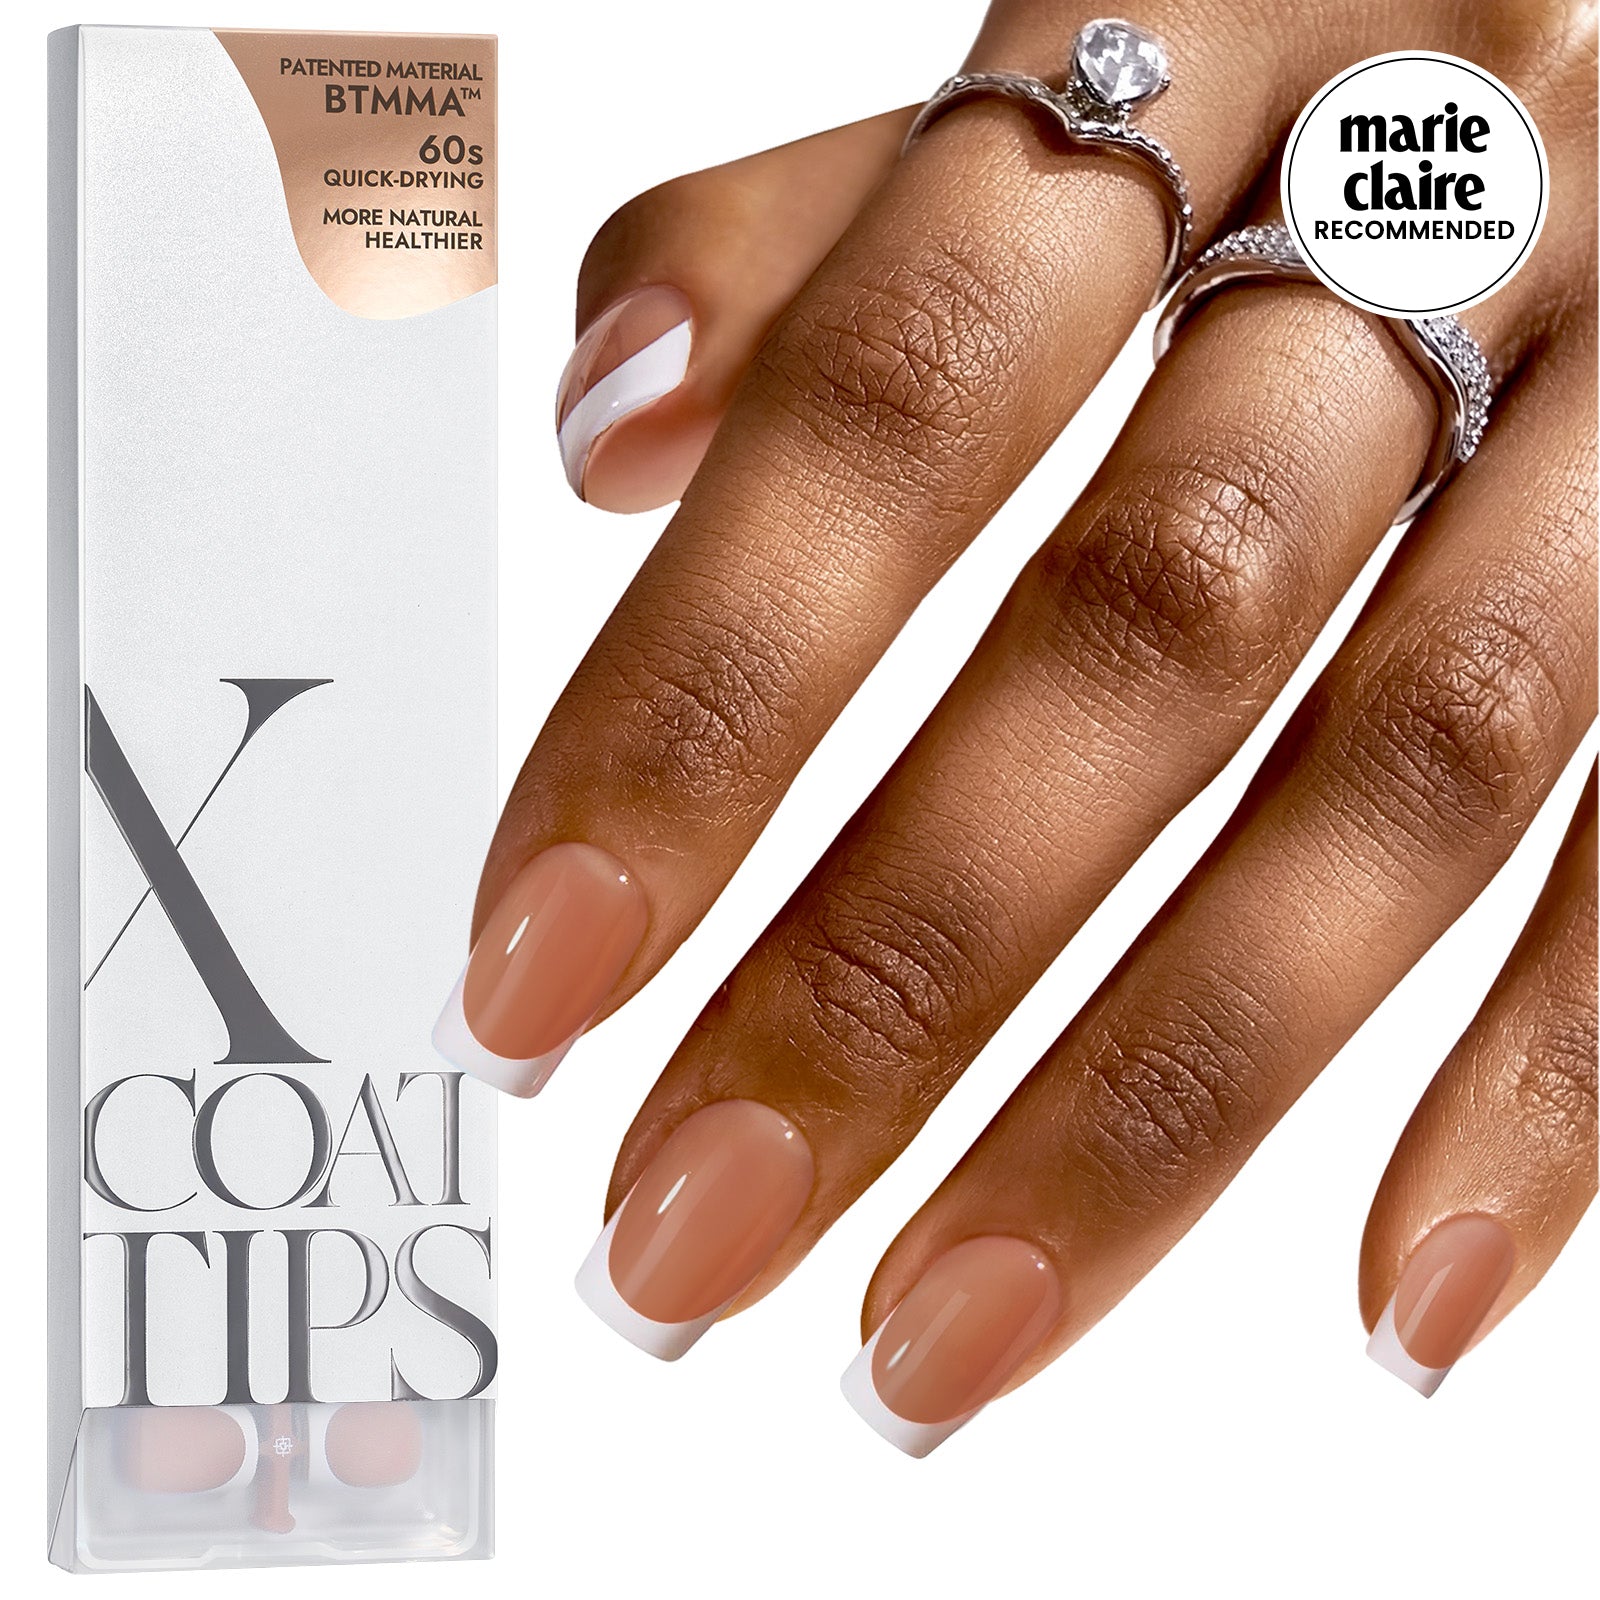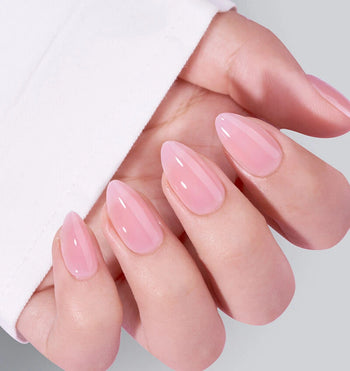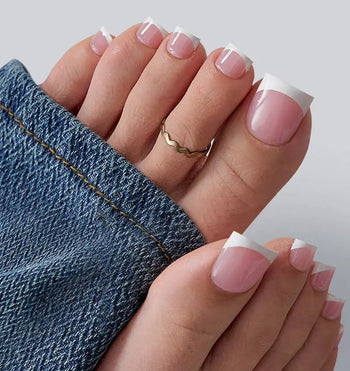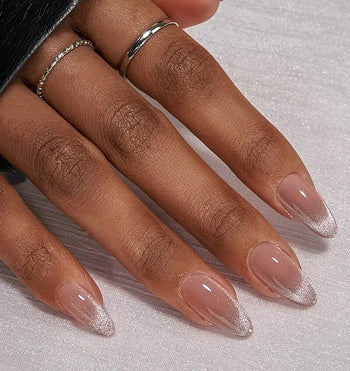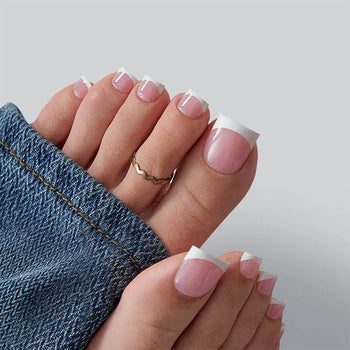
There's no disputing that experimenting with interesting and imaginative nail art is one of my favorite activities, but using fake nails might provide some difficulties.
What Are Fake Nails?
Fake nails, are also known as nail extensions. Women who love beauty will glue them on their natural nails because it will make their hands longer and more elegant.
The false nails usually cost about $9.99-$25.99. You may be wondering why their prices are such a big difference. This is because the fee depends on the material used to make the fake nails, the length, and the style.
However, the real reason is the cost of the materials needed to make it.
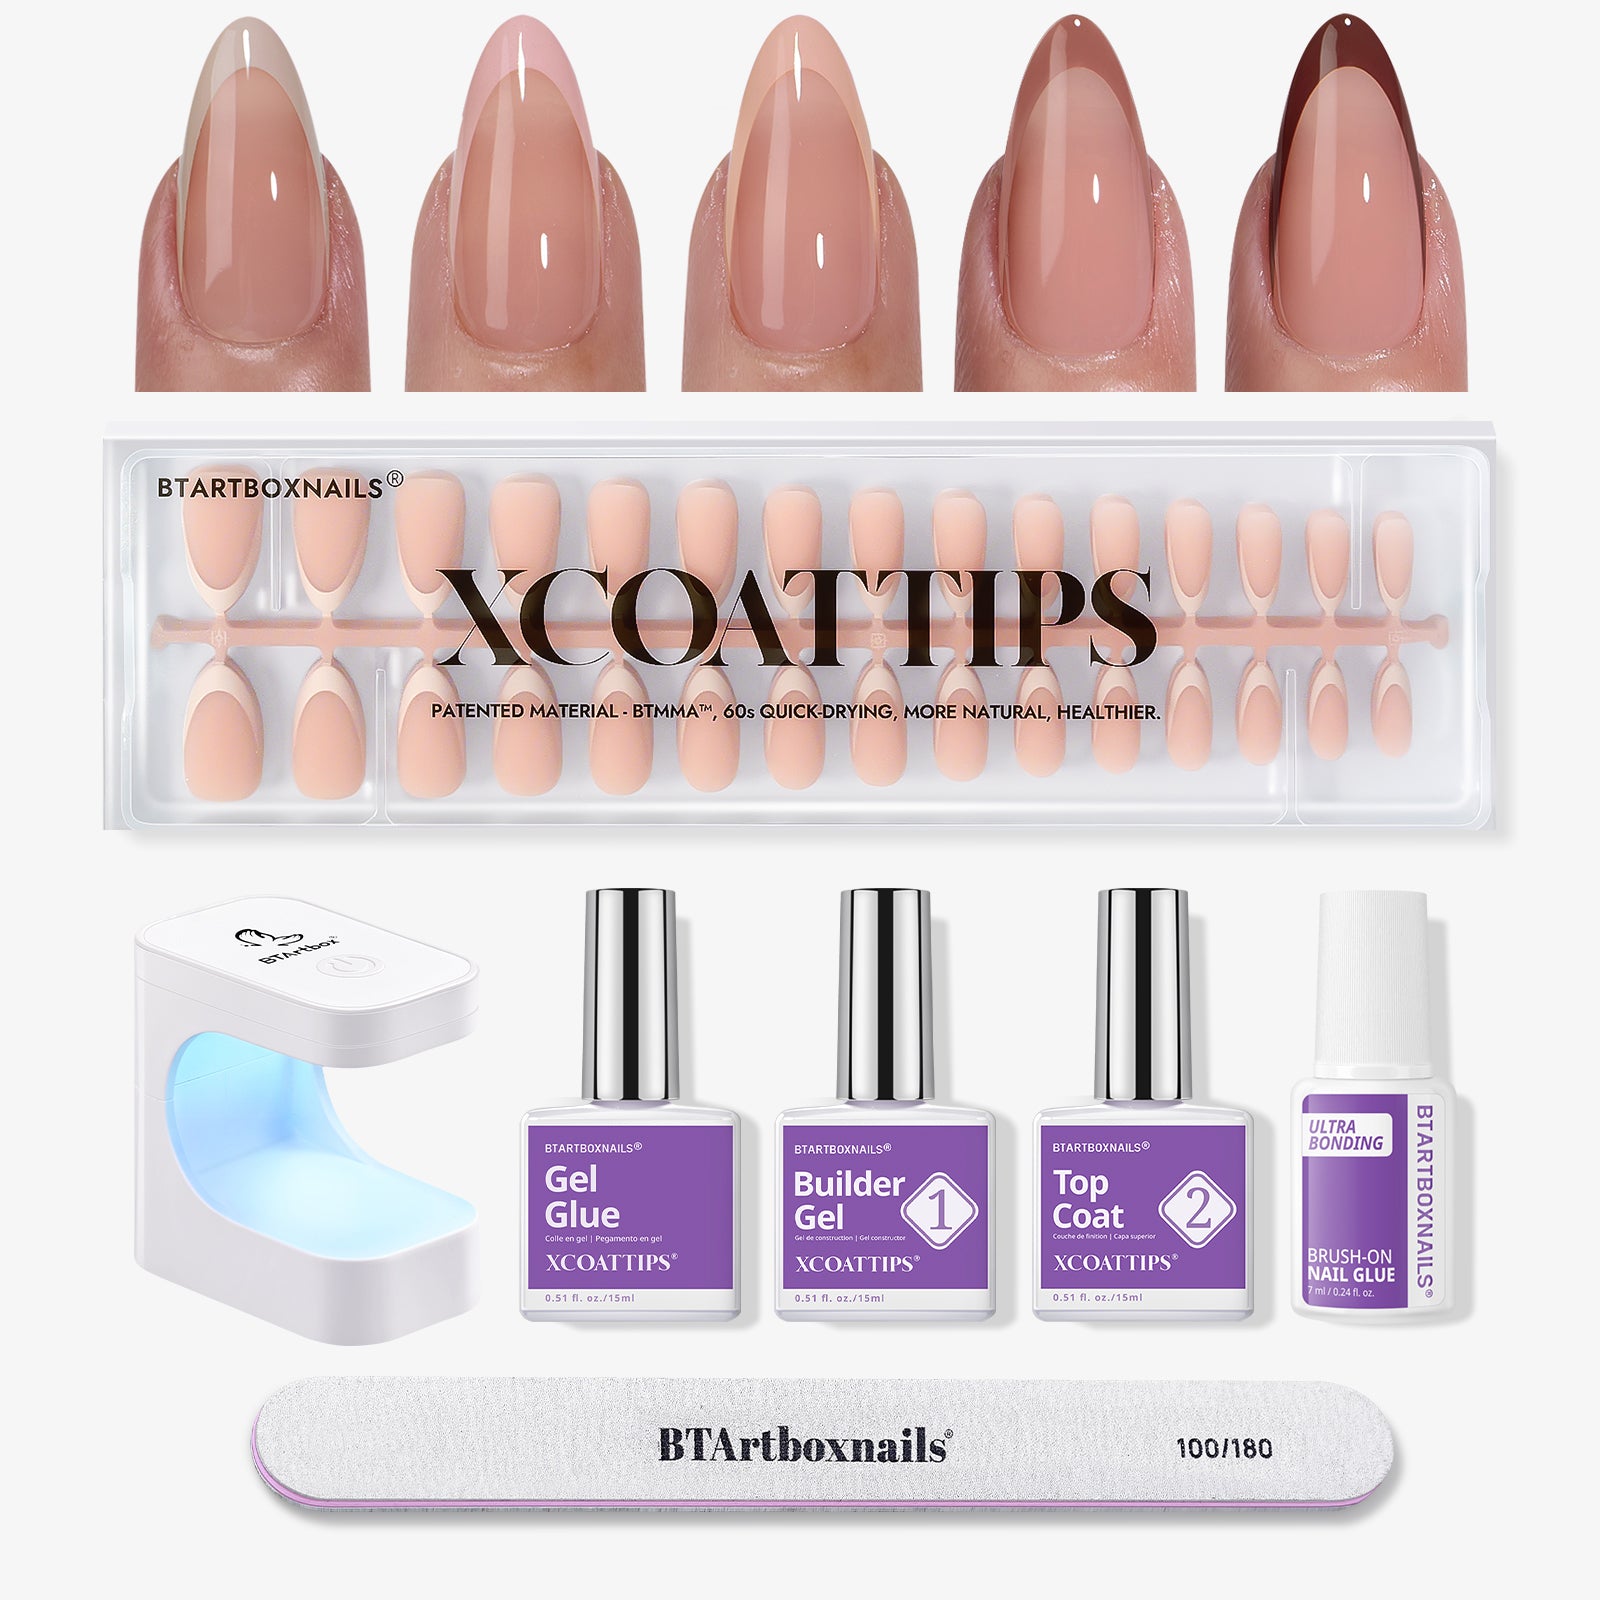
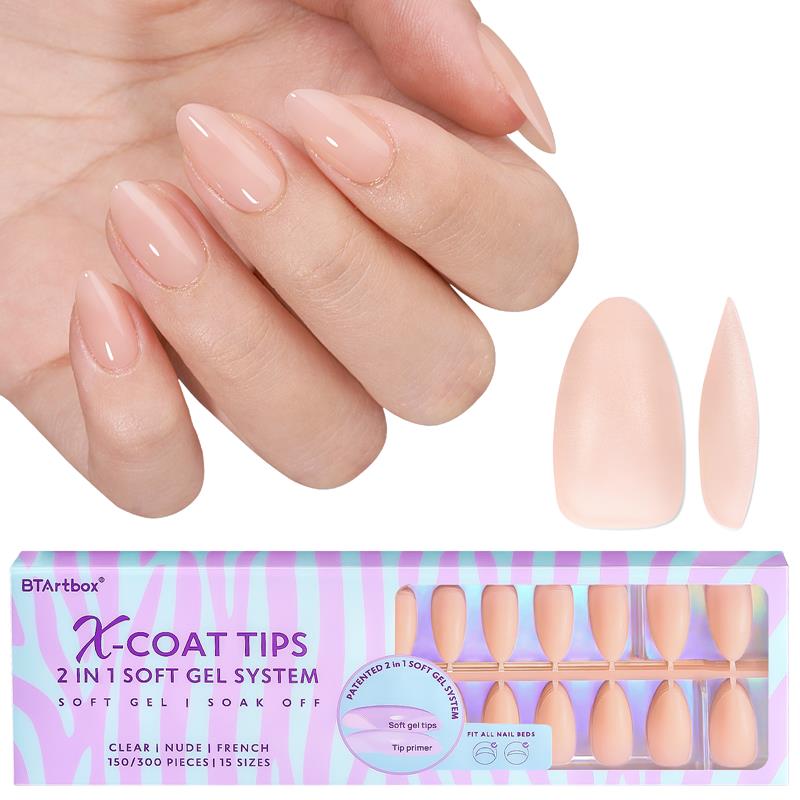
Most nail tips are manufactured out of plastic, known as acrylonitrile butadiene styrene (ABS) and acrylic. But BTArtbox's new nail extensions are made from soft gel, which is lightweight but sturdy enough to bend without cracking and any trace.
3 Types of Nail Tips
In the eyes of nail manufacturers, there are only 3 types of fake nails: full well, partial well, and well-less.
Full-well nail tips will completely cover the nail plate. This tip has the most extensive contact point, which is suitable for most clients but is particularly lovely for camouflaging bitten nails and other imperfections.
Partial-well nail tips offer half coverage on the nail, so they're quicker to apply and blend.
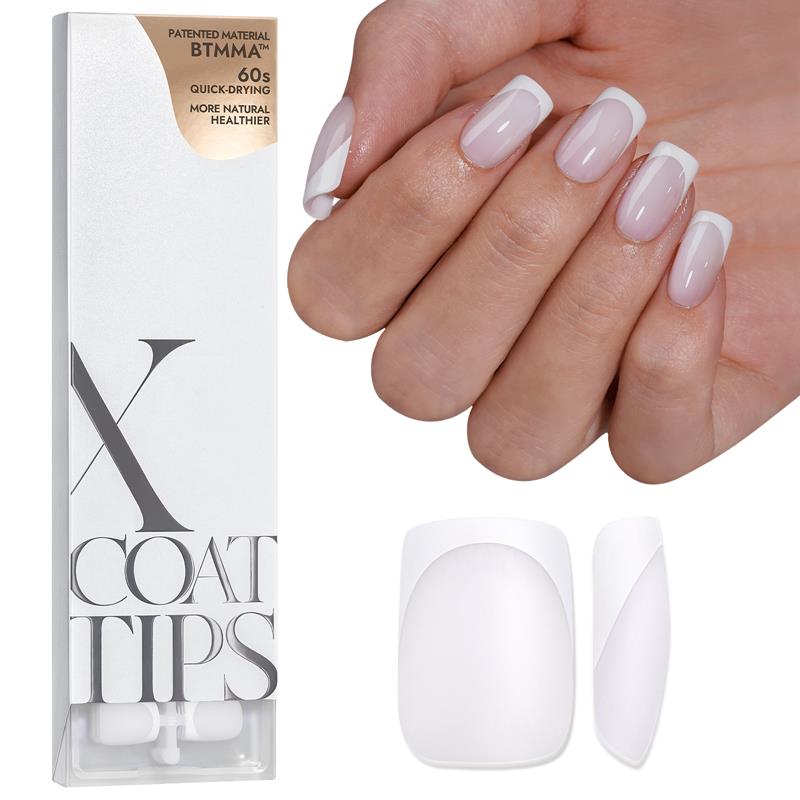
Well-Less nail tips only cover a small part of the nail bed. They're fantastic for creating French Nails.
What Kind of Nail Tips are Best?
This is usually a matter of preference. For me, French tip nails are my favourite, which is great for professional nail technicians at Nail Salon and nail art lovers at Home DIY.
Besides French nails, false nails are many other shapes on Instagram, and I simply divide them into 4 popular categories.
1. Coffin Nails Shape
Coffin nails, also known as ballerina's nails. Manicure trends come and go, but coffin nails remain ever-popular. The coffin shape nails (also known as ballerina nails)especially will make short wide fingers appear thinner and longer, with a more dramatic look.

2. Almond Nails Shape
If you want to make the look of your nails, fingers, and hands look longer, this is the shape for you. It will have a slenderizing effect on your hands.
3. Square Nails Shape
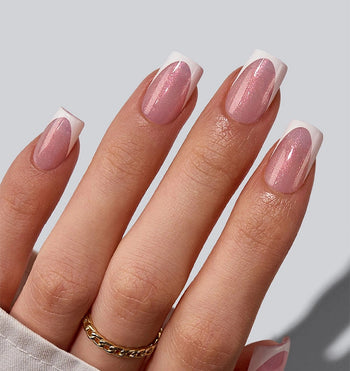
Short Square Nails are the best choice for those with tiny nails and long fingers since this look visually shorten fingers and adds width. Also, you can create your designs with BTArtbox clear acrylic nails.
4. Stiletto Nails Shape
Stiletto nails look so cool and sexy. Rocking a stiletto nail adds a slinky, cat-like vibe to your movements.

How Long Do Fake Nails Last?
They usually should last 2-3 weeks if they were put on correctly. According to Haper's Bazaar report, if you can fill in the space created by the growth of your natural nails every 2 to 3 weeks, they also can last from 6 to 8 weeks.
How To Put On Fake Nails?
1. Soak Your Nails And Make It Dry
For any manicure, start by soaking our nails in warm water for about five minutes until they're nice and soft. Then, dry your hands with clean cotton pads.
2. Trim And File Your Nails
Use a nail clipper or nail scissors to trim your nails. Take care to use a nail file to give your nails a good smooth edge.
3. Push Back Your Cuticle
Doing some cuticle care and nail care before we get into doing anything. In the first step, we need to prepare a cuticle pusher backer and gently push all of our cuticles back.
Next, you can put some cuticle remover on and let it sit for 15 seconds. It works. Then you can take the scrappy side, go on the actual nail bed, and gently scrape off the dead skin on the nail.
Finally, you can take a little rubbing alcohol on a cotton pad and wipe down your nails to drop all the dust. In the end, take cuticle nippers to remove those little dead skin pieces and add a little of cuticle oil if your nails are dehydrated.
4. Buff The Surface Of Your Nails
After cuticle care, buff your nails as well as possible. It will create a slightly rough surface which helps with the adhesion process. And don't forget to wipe down our nails to drop all the dust.
5. Apply Nail Dehydrator And Primer
Move on to prep, and I can't stress this enough. Prep is so important for gel extensions. It can get our nails to last longer.
The first step of prep is the nail dehydrator. Our hands naturally have oils. Not only that, if there are any oils such as cuticle oil when we apply that throughout the day, it can mess up the whole adhesion process. It can mainly contribute to your nails popping off quickly and lifting at the cuticle. So dehydrator is our must-have.
The next step for prep is primer. This is so important as well. You only need to go in with a little if you don't want to drench your nail.
6. Pick Out The Right Tip Nail Size
Moving to the application process, first thing-pick out the right-sized nail tips that fit comfortably over your natural nails. Size up your nails to ensure that the width of the tip nails matches from sidewall to sidewall for proper strength and structure.
If the tip doesn't exactly fit your natural nails, you can go up a size and file it down. That's why we always stress that the most important thing when sizing your tips is to always oversize, not undersize.
7. Apply Nail Tips
After picking the right size, apply the first gel coat to each nail. Next, you must approach the nail's free edge and find the stop against it at a 45-degree angle.
Rock the tip slowly by applying steady pressure as you push the lead down to release air bubbles. Hold the tip for about 60 seconds to cure until the adhesive has dried.
8. Shape Your Nails
File the nails into your desired shape and length. You can use a regular nail file to file them into the classic almond or coffin shape or any other shapes you like. If you're happy with the shape of the nails straight from the nail tips box, you don't need to fail.
How To Remove Fake Nails?
We've got you covered if you're wondering how to take off acrylic nails with acetone. Try this nail removal technique below.
1. Clip Nails And Remove Nail Decorations
You'll need to take off your old nail polish. First, take a large nipper to clip off the length of each nail. Next, take a smaller pair of nippers to remove the nail decoration carefully.
2. File the Top Coat Off Of The Nails
Once all the nail decorations are off, you can take a hand file and file down the excess product or use the e-file to quickly file down the bulk of the product. I prefer to use the e-file because it's just faster, and I can get everything down quicker.
But if you don't have a file, that's fine. The hand file will get the job done, too.
3. Apply Petroleum Jelly To Protect Hand Skin
To some extent, acetone can irritate your skin. The skin may be red, dry, and inflamed. It's so important to take care of our hand skin.
You can try applying a little petroleum jelly to the skin surrounding your nails. But remember to keep jelly away from your nails.
4. Apply The Acetone To Your Nails
Saturate the cotton square with acetone. Next, wrap it around your nail and secure it with aluminium foil.
After that, stay patient and let it sit for about 10-15 minutes.
5. Push Off the Rest Of Acrylic Glue Mixture
Now that you've gotten those acrylics off let's talk post-manicure removal. Use a cuticle pusher to gently push off the leftover acrylic glue mixture if you don't want to scrape the surface of your nail because that can cause damage.
Suppose there is a little amount on the tip area that's pretty hard. You can try to take the hand file on the 180 grit side and file that a little bit.
6. Shape Your Natural Nails
In the end, shape our natural nails based on your hand fingers. Then, use nail clippers and a nail file to smooth the edges.
7. Paint Cuticle Oil To Keep Natural Nails Healthy
After completing all the above steps, rinse the remaining traces with soap and water. Finally, paint a little cuticle oil on your natural nails if you don't plan on putting any more nails on.
8. Rub Some Hand Cream To Moisturize Hand Skin
Hand - second face of a woman. Acetone may cause the skin to become extremely dry. Therefore, it matters to rub some hand cream. This will help to reduce any irritation caused by the acetone.
Now It’s Your Turn
So here is my full read on fake nails. Now I want to turn it over to you, are you going to use fake nails?
What shape of false nails are you going to use to style your hands?
