


- Flat nail beds need press-ons with a flatter C-curve or flexible gel design to avoid lifting and gaps.
- BTArtBoxNails offers soft gel press-ons and extensions that fit flat nail beds comfortably and stay put.
- Always use solid gel nail glue over adhesive tabs for a stronger, longer-lasting bond.
- Proper prep—clean, buff, dry, and size-test—makes all the difference for wear time.
- Safe removal and cleaning lets you reuse your favorite press-on sets again and again.
If you have flat nail beds, finding the best press-on nails can feel like a real struggle. So many just don't fit right or won't stay on, and honestly, that's frustrating.
The trick is to pick press-ons made specifically for flat nail beds, with strong adhesive and a shape that actually feels comfortable and stays put.
Not all press-ons are created equal, and you've probably noticed. Some brands use better glue or special shapes that hug your flat nail beds without that annoying lifting.
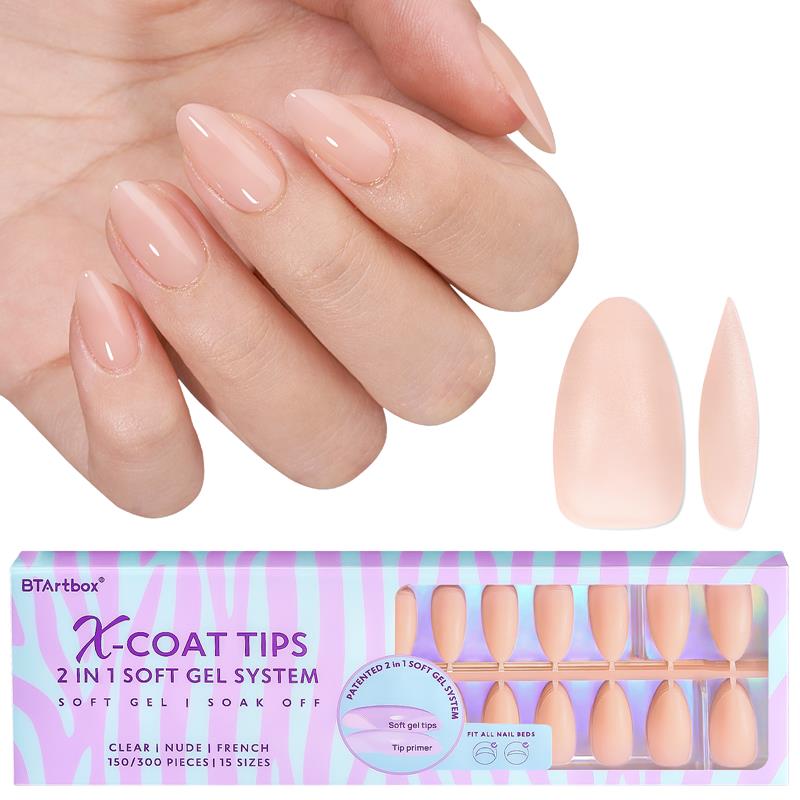
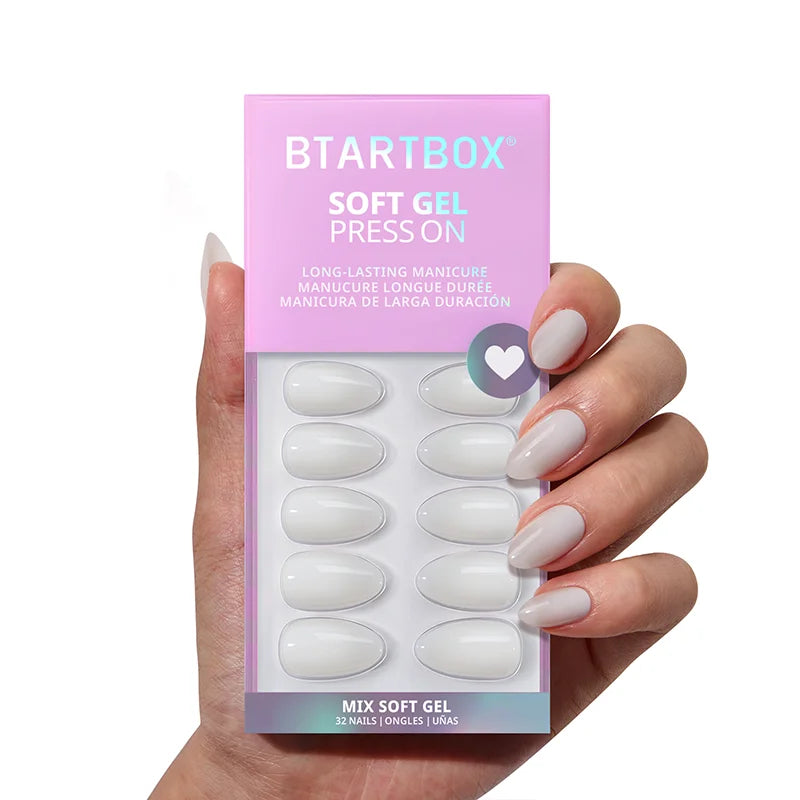
BTArtboxnails is a top DIY nail brand known for press-ons that fit flat nail beds with ease. Their soft gel extensions and soft gel press-ons are flexible, beginner-friendly, and stay put—no lifting.
Paired with their solid gel nail glue for a mess-free, strong hold, you get salon-quality nails that actually last. You get a manicure that looks natural and lasts longer. It's a nice way to skip a salon trip and save some time, too.
If your nails are weak, flat, or just tough to fit, these picks give you secure adhesion and style so your nails look flawless every day.
Why Flat Nail Beds Need Special Press‑On Nails

If your nail beds are flat, you've probably seen how regular press-ons don't fit or last. Flat nail beds just don't have that curve, so curved press-ons lift or pop off way too easily.
1 What "Flat Nail Beds" Really Mean
Flat nail beds are just what they sound like—the base of your nails is mostly flat, not rounded. Your nails sit closer to your fingers, missing that natural arch you see on a lot of people.
Because of this, most press-ons made for curved beds don't sit flush. Flat beds can also make your nails feel a bit weaker, since there's less curve to add strength.
You might notice press-ons sliding or popping off if the shape doesn't match. Knowing your nail shape is half the battle when it comes to finding a good fit.
2 Why Curved Press‑Ons Don't Stick And Lift
Most press-on nails come with a curved underside, made to fit naturally rounded nails. If you try to stick these on flat nail beds, a gap forms between your nail and the press-on.
This gap makes glue or adhesive strips less effective. The nails lift or fall off quickly, and honestly, it can get uncomfortable.
Press-ons for flat nail beds usually have a flatter backing or flexible design. The right adhesive and size set help you avoid those gaps and get more wear time.
How To Choose Press‑On Nails Made For Flat Nail Beds

If you want a natural look that actually lasts, pay attention to shape, size, and how well the nails stick. Nails made for flatter surfaces, with lots of size choices and strong adhesives, make all the difference.
1 Flatter C‑Curve And Flexible Gel Shapes
Press-ons with a flatter C-curve are your friend if you have flat nail beds. Less arch means the nail sits smoothly on your own without gaps or popping off.
A flexible gel formula helps, too. It bends with your nail and fingers, keeping things comfy and reducing cracks or splits.
Stay away from deep-curve press-ons. They leave spaces where air and moisture sneak in, making nails lift faster. Soft or flexible gel options hug your nail bed much better.
2 Multiple Size Options For Better Fit
Flat nail beds are often wider or just shaped differently, so having more size options is a game-changer. Look for sets with a range of widths and lengths.
You can try different sizes until you find one that fits each nail. You can read our article, Nail Length Chart & Nail Size: Your Guide to the Perfect Fit to help you out. Some brands even toss in extra nails or size kits to help you out.
If the nails are too small, they won't stick. Too big, and they'll overlap your skin. Taking a few minutes to find the right size really pays off in the end.
3 Adhesives That Seal Gaps (Solid Gel Glues Shine Here)
The right adhesive is everything for flat nail beds. Solid gel glues usually work best, giving you a strong, flexible bond that seals those tiny spaces between your nail and the press-on.
Press the nails down for a solid minute or so to let the glue set. Keep your hands dry for at least 12 to 24 hours if you can—water weakens the bond.
Honestly, sticky tabs just don't hold up as well on flat nails. Glue almost always wins here.
BTArtBoxNails For Flat Nail Beds
BTArtBoxNails really help if you're fighting with flat nail beds. Their press-ons fit better and last longer thanks to special glue and gel-style nails that feel natural and actually stay on.
1 Gel-Style, Flatter Fit With Gap‑Filling Glue

The gel-like finish is smoother and thinner than typical acrylics. It lets the nails sit closer to your natural nail, so they don't feel bulky.
The upgraded solid nail gel fills in little gaps that usually cause lifting. Hold each nail down for about a minute to lock it in. Try to keep your nails dry for at least a day if you want the glue to really set.
You can flatten the edges for a better fit, which helps if your nails are especially flat or weak. It's a thoughtful design that makes a big difference.
2 Long-Lasting, Natural Look People Love
Lots of people say BTArtBoxNails look salon-quality for a fraction of the price. The gel finish mimics natural shine, so your nails look smooth and real.
Here are some designs you might love:

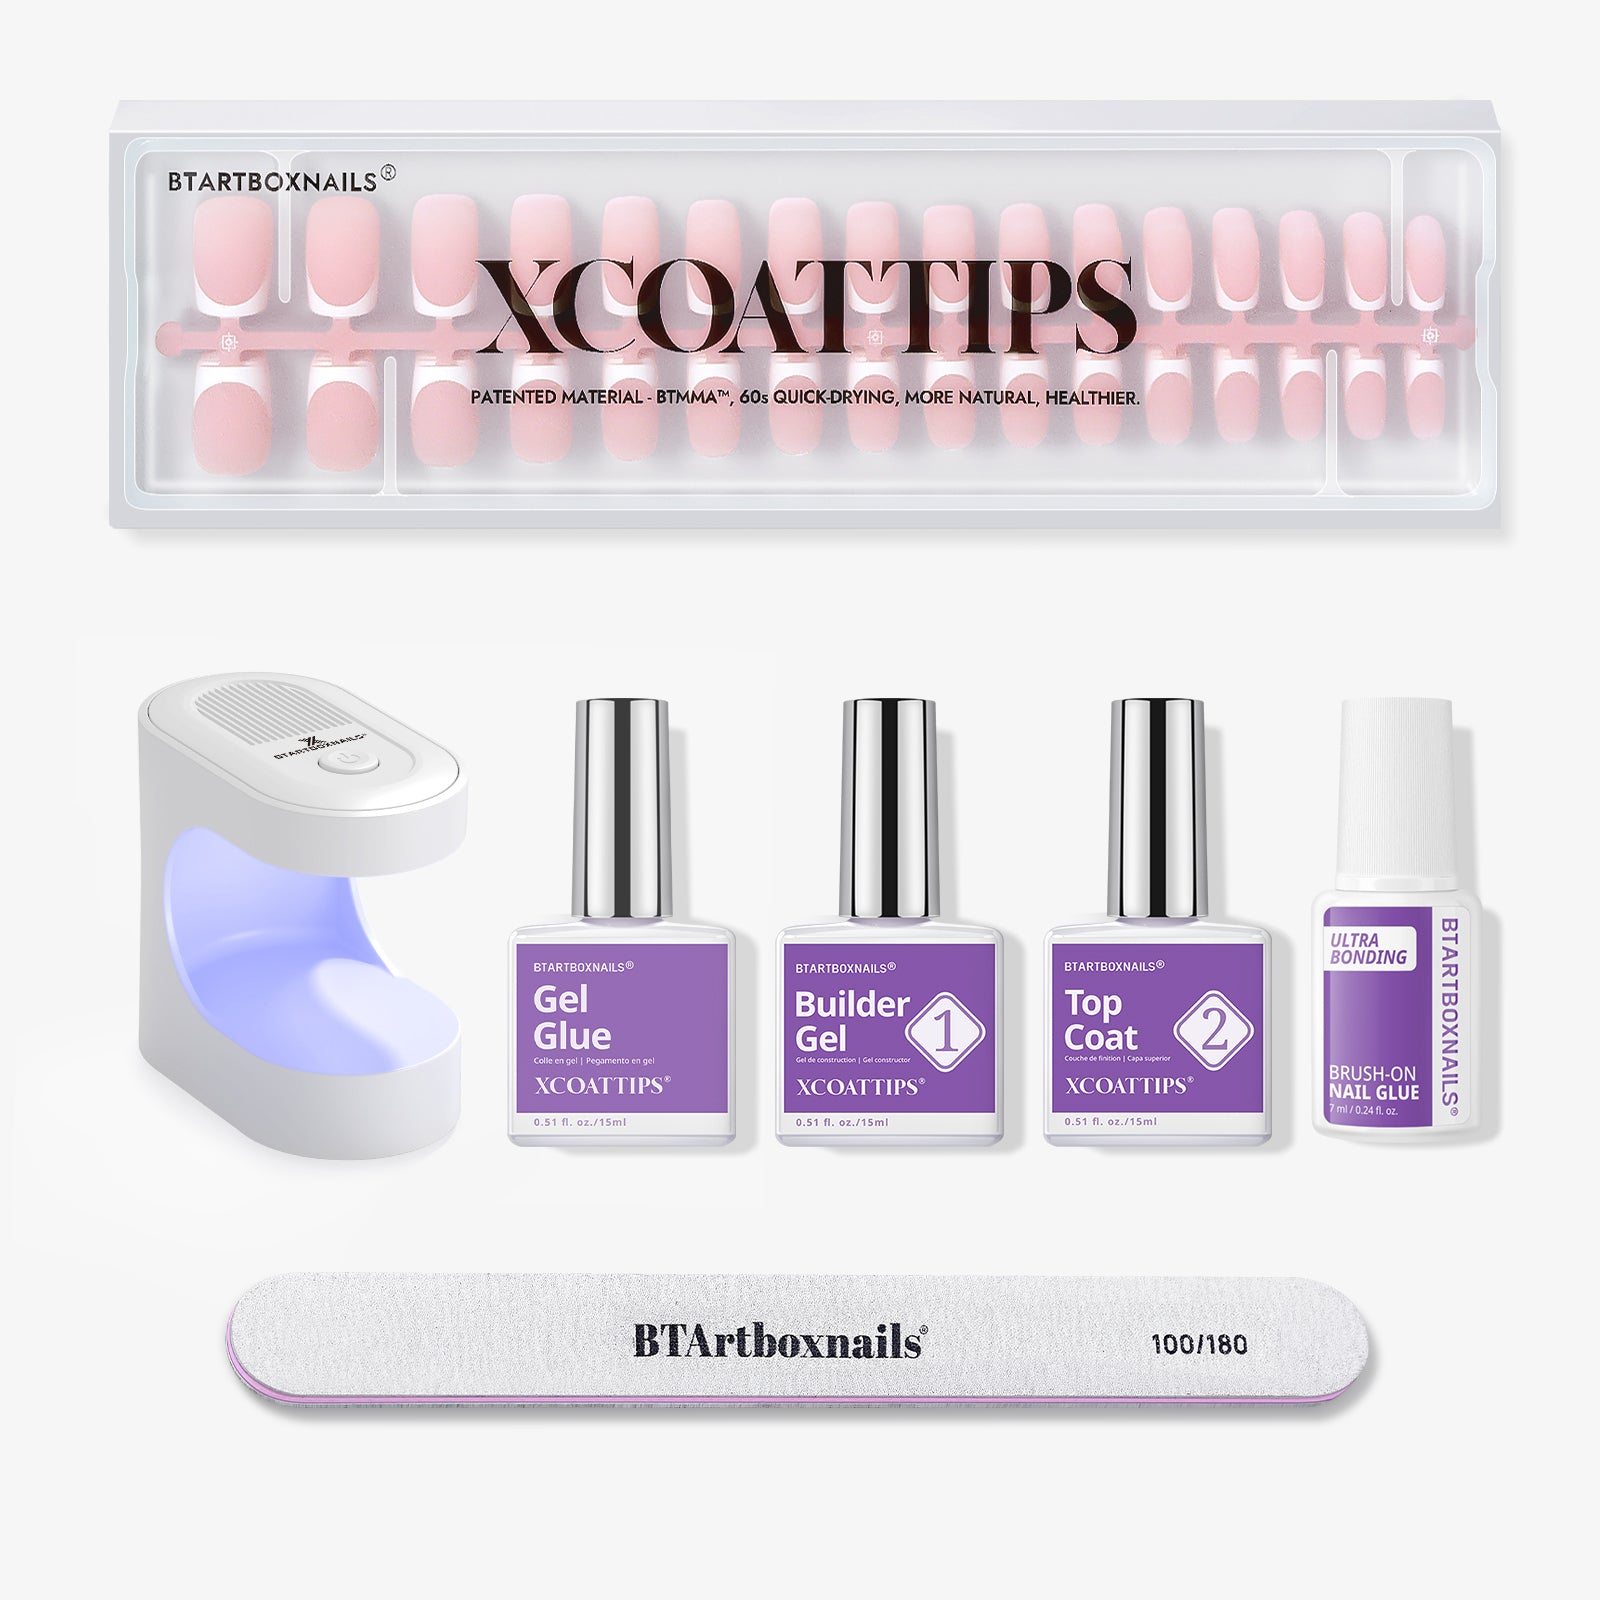
XCOATTIPS® French - Medium Almond

XCOATTIPS® French - Medium Almond Brighter Pastel Tips
The glue holds strong for up to 28 days or more if you apply them right. You won't have to worry about nails popping off in the middle of your week.
Styles range from classic to dramatic, so you can find something that works for your vibe. It's nice to have options that actually fit, isn't it?
Want more polished ideas? Check out our article Neutral Color Nail Designs: Chic, Classic & Timeless Ideas for timeless nail inspo.
How To Prep & Apply For Maximum Wear
Getting your press-ons to stick isn't rocket science, but prep and application matter. Start with clean, dry nails, double-check your sizes, and use glue the right way.
These little steps really help your nails last, especially if you've got flat beds.
Step 1 — Clean, Buff, And Dry For Glue Grip
First, clean your nails with an alcohol wipe or nail polish remover. Get rid of oils, lotion, or dirt. Buff your natural nail lightly. This helps the glue grab on, but don't go overboard—thin nails break easily. Make sure your nails are totally dry. If your hands tend to sweat, wait a few minutes before you start sticking things on.
Step 2 — Size-Test & Flatten Press-Ons (Heat/Hands)
Pick the right size for each finger. A snug fit at the cuticle is key—too wide and the nail lifts, too narrow and it just won't stick. If your press-ons have a curve, you can warm them up in hot water for about 30 seconds or hold them in your palms. This softens them so they fit flatter nails better. Gently file the edges if you need to match your natural shape. It helps avoid snags and makes the fit look more natural.
Step 3 — Glue Technique: Fill Well, Press Down 20‑25 Sec
Cover both your nail and the press-on base with glue. If you only glue one side, the hold just isn't as strong. Use a thin, even layer and try not to flood the cuticle area. Once you press the nail on, hold it down for 20 to 25 seconds. That pressure really helps the glue bond. Try not to move your fingers while the glue sets. If you notice lifting later, you can add adhesive tabs for extra hold, but glue usually does the trick.
Expert Application Tips For Flat Beds
Getting press-ons to stick on flat nail beds is a bit of an art. Careful prep, steady pressure, and avoiding moisture right after application help your manicure last and look tidy.
1 Push Cuticles Back, Avoid Bubbles
Gently push back your cuticles with an orange stick or cuticle pusher. This clears the area so the press-ons fit better.
Clean your nails with rubbing alcohol or prep wipes to remove oils. It's a small step, but it really helps stop lifting.
Press the nails on from the center out, smoothing as you go. This helps you avoid air bubbles, which can cause lifting and make things look uneven.
2 Hold Downward Pressure To Lock Edges
After placing the press-on, hold steady downward pressure for at least 30 seconds. Flat nail beds don't have that natural curve to help hold things in place, so this step's important.
Don't rush or wiggle the nails. Keeping them still while the glue sets means your manicure will last longer.
3 Steer Clear Of Water For 20+ Minutes Post‑Application
Water weakens the glue, so avoid washing your hands for at least 20 minutes after you finish. This lets the adhesive cure fully.
If you absolutely have to wash up, try to keep your nails dry and pat them off right away. Dry time is even more important for flat nails since they don't hold as tightly as curved ones.
Make Them Last And Repair Early Lifting
If you want your press-on nails for flat nail beds to last, pick the right adhesives and fix any lifting as soon as you spot it. It's not rocket science, but these little things can really help you hang onto your manicure without the hassle of constant touch-ups.
1 Use Glue > Tabs For Durability
If you want your press-ons to actually stick, nail glue is your best friend. Glue forms a much stronger bond between your natural nail and the press-on, especially if your nail beds are flat.
Sticky tabs just can't grip a flat surface well, so they tend to peel off fast. Before you even think about glue, clean your nails with alcohol or a prep wipe to get rid of oils.
This makes the glue hold better. Use a thin, even layer of glue on both your nail and the back of the press-on.
Press them together firmly for about 30 seconds. I know it sounds tedious, but it really makes a difference.
Go for a high-quality nail glue that's strong but won't wreck your nails if you remove it gently. That way, your manicure can last up to two weeks—or longer—even if your nail beds are flat.
BTArtBox XCOATTIPS Nail Glue - Solid Gel Glue 30g
Shop Now2 Quick Fixes: Press Back Lifted Edge, Dab Glue
If your press-on starts to lift at the edges, don't freak out. You can fix it without ripping the whole nail off.
Just press the loose edge back down. Use a tiny dab of nail glue to seal the gap, applying it with a toothpick or a precision brush near the lifted spot.
Try not to get glue on your skin. Hold the nail in place for 20 to 30 seconds so the glue sets. If you did get glue on your skin, read this guide, How to Get Nail Glue off Skin: Quick and Safe Methods.
This little trick can buy you more time before you need a full replacement.
Don't wash your hands or get your nails wet right after fixing them. Let the glue cure fully to avoid more lifting. It's a simple way to keep your nails looking great for longer.
Safe Removal And Reuse
If you remove your press-ons carefully, you'll keep your natural nails healthy and get to reuse your favorite sets. Using the right removal method keeps the fake nails intact and protects your nail beds, especially if they're flat.
1 Soak Off And Gently Lift—No Ripping
Start by soaking your fingertips in warm, soapy water for 10 to 15 minutes. This softens the glue and makes the nails easier to lift.
Never pull or rip them off—trust me, it's not worth the damage. Take a soft cuticle or orange stick and gently work around the edges of each nail.
If you feel resistance, soak a bit longer and try again. Ripping off press-ons can cause peeling or splitting, which is even more likely if your nails are already flat and need gentle care.
2 Clean Press-Ons For Next Use
After you take off your press-ons, clean them well so you can use them again. Peel off leftover glue from the back of each nail using a soft tool or just your fingers.
Wash the press-ons with warm water and mild soap to get rid of oils and residue. Dry them completely on a clean towel, since leftover moisture messes with glue adhesion next time.
If the edges feel rough, gently file them. Keep your cleaned press-ons in a small container or bag to protect them for your next manicure.
Reusing nails saves money and gives you more chances to play around with looks. Why not get the most out of a set you love?
Final Thoughts
Finding the best press on nails for flat nail beds is about fit, glue, and prep. Flat beds need flatter or gel‑style press‑ons—like BTArtBoxNails—with soft C‑curves that match your nail shape. Pair with gap‑filling glue and proper prep (clean, buff, size) and you're set for long wear.
Apply them angled, hold firmly 20–25 seconds, and skip water briefly for a trusty bond. When they start lifting, just touch up with glue for easy fixes.
With safe removal and cleaning, you can reuse them. Stick with these steps—flat beds won't hold you back anymore.
For a classic twist, read our French Manicure Guide: Trends, Techniques, and DIY Tips to level up your look.
Frequently Asked Questions
What nail shape is best for flat wide nail beds?
If you've got flat, wide nail beds, shapes that add a bit of curve and length really work wonders. You want something that gives the illusion of depth and downplays the flatness.
Oval and almond shapes are top picks since their rounded edges soften the look of flat, wide nail beds. They also make your nails look longer and more elegant.
Soft square shapes with slightly rounded corners can work too, since they keep things from looking too boxy.
Skip the super sharp points or dramatic curves—they just don't fit flat nails well. Aim for shapes that match your nail's width but add a stylish curve to balance things out.
What to do with flat nail beds?
Flat nail beds need a little extra attention and the right press-ons to look good and stay on. Here are a few things you can try:
- Pick press-ons made for flat nails: These have less curve and fit better without gaps.
- Use strong glue: A quality adhesive helps the press-ons stay put on flat surfaces.
- Prep your nails well: Clean, buff, and dry your nails before applying press-ons for better hold.
- Try custom sizing: If store-bought nails don't fit, look for sellers who offer custom or flexible sizing kits.
What do flat nail beds indicate?
Flat nail beds are usually just a natural thing—they mean your nails don't have much curve from side to side. It's mostly just your unique shape.
Sometimes, flat nails can point to things like iron deficiency anemia or poor circulation, but that's rare. If you notice other changes—color, texture, pain—it's worth checking with a doctor.
For most people, flat nail beds aren't a health issue. Knowing your nail shape just helps you pick products and styles that actually fit and look good.
When should you not use press on nails?
Avoid press-on nails if your natural nails are damaged, infected, or just really weak. Putting press-ons on unhealthy nails might actually make things worse, or trap moisture underneath, which can lead to nasty infections.
If you've got nail fungus, open cuts near your nails, or you're dealing with bad peeling, give your nails time to heal before reaching for press-ons. And if you ever feel pain or a burning sensation while applying them, just take them off right away and don't keep using them.


