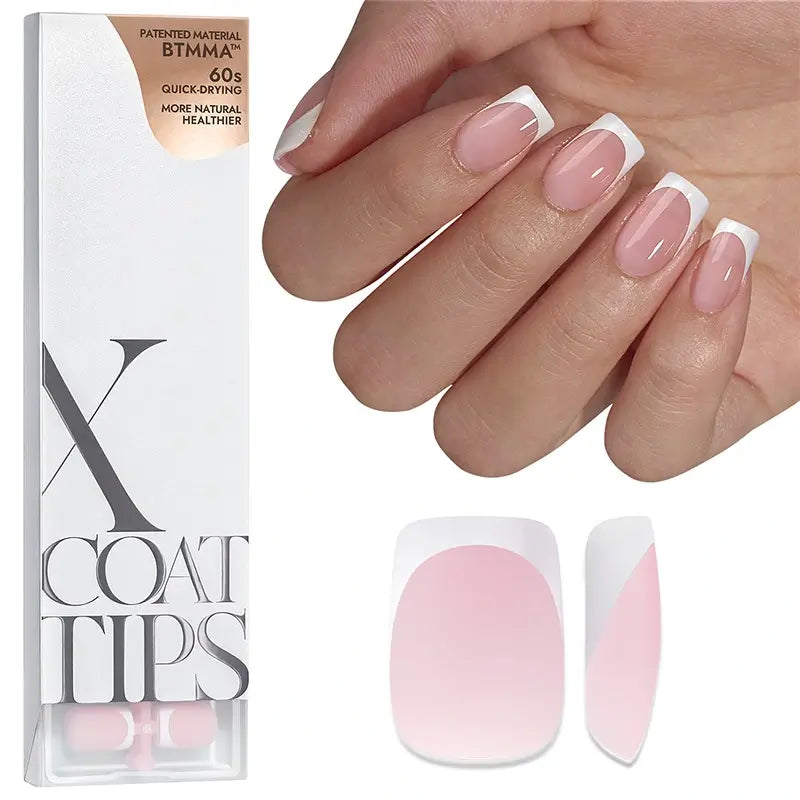

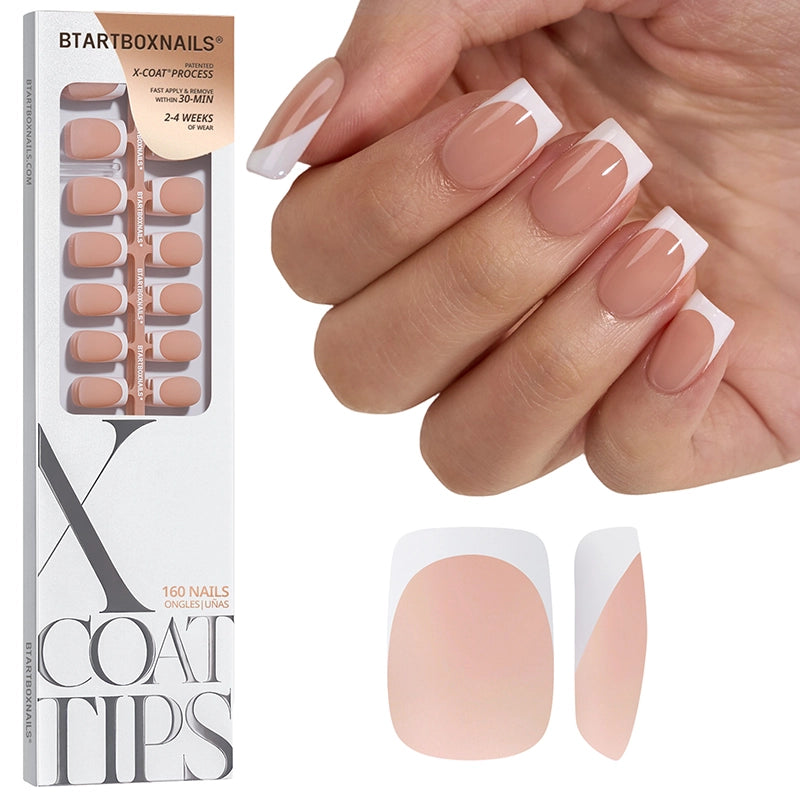
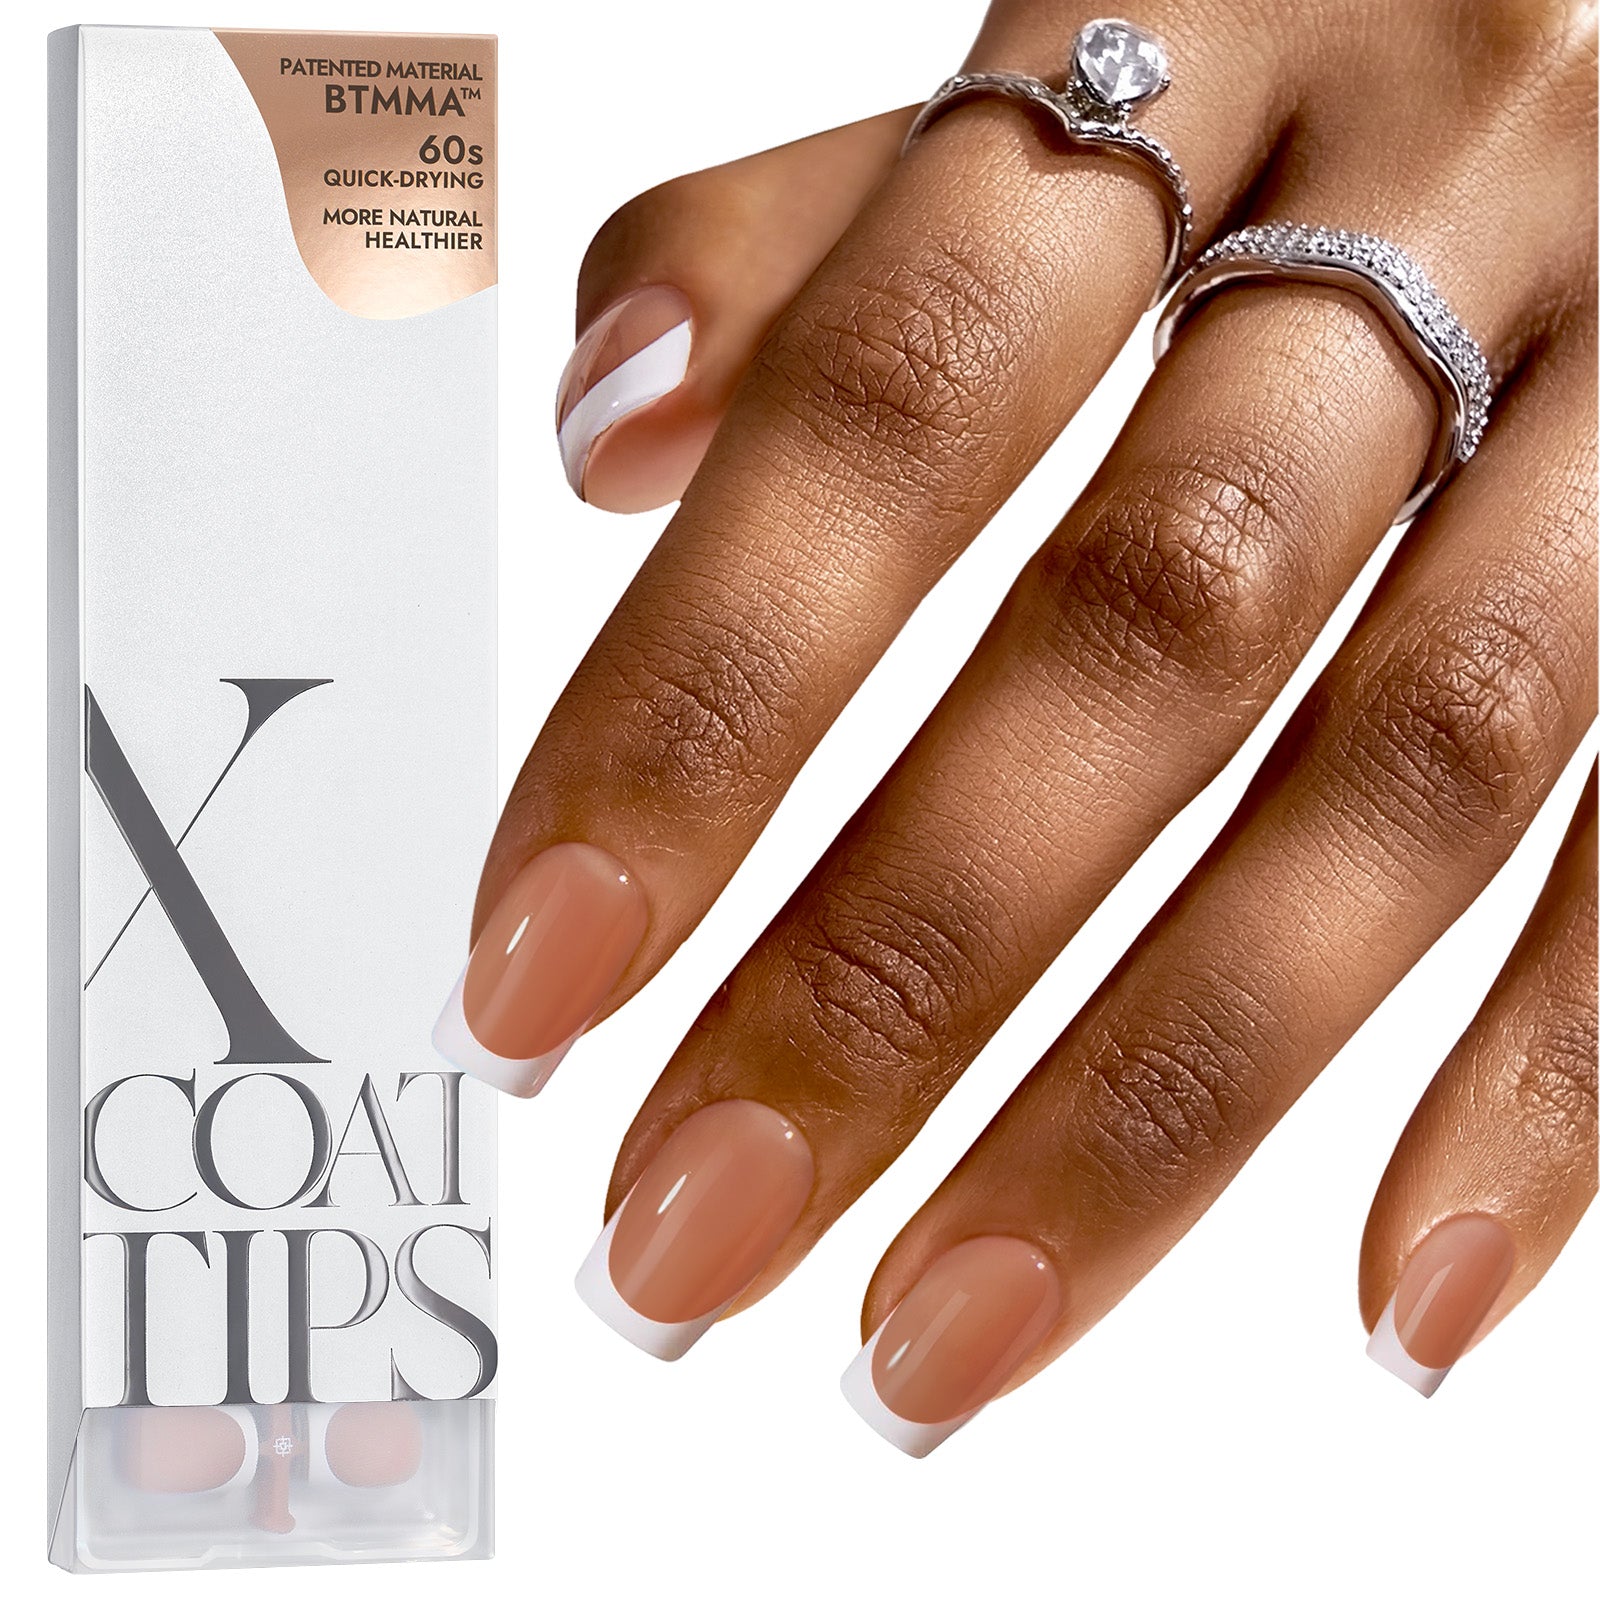

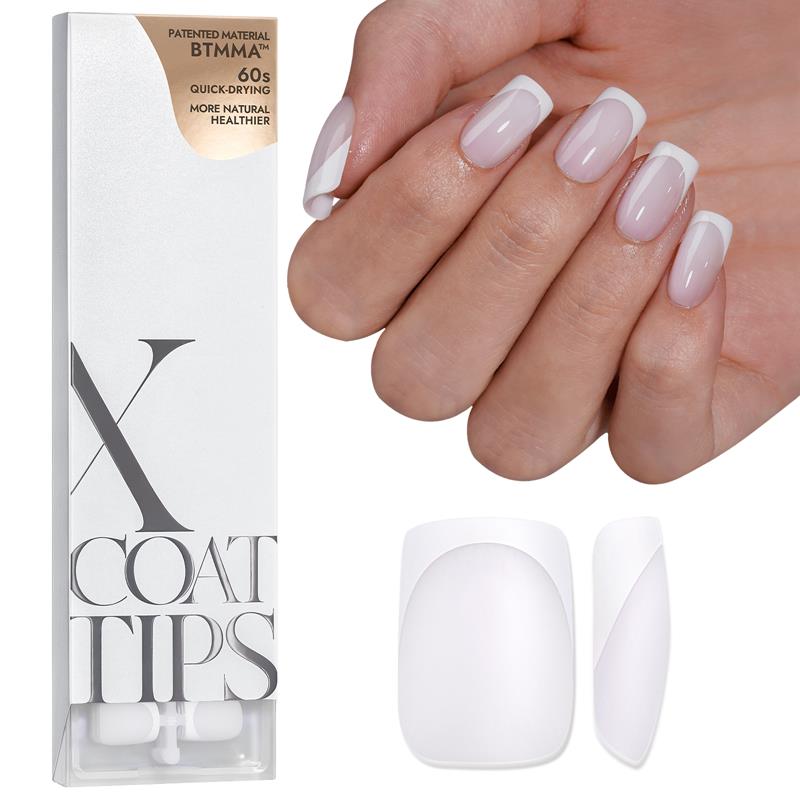









Want that fresh-from-the-salon french tip toes look without the chair time or the price tag? You're in the right place. This 2026 guide walks you through everything about french tip toenails — what they are, why they're trending, and how to get a flawless at-home french pedicure using either our XCOATTIPS® salon toe nails or XCOATPRESS press-on toe nails. Whether you're a first-timer or a long-time press-on fan, you'll find a step-by-step routine, design inspiration, and fixes for the most common application mistakes.
French Tip Toes: Key Takeaways
- French tip toes feature crisp white tips on a neutral, pink, or milky base — a look that works year-round.
- Two product paths: XCOATTIPS (salon-style tips you glue and cure) and XCOATPRESS (pre-designed press-on toe nails you apply in minutes).
- Proper nail prep — cleaning, buffing, and cuticle care — is the single biggest factor in how long your pedicure lasts.
- You can customize with rhinestones, ombre fades, cat-eye finishes, or seasonal colors.
- With correct application, both options wear for up to 28+ days.
What is a French Tip Toes?
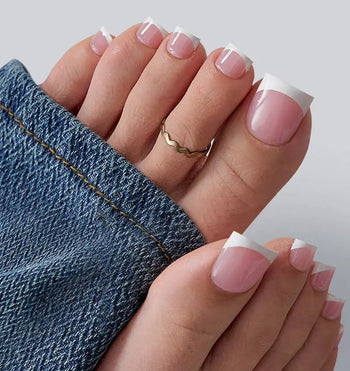
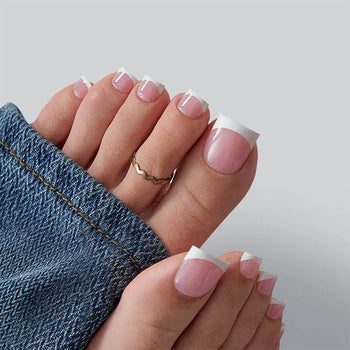
A French pedicure is a summer nail art design to decorate your toes with a thin white stripe on the tips. It gives pedicures a clean and classic look, with the rest of the nail usually painted in clear, pink, or neutral tones. French pedicures are timeless, but recent trends favor softer finishes with a milky or sheer base rather than the bold 'pink and white' look. This style of French Tip Toes stays popular as an ideal nail art product because it looks clean and elegant.
History and Evolution
Classic French Tip Toes have been popular for many years. It started as a simple and classy look and has stayed popular because it goes with any outfit. Over time, people have added creative twists to customize their French Tip Toes.
Key Benefits of French Tip Toes
Elegant Look: Always looks neat and stylish.
Versatile: Matches any outfit or occasion.
Low Maintenance: Easy to touch up at home.
Quick: Press-on options let you finish a full pedicure in under 15 minutes.
Common Misconceptions
Some people think French pedicures are outdated, but they are still very much in style. Others believe they are hard to do at home, but with the right tools and a bit of practice, anyone can achieve a salon-quality look.
The micro French style, with its thin white tips, is a modern twist that many people love.
Essential Tools for Perfect French Tip Toes
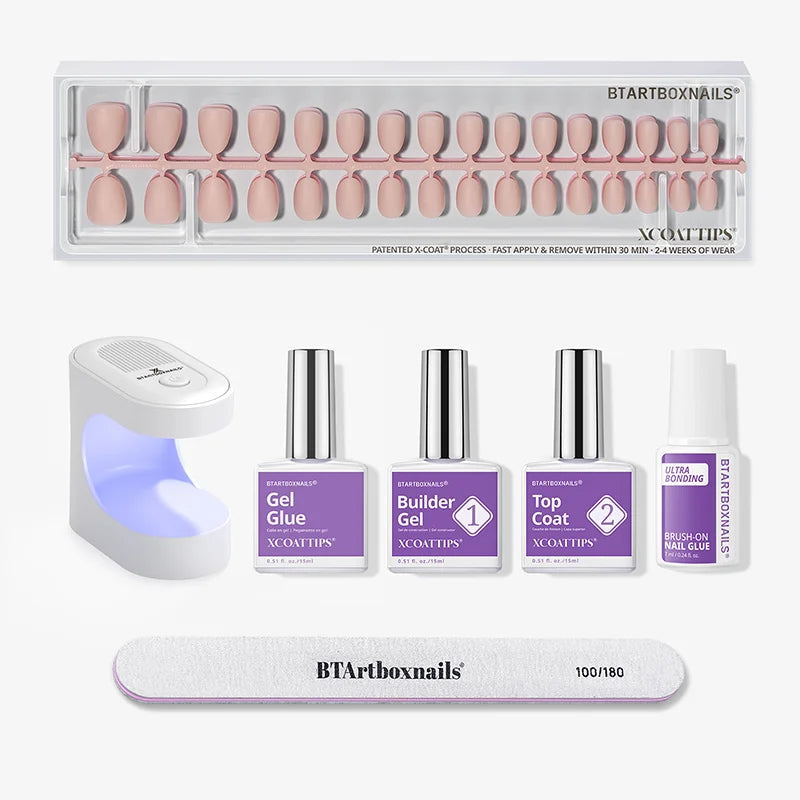
To achieve a perfect French toe nail design, you need to have the right tools. Here are the tools you'll need:
Step-by-Step Guide to DIY French Tip Toes Nail Art
Creating a French Tip Toes at home is easier than you might think. Follow this step-by-step guide to achieve a flawless finish.
Preparation and Setup
Before you start, gather all your supplies. You'll need:
75% Alcohol
Nail clippers
Nail file
Cuticle pusher
Make sure your nails are clean and free of any old polish. Trim and file your nails to your desired shape, and gently push back your cuticles with a cuticle pusher. Apply cuticle oil to keep nails soft, laying the base for perfect French Tip Toes.
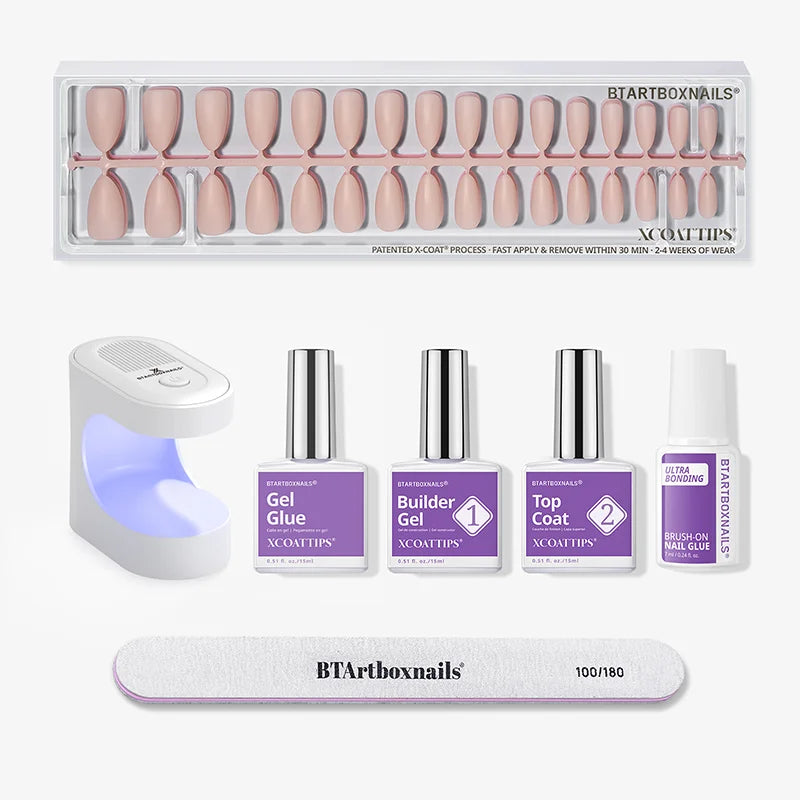
French Tip Toes: How to Wear XCOATTIPS?
For flawless French Tip Toes application, follow these steps:
Nail Prep: Remove cuticles by pushing them up and trimming any excess.
Buff: Use a 180/220 grit nail file to gently buff the surface of your natural nails.
Clean: Wipe your nails with alcohol to remove any dust or oils.
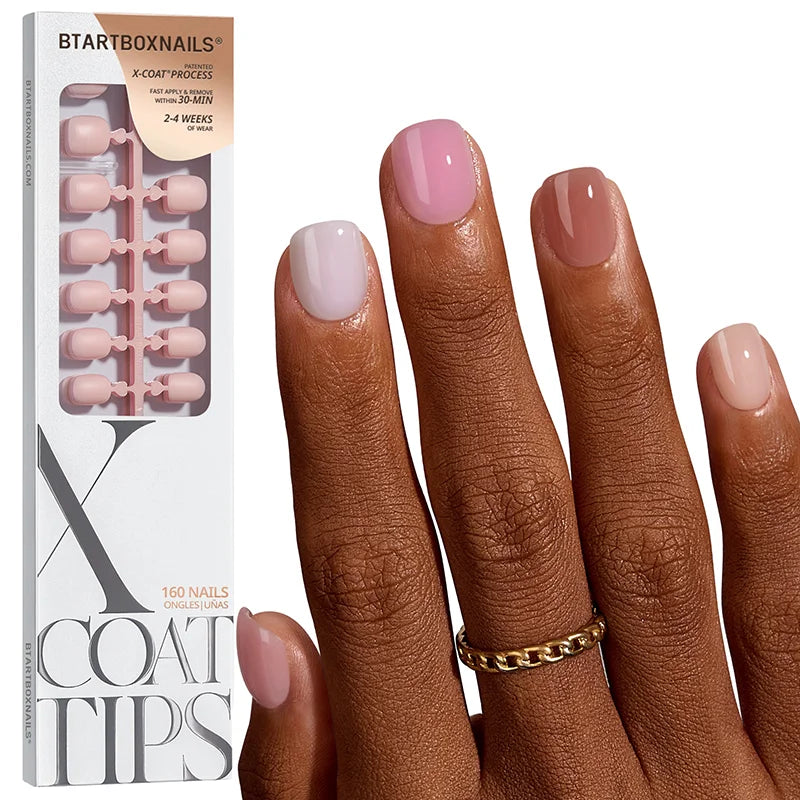
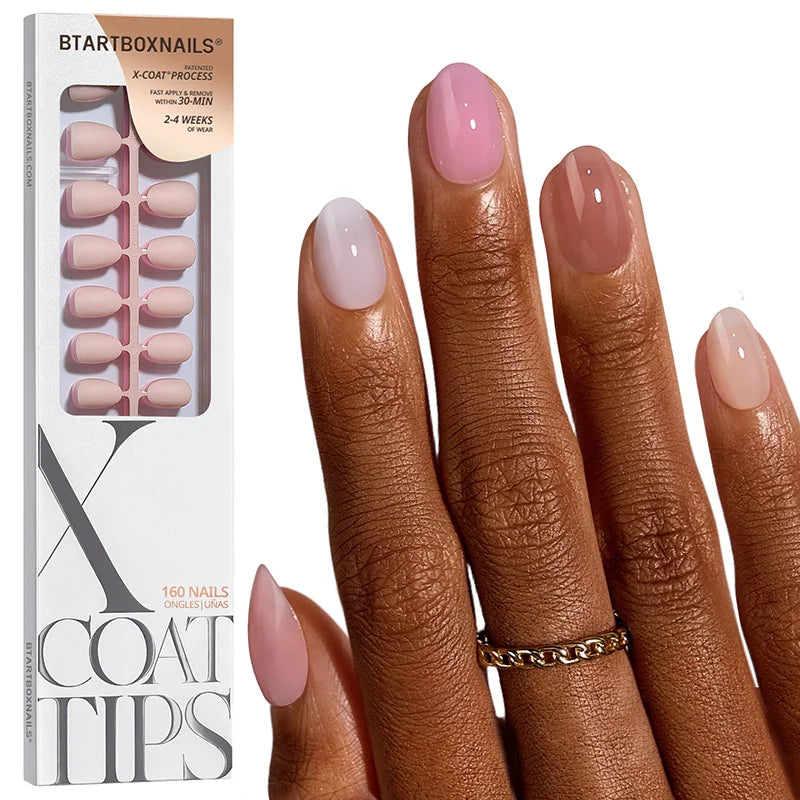
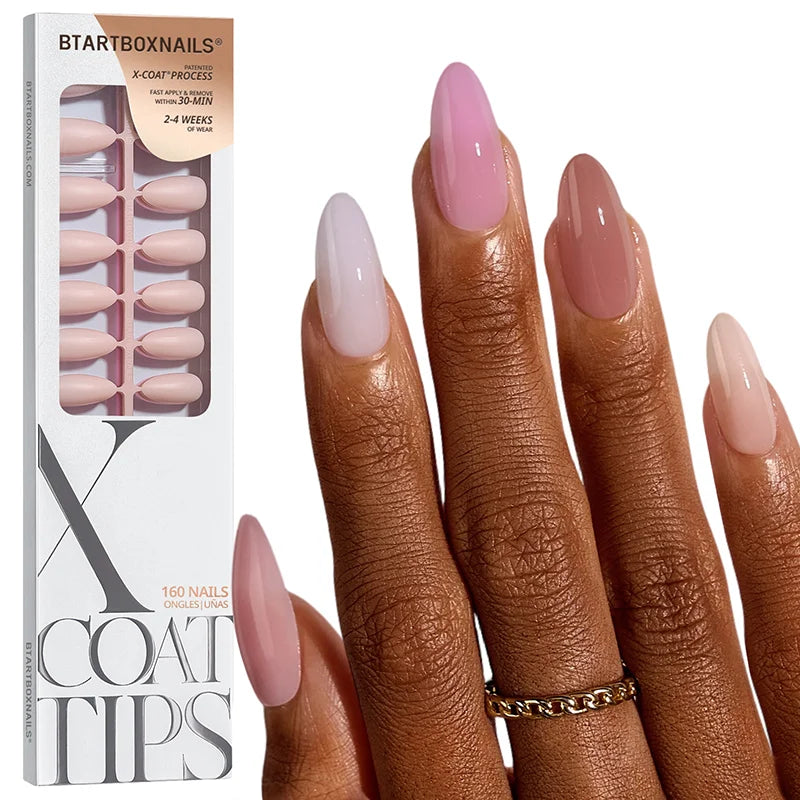
Choose & Apply Tips: Select matching toe tips to craft your French Tip Toes, then apply them with nail glue
Attach & Cure: Press the tips onto your nails and cure under a UV/LED light for 45-60 seconds.
Smooth: File the tops of the tips to ensure they are smooth.
Builder Gel: Apply a layer of builder gel and cure.
Top Coat: Finish with a glossy top coat to help seal the design and improve durability, then cure.
With proper application and care, salon-quality false toe nails can wear for 28+ days; this recommended product step helps protect the finished look.
For detailed instructions, visit our https://btartboxnails.com/pages/how-to-wear-xcoattips page.
Advanced Techniques for French Tip Toes
Ombre and Fade Nail Art Techniques
If you want to make your French Tip Toes more stylish, try the ombre or fade techniques., try the ombre or fade techniques. These styles blend colors smoothly from light to dark, creating a beautiful gradient effect. You can use shades of pink, blue, or even mix different colors for a unique look. This technique is perfect for special occasions or when you want to add a touch of elegance to your French Tip Toes.
Rhinestones and Embellishments: Inspiring Nail Art
Adding rhinestones and other embellishments can make your French Tip Toes stand out. You can place small rhinestones along the edge of the white tip or create patterns like flowers or geometric shapes for subtle nail art. Tiny hearts are another cute option that works year-round if you want to switch things up. These decorations can be applied with a small amount of nail glue and a pair of tweezers. Remember, a little goes a long way, so don't overdo it.
Seasonal Variations
Change up your French Tip Toes to match the seasons. Seasonal variations keep your French Tip Toes fresh and exciting all year round.
Trying out these advanced techniques can make your French Tip Toes look professional and unique. Don't be afraid to experiment and find what works best for you.
In the spring, you might add pastel colors or floral designs.

For summer, bright and bold colors can make your toes pop.

In the fall, consider using warm tones like orange and brown.

Winter is perfect for adding glitter or snowflake designs.

Trying out these advanced techniques can make your French Tip Toes look professional and unique. Don't be afraid to experiment and find what works best for you.
Popular Nail Art Designs for French Tip Toes
Classic French Tips
The classic style of French Tip Toes is a timeless choice that never goes out of style. It features clean, white tips on a natural or light pink base, creating an elegant and polished look. This design is perfect for any occasion, whether it's a casual day out or a formal event.

Modern Twists
For those who want to add a bit of flair to their pedicure, modern twists on the classic French tips are a great option. You can experiment with different colors for the tips, such as neon pink or coral for a summery vibe. Another popular choice is to add a touch of glitter to the tips for a sparkling effect.

Celebrity Inspirations
Celebrities often set the trend when it comes to nail designs, and French pedicures are no exception. From subtle variations to bold statements, you can find plenty of inspiration from your favorite stars. Whether it's a minimalist look or something more extravagant, there's a celebrity-inspired look for your French Tip Toes.

Discover elegant styles to upgrade your French Tip Toes.
Troubleshooting Common French Tip Toes Application Issues
If your French Tip Toes have uneven lines, don’t worry—they are fixable
Uneven tips can be frustrating, but they are fixable. Start by using a fine nail file to gently even out the tips. Make sure to file in one direction to avoid splitting the nails. If the unevenness is severe, you might need to reapply the white tip polish. Always let each layer dry completely before adding another to prevent smudging.
Dealing with Smudges
Smudges can ruin the look of your French pedicure. If you notice a smudge while the polish is still wet, you can smooth it out with a dampened brush. For dry smudges, lightly buff the area and reapply a thin layer of polish. To avoid smudges in the future, allow ample drying time between coats and avoid any activities that might disturb the polish.
Prolonging the Pedicure
To make your French pedicure last longer, apply a clear top coat every few days. This not only adds shine but also protects the polish from chipping. Avoid frequent exposure to water and harsh chemicals, as these can weaken the polish. Wearing socks and closed-toe shoes can also help protect your pedicure from damage.
Regular maintenance and careful application can help you achieve a flawless French Tip Toes that lasts.
Caring for Your French Tip Toes
Daily Maintenance
To keep your French pedicure looking fresh, it's important to follow a few simple steps every day. Apply a clear topcoat every few days to protect your nail polish and keep it shiny. Avoid soaking your feet in hot water for long periods, as this can weaken your nails and cause the polish to peel. Wearing open-toed shoes can also help prevent smudges and damage.
Regular maintenance and careful application can help you achieve a flawless French Tip Toes that lasts.
Moisturizing and Hydration
Keeping your feet moisturized is key to maintaining your French Tip Toes. Use a high-quality foot cream or lotion daily to keep your feet soft and prevent your nails from drying out and cracking. This will help your pedicure last longer and look better.
When to Refresh Your Pedicure
Even with the best care, your French pedicure will eventually need a touch-up. If you notice any chips or uneven tips, it's time to refresh your pedicure. A quick reapplication of the base and tips can make a big difference. Remember, regular maintenance is the secret to beautiful French tip toes.
Conclusion
Mastering the art of French tip toes is easier than you might think. With the right tools and a bit of practice, you can achieve salon-quality pedicures right at home. From gathering your supplies to adding those final touches, each step is simple and fun. Remember, practice makes perfect, so don't be afraid to try different styles and techniques. Whether you stick to the classic look or add a bit of sparkle, your toes will look fabulous. So go ahead, pamper yourself, and show off your stunning French Tip Toes with pride!
Frequently Asked Questions
What exactly is a French pedicure?
A french pedicure features white tips on a clear, pink, or neutral base. It's a classic nail art style that looks clean and elegant on toes.
Can I do a French pedicure at home?
Yes, you can! With the right tools and a bit of practice, you can achieve a salon-quality French pedicure at home. Follow step-by-step guides to help you through the process.
What tools do I need for a French pedicure?
You'll need nail polish remover, cotton balls, nail clippers, a nail file, a cuticle pusher, cuticle oil, a base coat, white nail polish, and a top coat. Optional tools include rhinestones for added decoration.
How long does a French pedicure last?
XCOATTIPS can last 28+ days with proper prep and care. Press-on toe nails typically last 14–21 days. Adding builder gel and top coat extends wear for both options.
What are some common mistakes to avoid?
Common mistakes include uneven tips, smudging the polish, and not allowing enough drying time. Take your time and use the right tools to avoid these issues.
How do I make my french pedicure last longer?
Prep is everything: buff the natural nail, clean with alcohol, and press firmly. After application, apply top coat every few days, avoid prolonged water exposure, and moisturize your cuticles daily.
Are french tip toes still in style in 2026?
Absolutely. The trend has shifted toward softer, milky bases and thinner white lines (micro french), but the core look remains one of the most popular pedicure styles worldwide.
Ready to Try French Tip Toes?
Shop our full range of french tip toe nails — from salon-grade XCOATTIPS to instant press-on styles.