

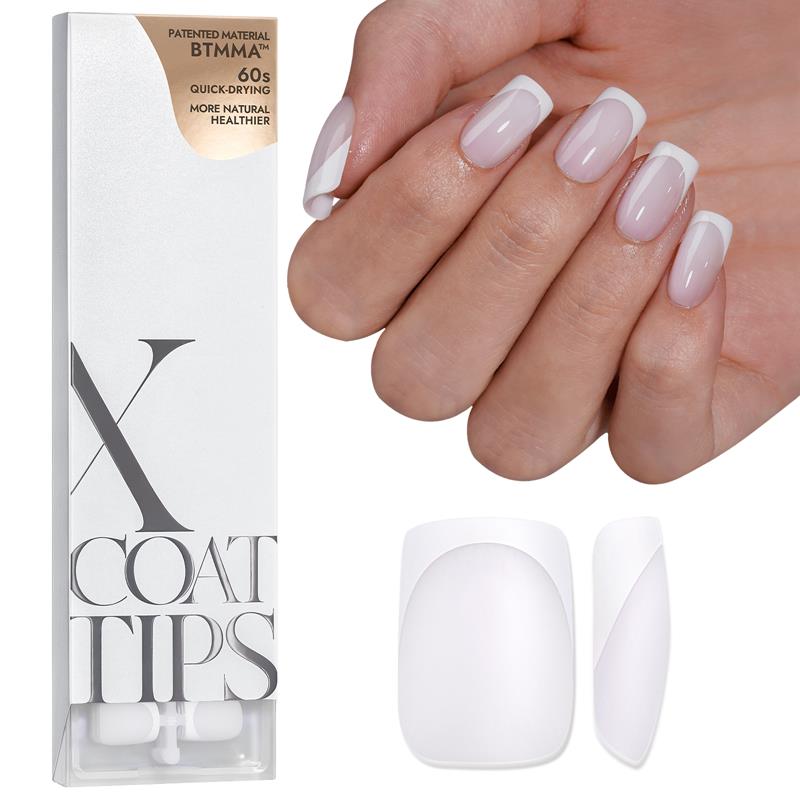


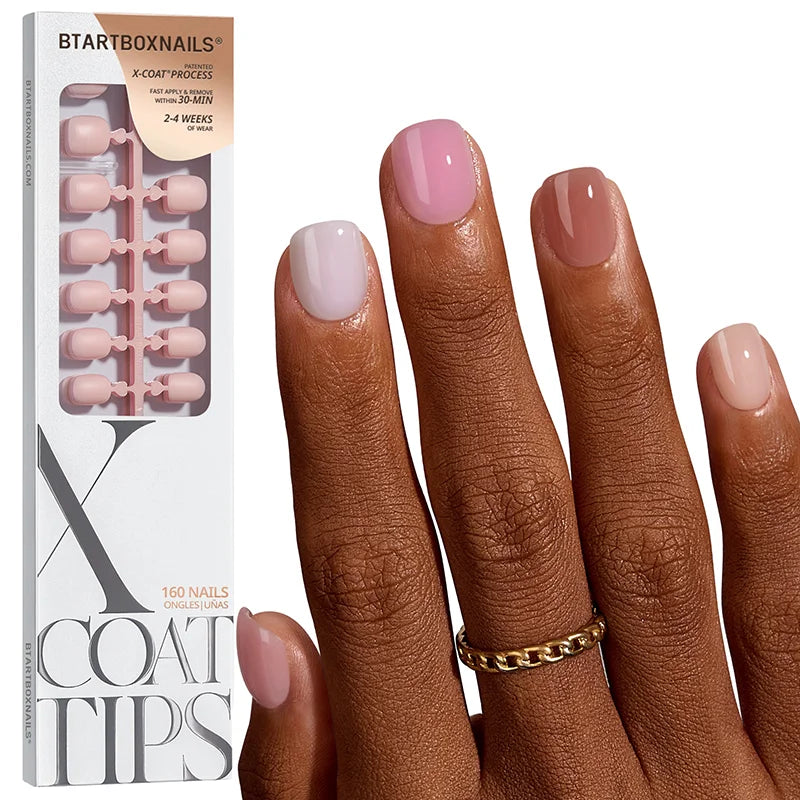

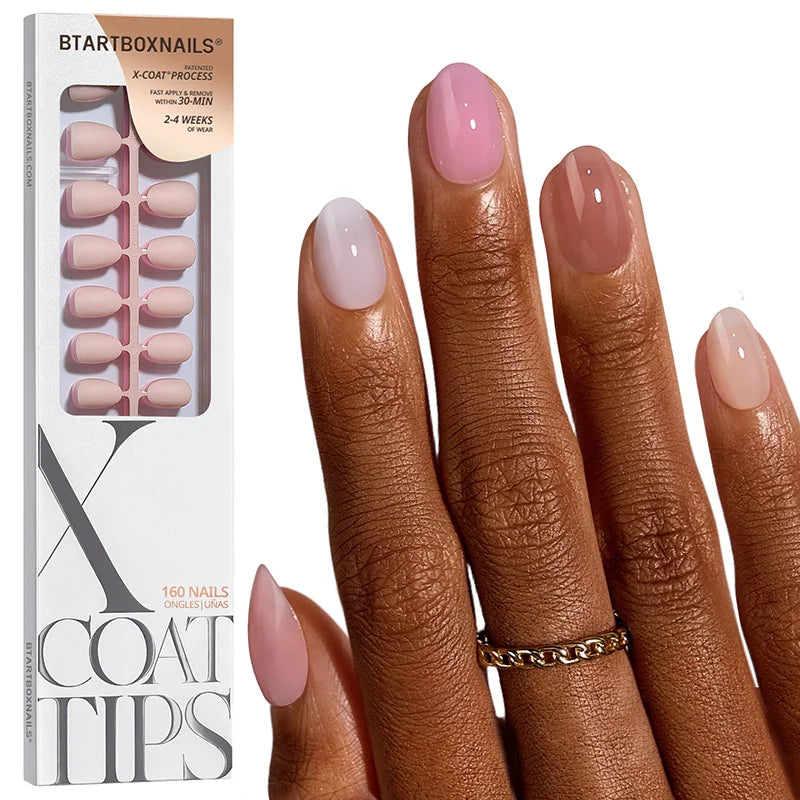
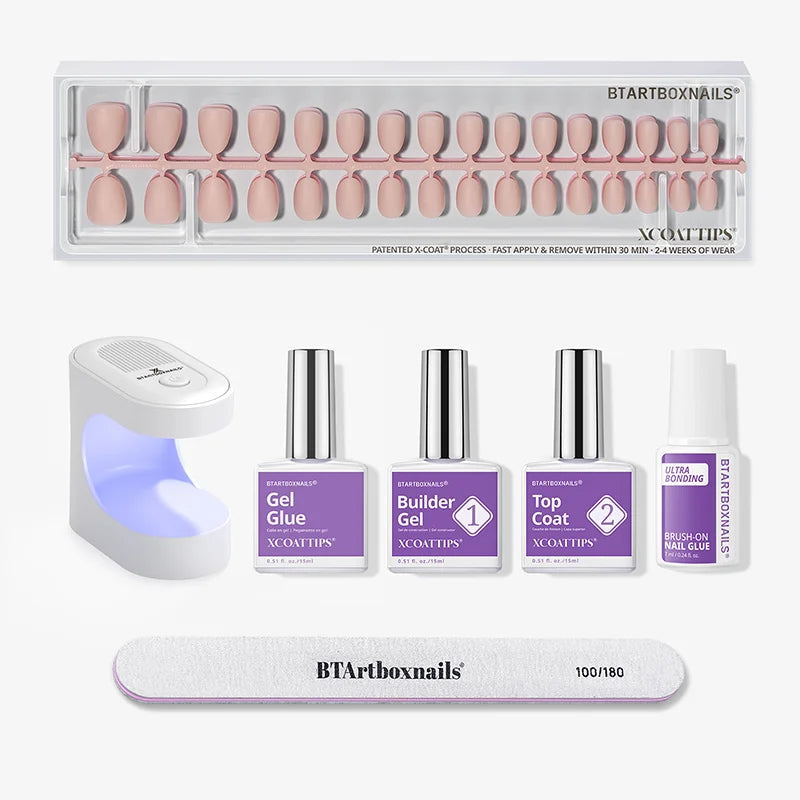




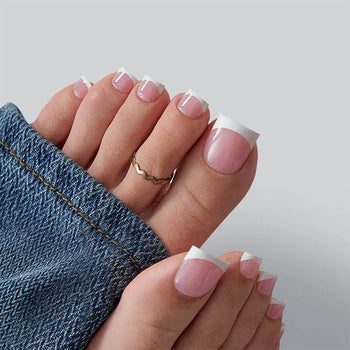


Red and white French tip nails are the kind of look that stops people mid-scroll. Bold red tips. Crisp white bases. A classic manicure that somehow manages to feel fresh every single season — whether you're heading to a holiday party, a first date, or just want to feel put-together on a random Tuesday.
The catch? Most people assume you need a salon appointment to get it right. You don't. With the right press-on nails, you can have salon-quality red and white French tips in under 10 minutes — no appointment, no drying time, no mess.
- Red and white French tip nails work for every occasion — casual to formal
- Press-on nails let you achieve this look at home in under 10 minutes
- The best shapes for red and white French tips: short square, almond, and squoval
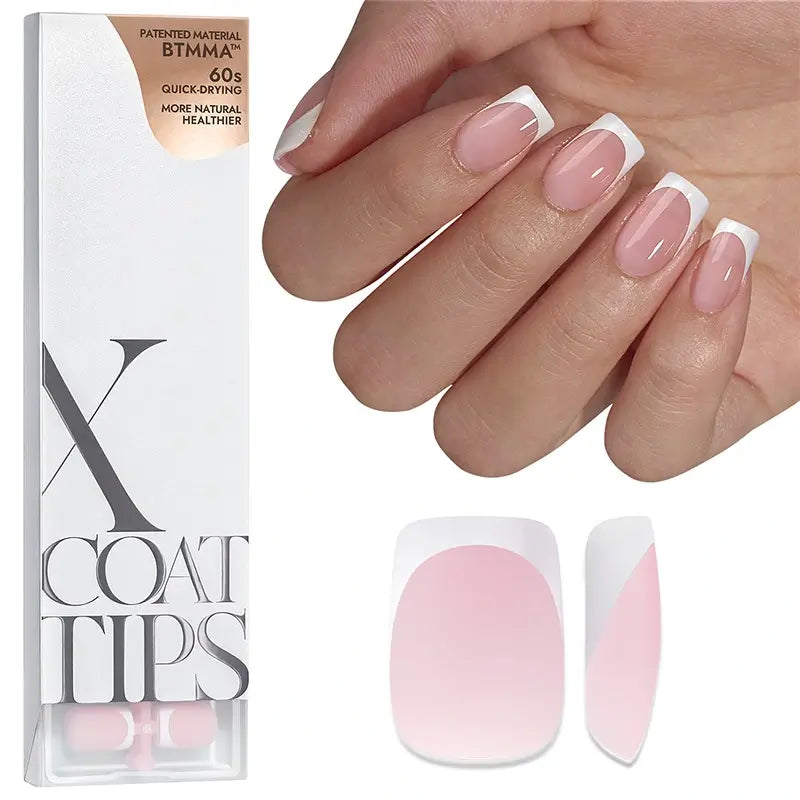
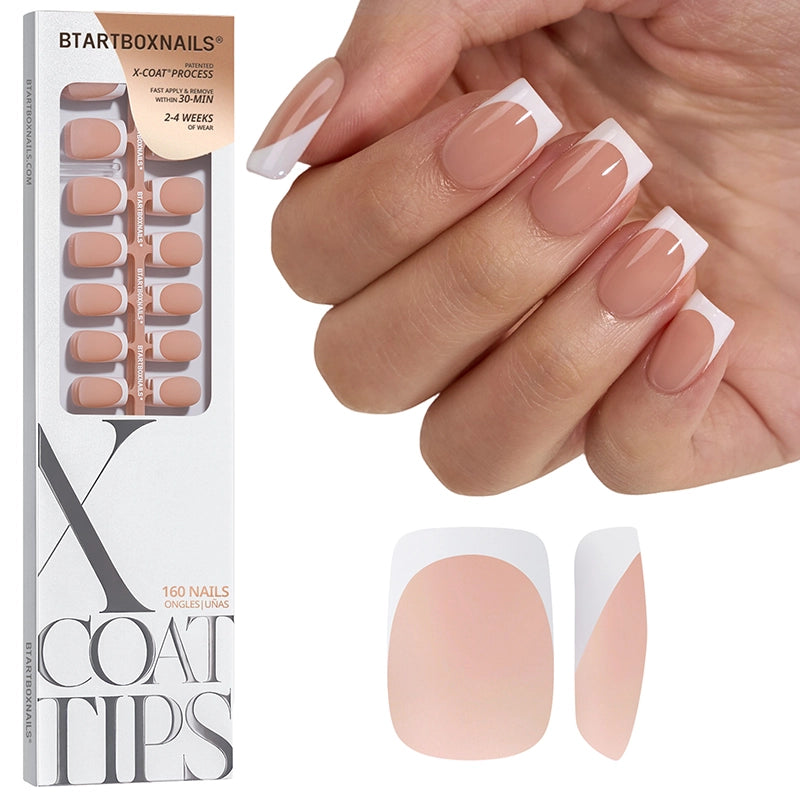
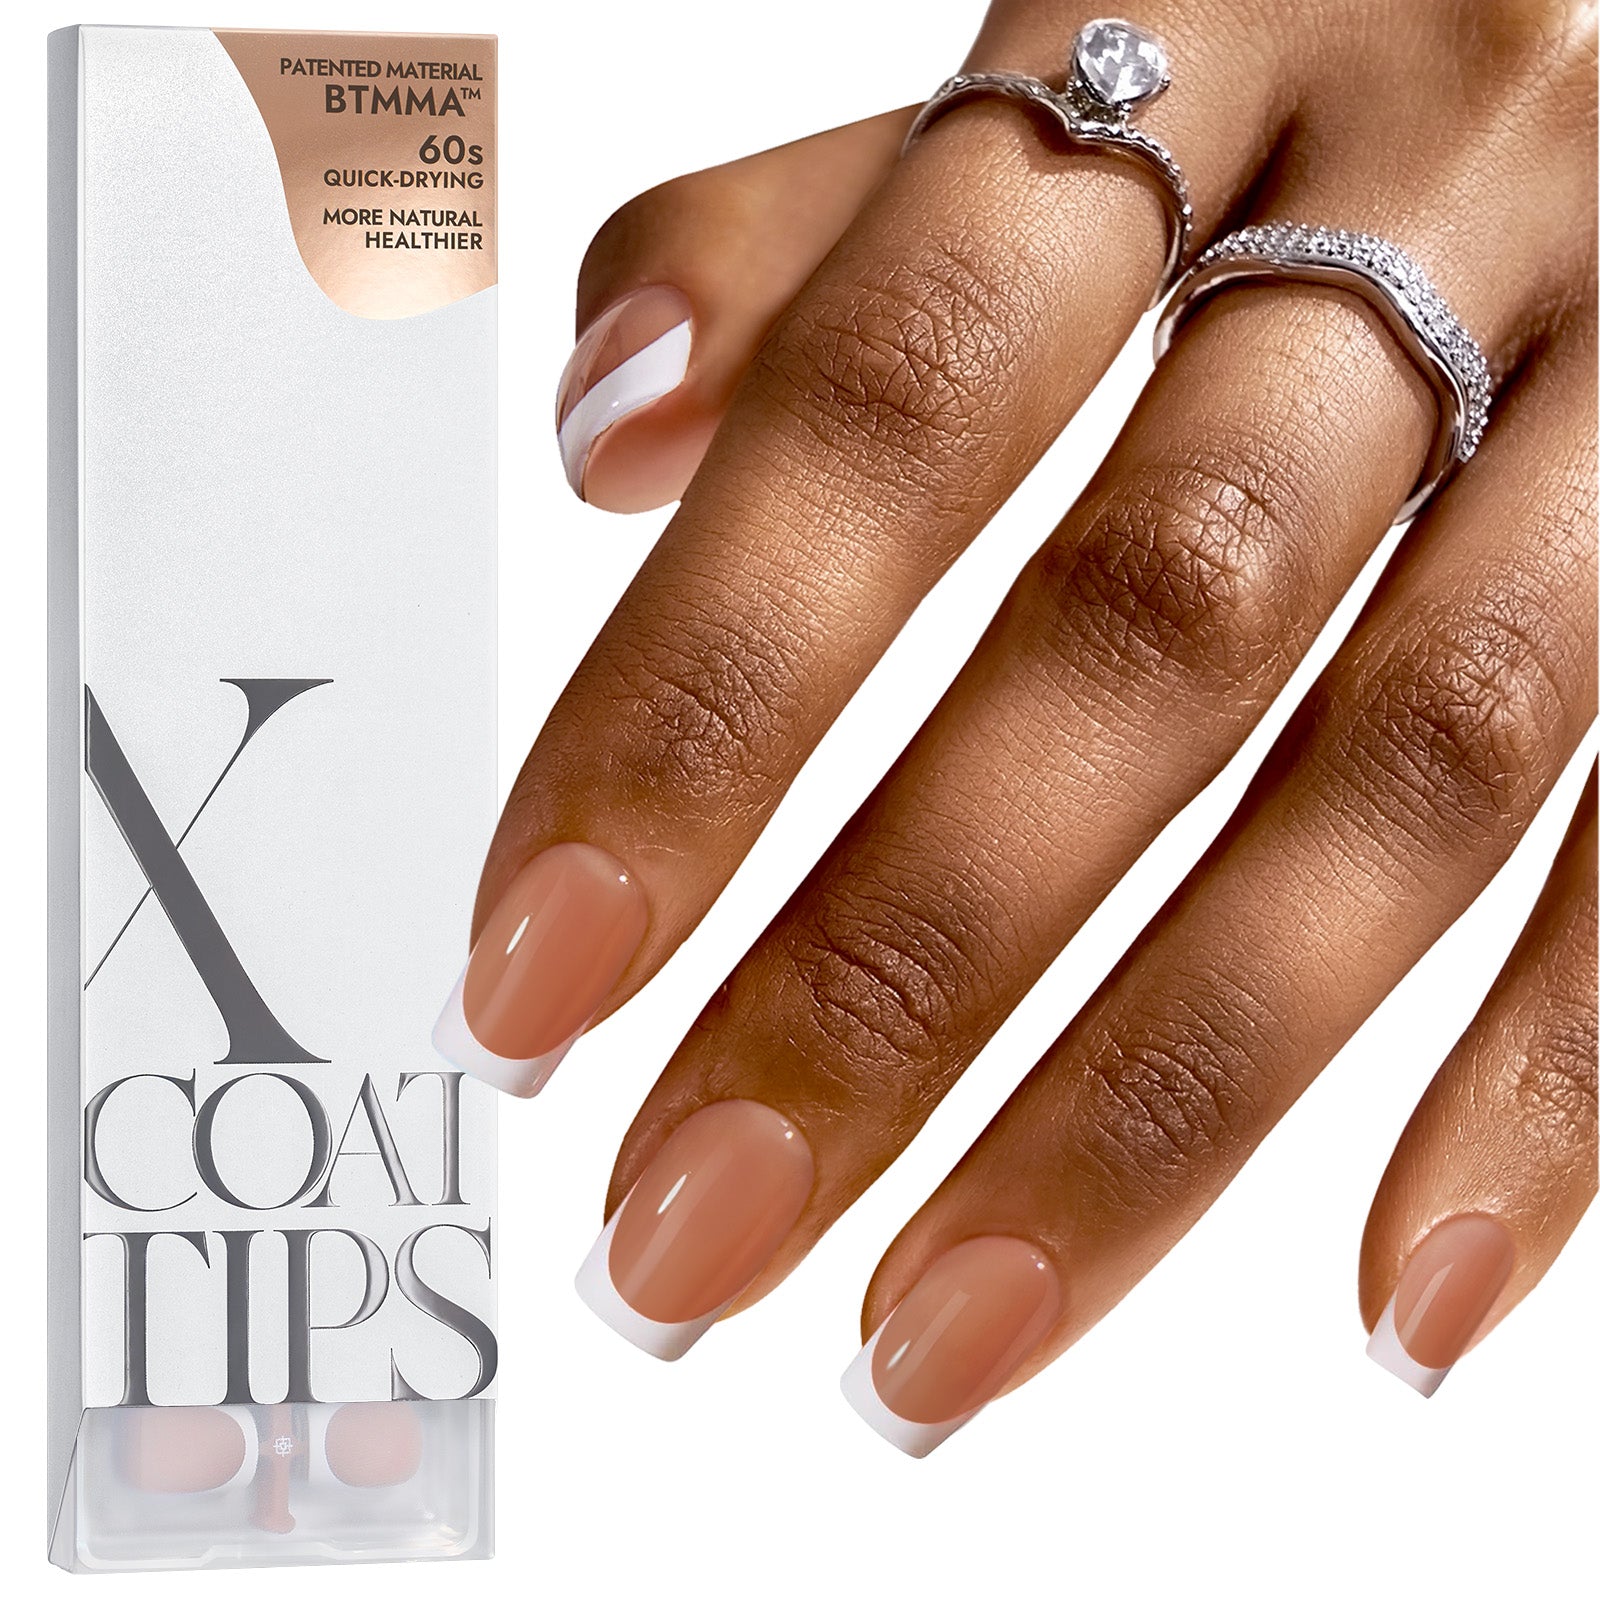
- BTArtbox red French tip press-ons come ready to wear — no nail art skills needed
- Proper prep and application can make press-ons last up to two weeks
Why Red and White French Tip Nails Are Having a Major Moment
French tip nails never really went away — they just got a serious upgrade. The red and white version in particular has been dominating Pinterest boards, Instagram feeds, and celebrity manicures for the past few seasons. And for good reason.
The combination hits a rare sweet spot: it's classic enough to feel timeless, bold enough to make a statement. White keeps it clean and polished. Red adds energy, warmth, and a pop of color that works year-round — not just for holidays. Swap the shade of red and you can take it from romantic date night to corporate-ready to full festive glam.
And here's the thing nobody talks about enough: it's one of the most forgiving French tip color combinations to do at home. White bases are forgiving on application. Red tips are easy to touch up. Compared to getting the perfect French line with a brush at home, red and white is relatively low-stakes — which is exactly why press-on versions have become so popular.
Most Popular Red and White French Tip Nail Designs
This look comes in more variations than most people realize. Here's a breakdown of the designs that are actually trending — not just the classic version.
1 Classic Red Tips, White Base
The OG. Clean red tips with a natural or pure white base. This is the version that works for literally any occasion — and the one every other design on this list is riffing on.
Get the look: BTArtbox Red French Tip Press-Ons →
2 Red Tips with White Accent Lines
Instead of a solid red tip, add a thin white line separating the red from the base — or white dots, swirls, or micro-flowers on the red tip itself. This is the elevated version that looks like you spent an hour at a salon.
3 Reverse French Tips
Flip the formula: paint the base red and leave the tips white (or vice versa). It's unexpected and modern — and incredibly eye-catching. This variation works especially well on almond and coffin shapes.
4 Striped Red and White Lines
Alternating horizontal stripes of red and white across the nail create a nautical-inspired, preppy look that's been all over nail art feeds this year. This one takes a bit more patience to DIY — which is exactly why a press-on set in this style is such a win.
5 Red Tips with Glitter
Add a fine glitter layer over the red tip, or a glitter gradient at the smile line. This takes the look from everyday elegant to full occasion-ready — especially effective around the holidays.
Browse the collection: BTArtbox French Tip Styles →
Red and White French Tips for Every Occasion
🎄 Holiday Parties
Deep cherry red + white tips + a fine gold or silver glitter line at the smile line = the most-complimented manicure at whatever party you're walking into. This is the style that's going to show up in every group photo. BTArtbox's Red Collection has shades that are specifically formulated to photograph beautifully.
💕 Romantic Dates
Keep it softer. A medium red with a clean white tip — no glitter, no extra details — reads as effortlessly elegant. Add one accent nail with a tiny heart or rhinestone detail and call it done. This is the version that looks expensive without trying.
👜 Casual Outings
Short square or squoval shapes in a muted, slightly deeper red with a clean white base. No extras needed. The beauty of this combination at its simplest is that it elevates your whole look without looking like you tried. White jeans, red tip nails, done.
🥂 Formal Events
Deep red with perfectly white tips — extra gloss finish. This is where press-on quality really matters; you want the line to look laser-sharp. One accent nail with a pearl or fine gold line at the base keeps it interesting without overdoing it.
The Fastest Way to Get Red and White French Tips at Home

Here's where most people give up on DIY French tips: they try to paint them freehand, mess up the line three times, end up with polish on their cuticles, and decide it's not worth the frustration.
Press-on nails bypass the entire problem. BTArtbox's red and white French tip sets arrive with the design already baked in — you skip the painting entirely, which means no brush, no steady hand, and no clean-up required.
Here's the full application process:
1 Prep Your Natural Nails
Clean your nails with a bit of nail polish remover to remove any oils or residue. Gently push back your cuticles with a cuticle pusher. Use a nail file to shape your natural nails — this is where you choose your shape (short square, almond, or squoval work best for French tips).
2 Choose Your Size
BTArtbox press-on sets come with a full sizing sheet. Lay out the nails and find the closest match for each nail — don't force a size that doesn't fit. Using the wrong size can cause lifting, which is the main reason press-ons come off early.
3 Apply the Adhesive
For the strongest hold, use BTArtbox Gel Nail Glue. Apply a thin layer to your natural nail, then to the back of the press-on. For a gentler option (great if you want to reuse the set), use adhesive tabs.
4 Press and Hold

Align the press-on with your cuticle line and press down firmly. Hold for 30–60 seconds. Don't rush this step — the bond sets in those first few seconds. Press each edge, especially the corners, which are where lifting tends to start.
5 Seal the Edges
Run a thin line of glue or a clear top coat along the edge where the press-on meets your natural nail. This seals the seam and prevents water, soap, or pressure from getting underneath and loosening the bond.
6 Wait Before Getting Them Wet
This is the step most people skip. Don't soak your hands, take a long shower, or swim for at least 2–3 hours after application. The adhesive needs time to fully cure. After that window, they're water-safe — and good to go for up to two weeks.
Shop Red & White French Tip Press-Ons →Pro tip: If you're between sizes and a press-on feels slightly tight, file the inside edges slightly before applying — never file the surface, as that damages the finish.
What Shape Works Best for Red and White French Tips?

Shape matters more than most people realize — it changes the entire personality of the same two colors.
- Short Square: The most classic pairing. Clean, modern, practical. This is the shape that reads "polished" without any effort. Best for everyday wear, office settings, and shorter nail beds.
- Almond: Softens the red tip and makes it look more elegant and feminine. Great if you want the look to feel less "basic French" and more editorial. Works well for date nights and events.
- Squoval: The hybrid everyone defaults to for good reason — it has the softness of oval with the structure of square. Versatile enough for anything from a job interview to a night out.
- Coffin/Ballerina: Maximum drama. This is the version that looks editorial and fashion-forward. Red and white on a coffin shape reads very runway — save it for when you want to be noticed.
Why More People Are Skipping the Salon and Going with Press-On Nails

Here's the honest truth about salon French tips: they look incredible for about three days, then start to chip. You paid $50–$80, waited 45 minutes in a lobby, and by day four you're already touching up. The polish shrinks at the edges. The white starts looking slightly yellow. The shine dulls.
Press-on nails solve every single one of those problems:
- Application in under 10 minutes. No appointment, no commute, no waiting room.
- Zero drying time. You walk out of your bathroom with a complete manicure that's immediately ready to use — no smudges, no dent risk, no waiting five minutes before you can get dressed.
- Two weeks of chip-free wear. A properly applied BTArtbox press-on set lasts up to 14 days. Salon gel manicures in that same timeframe are starting to lift.
- Completely reusable. Remove, clean, store, reapply. A single BTArtbox set costs less than one salon visit and can be used for multiple applications over several months.
- Hundreds of designs, zero art skills. Every design comes pre-made. You don't need a steady hand, a brush, or any experience — you just apply and go.
Red and White French Tip Nails vs. Other Color Combinations

If you're exploring French tip options, here's how red and white stacks up against the other popular versions:
- Red & White vs. Pink & White: Classic French tips. Pink and white is more neutral and office-appropriate. Red and white is bolder and more statement-making.
- Red & White vs. Black & White: Black and white French tips read edgier and more fashion-forward. Red keeps it warmer and more approachable.
- Red & White vs. Glitter French: Glitter tips are more occasion-specific. Red and white works from Tuesday to Tuesday night — way more versatile.
- Red & White vs. Nude & Gold: Nude base with gold tips is elegant and wedding-appropriate. Red and white has more energy and works across seasons.
Conclusion: Red and White French Tip Nails
Red and white French tip nails are more than a trend — they're a proven look that works across every occasion, every season, and every style personality. Whether you go ultra-minimal with a classic white base and clean red tip, or take it to full glam with glitter and accent nails, this combination delivers every time.
The fastest, most reliable way to get the look at home — with zero painting, zero skill required, and results that last up to two weeks — is BTArtbox press-on nails. They're pre-made, reusable, and designed to look like you spent an hour at a salon.
Shop Red & White French Tip Nails →FAQ: Red and White French Tip Nails
How long do red and white French tip press-on nails last?
With proper application — clean prep, firm pressing, sealed edges, and a 2–3 hour wait before getting them wet — BTArtbox press-on nails last up to two weeks. The key variables are water exposure, the adhesive method used (gel glue lasts longer than adhesive tabs), and whether you seal the edges.
Can I reuse BTArtbox red and white French tip press-on nails?
Yes. BTArtbox press-on nail sets are reusable. Remove them carefully, clean any old adhesive from the back of each nail with a cotton pad and a small amount of acetone or alcohol, store them in their original container, and they're ready for your next application. A single set can typically be reused 3–5 times depending on how carefully you remove and store them.
What's the best nail shape for red and white French tips?
Short square is the most classic pairing — it keeps the look clean and modern. Almond softens the style and makes it feel more elegant. Squoval is the most versatile, working for both casual and formal settings. Coffin/ballerina is the most dramatic and fashion-forward. All shapes work with the red and white combination; it comes down to personal preference and your lifestyle.
How do I apply press-on nails without damaging my natural nails?
The main risk to natural nails comes from improper removal — picking or prying the press-ons off. Always use an acetone-soaked cotton ball pressed to each nail for 30–60 seconds to dissolve the adhesive before gently lifting. During application, focus on sealing the edges completely — this prevents water and debris from getting underneath and causing bacterial buildup.
What's the difference between gel press-ons and regular press-on nails?
Gel press-ons (like BTArtbox's Soft Gel Press-Ons) are made from a flexible gel material that conforms more closely to your natural nail bed. They're generally more comfortable, more lightweight, and tend to last slightly longer than hard plastic press-ons. Gel press-ons also tend to look more natural because they flex slightly with your nail rather than sitting rigidly on top.
Can I paint over press-on nails if I want to change the color?
Yes — but it's usually unnecessary if the set already comes in your desired color. If you do want to customize, lightly buff the surface of the press-on with a fine-grit nail file (200–400 grit), clean it with alcohol, then apply regular nail polish or gel polish as usual. Seal with a top coat. Note that this works best on solid-color press-ons rather than pre-designed French tips, as painting over the tip line can look messy.
Do red and white French tips work for short nails?
Absolutely — and short nails actually suit the style particularly well. A short square shape with red tips and a white base reads as effortlessly chic rather than trying too hard. Extra short and XXS press-on nail sets from BTArtbox are specifically designed for this look on shorter nail beds.
How do I stop my press-on nails from lifting at the edges?
Three things: First, always clean your natural nail with rubbing alcohol before applying — oils are the main cause of lifting. Second, apply adhesive to both the press-on and your natural nail, not just one. Third, seal the cuticle edge with a thin line of glue or top coat after pressing each nail down. If you're still experiencing lifting after day 3–4, switching from adhesive tabs to gel nail glue typically solves the problem.