










Thick, clumpy nail polish is one of the most frustrating things about doing your own manicure at home. You pull out a color you've been saving, go to paint, and — clumps. Streaks. An uneven mess that ruins what should've been a five-minute glow-up. The good news: learning how to thin nail polish is simple, and you can do it with stuff you probably already have at home.
The even better news? If you find yourself doing this more than occasionally, there's a zero-maintenance alternative that tens of thousands of BTArtbox customers have already switched to — and we'll get to that by the end.
- Nail polish thickens when exposed to air, heat, or simply over time — proper storage prevents it
- Three effective methods to thin nail polish at home: commercial thinner, warm water, and acetone (use sparingly)
- A step-by-step guide to restoring thick, goopy nail polish in under five minutes
- The most common mistakes people make when reviving thickened polish — and how to avoid them
- Why many nail lovers are skipping polish entirely and switching to press-on nails
Why Does Nail Polish Get Thick? (And How to Prevent It)

Nail polish thickening is a chemistry problem, and it happens to every bottle eventually.
When you open a nail polish bottle, air enters. That air contains solvents that start evaporating the moment the cap comes off. Those solvents are what keep the pigment and formula in a smooth, liquid consistency. Once they're gone, the polish oxidizes and dries out from the inside — even if you only used it once or twice.
Beyond air exposure, temperature plays a huge role. Storing polish in a bathroom — where heat and humidity fluctuate constantly — accelerates the breakdown of the formula. The same goes for leaving bottles in direct sunlight or near windows. Even an unopened bottle left in a warm drawer for too long can thicken before you've even used it.
Separation is another culprit. If a polish has been sitting untouched for months, the ingredients settle and stop mixing properly. Shaking the bottle doesn't fix this — it actually introduces air bubbles that make application worse. Rolling it between your palms does.
The bottom line: thickened nail polish is less about the product being "bad" and more about how it's been stored and used. Understanding the cause helps you prevent it — but when prevention fails, thinning out the formula works.
3 Proven Methods to Thin Nail Polish at Home

You don't need a professional setup to restore a thickened bottle. Here are the three most reliable approaches, from most recommended to last resort.
1 Nail Polish Thinner (Recommended)
Nail polish thinner is specifically formulated to reverse the thickening process without breaking down the polish's color or finish. Unlike acetone, which degrades the formula, thinner rebalances the solvents that have evaporated and restores your nail polish to its original consistency.
How to use it:
- Clean the bottle's neck with a cotton pad to remove any dried polish residue — this ensures a tight seal
- Hold the bottle upright and add 2–3 drops of nail polish thinner using an eyedropper or the dropper that came with the product
- Screw the cap on tightly
- Roll the bottle between your palms for 30 seconds — do not shake, as this creates air bubbles that ruin application
- Open and test the consistency on a nail or piece of paper
- If still too thick, add one drop at a time until the texture is smooth and fluid
BTArtbox Nail Polish Gel Thinner is designed to work with standard nail polish formulas and helps restore your favorite shades without altering the color payoff or finish.
Shop the Fix — BTArtbox Nail Polish Gel Thinner2 Warm Water Bath
This method is chemical-free and uses nothing more than hot tap water. It's ideal if you're out of thinner and need to work with what you have on hand.
How to do it:
- Fill a bowl with water that's comfortably warm — not boiling, not cold
- Place the tightly sealed nail polish bottle into the water, cap-side up
- Let it sit for 5–10 minutes
- Remove the bottle, open it, and test the consistency
- If still thick, repeat once
The warmth gently loosens the polish's texture without introducing any foreign substances. It's not as effective as commercial thinner for severely thickened bottles, but it handles mild-to-moderate thickening well.
3 Acetone (Use Sparingly)
Acetone will thin nail polish — fast. But it also strips away the polish's existing formula, which can cause the color to separate, lose its shine, and become more prone to chipping over time. Use this method only as an absolute last resort, and even then, use the smallest amount possible.
How to do it:
- Dip a toothpick or pin into pure acetone
- Add a very small drop to the polish bottle — we're talking less than half a drop
- Roll between palms to mix
- Test immediately — do not add more unless clearly needed
If you're reaching for acetone every time a bottle thickens, that's a signal. Either your storage method needs fixing, or it's time to consider a different nail routine altogether.
Step-by-Step Guide: How to Use Nail Polish Thinner the Right Way
Here's the full process for getting a thickened bottle back to a smooth, application-ready state.
What you need:
- Nail polish thinner (preferably brand-specific)
- A clean cotton pad or paper towel
- An eyedropper (if your thinner doesn't have a built-in dropper)
- 5 minutes
1 Assess the Damage
Is the polish goopy, stringy, or just slightly stiff? Stringy means heavy oxidation — you'll need more thinner. Slightly thick might only need one drop. Starting conservatively prevents over-thinning.
2 Prepare the Bottle
Wipe the bottle neck and around the threads with a cotton pad. Any old dried polish here will prevent the cap from sealing properly, which lets even more air in — and that's what causes nail polish to thicken in the first place.
3 Add the Thinner
Using an eyedropper, add 2–3 drops for a standard 10–15ml bottle. Err on the side of too little — you can always add more.
4 Seal and Mix
Screw the cap on tightly. Hold the bottle upright and roll it between your palms for about 30 seconds. The friction generates just enough warmth to help the thinner integrate without creating air bubbles.
5 Test
Paint one coat on a test surface — a nail wheel, a piece of plastic, or your actual nail. If it goes on smooth and even, you're done. If it drags or clumps, add one more drop and repeat.
6 Store It Properly This Time
This is the step most people skip. Let this be the last time you have to fix a thickened nail polish bottle.
Pro tip: Add a drop of thinner to every bottle you open for the first time, even if it's not thick yet. It proactively slows down the oxidation process and extends the usable life of your polish collection significantly.
Mistakes to Avoid When Thinning Nail Polish
Knowing what NOT to do is just as important as knowing what to do. Here's where most people go wrong when they try to revive their polish.
- Shaking the bottle vigorously. Shaking introduces air bubbles, and those bubbles show up as streaks and an uneven finish on your nail. Always roll; never shake.
- Using too much acetone. Yes, it works. No, it's not worth it. Acetone breaks down the nail polish formula progressively with each use, leading to faded color and a dull finish even after the polish appears thin.
- Over-thinning with commercial thinner. More is not better. Each over-thinned bottle ends up watery, prone to running into your cuticles, and requires multiple coats to show any color — defeating the purpose entirely.
- Storing polish in the bathroom. Bathrooms are the worst place for nail products. The temperature swings from hot showers to cool air create condensation inside the bottle and accelerate solvent evaporation. A bedroom drawer or a dedicated cosmetic storage box is ideal.
- Leaving the cap off for any length of time. Even 30 seconds of open-air exposure starts the oxidation clock. Work quickly, close the bottle between each hand, and never set the brush down on a surface while painting.
Why More Nail Lovers Are Switching to Press-On Nails Instead
Here's the part we promised. If you've read this far, you've already spent more time on this problem than you'd like to admit — and you'll probably be back here again in a few months when another bottle goesopy thickens.
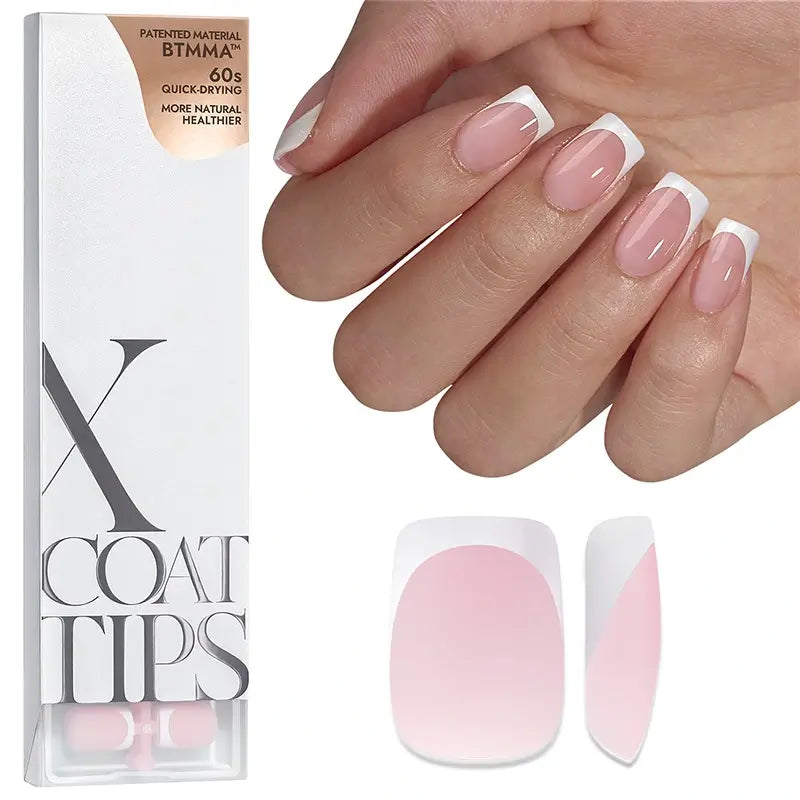
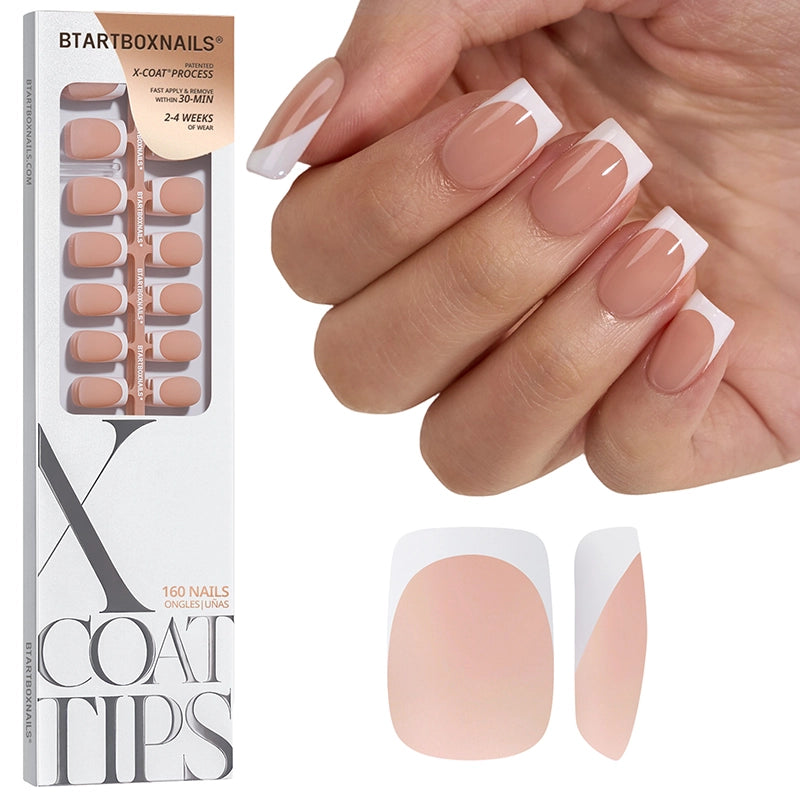
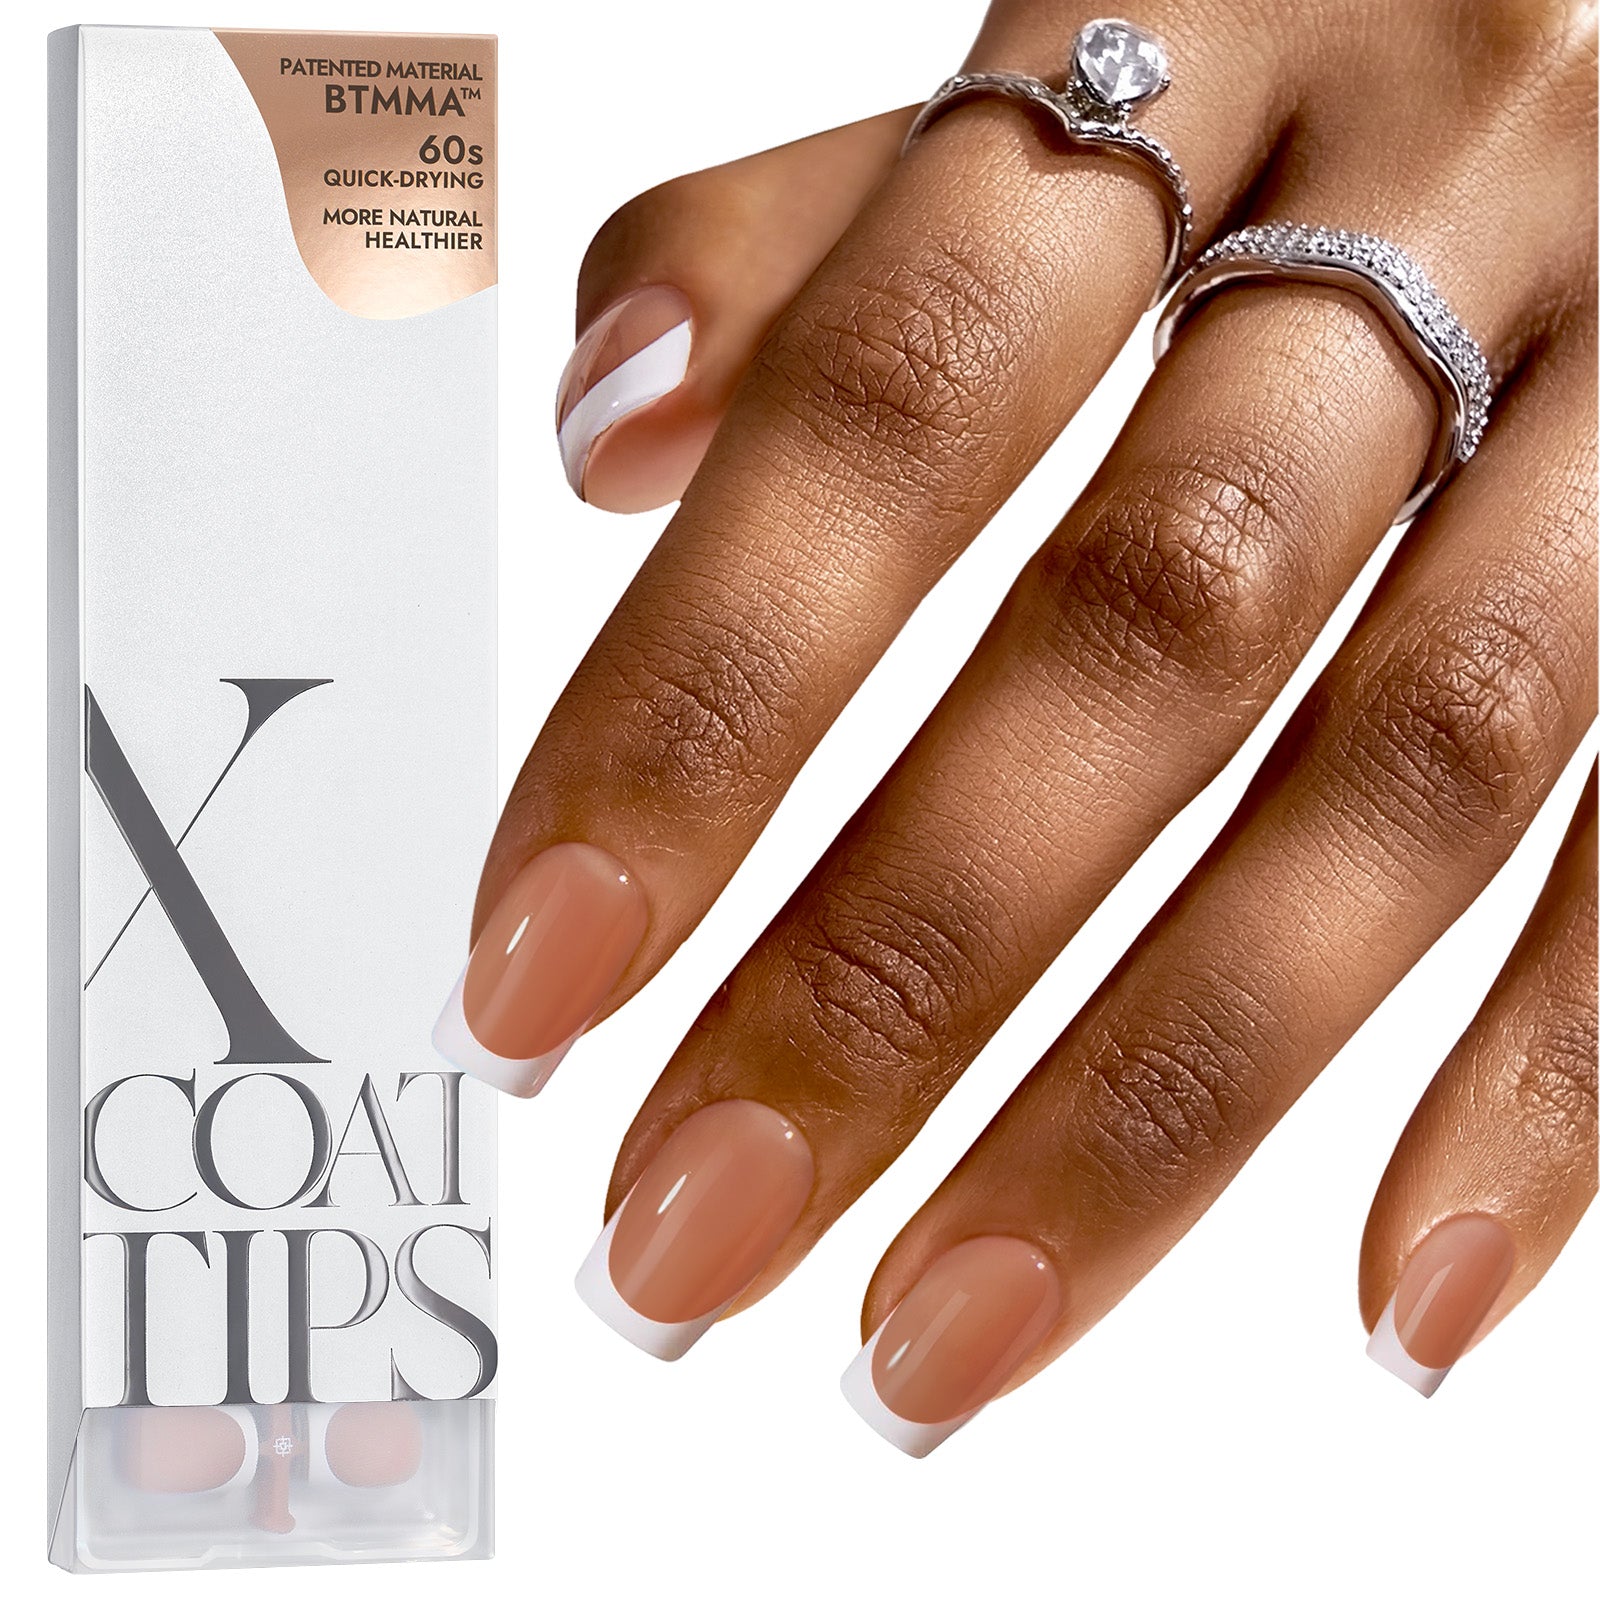
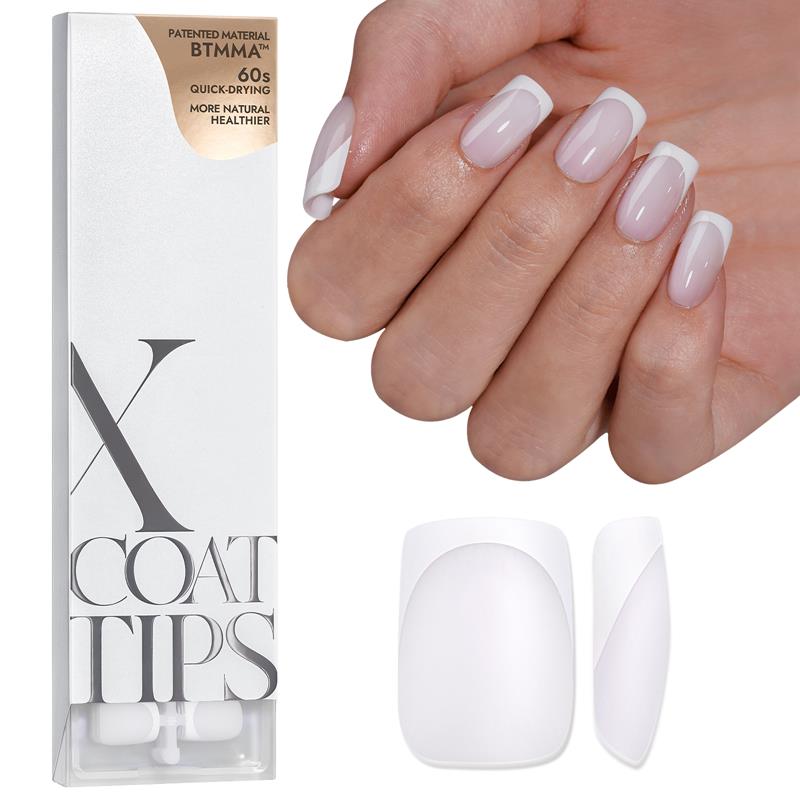
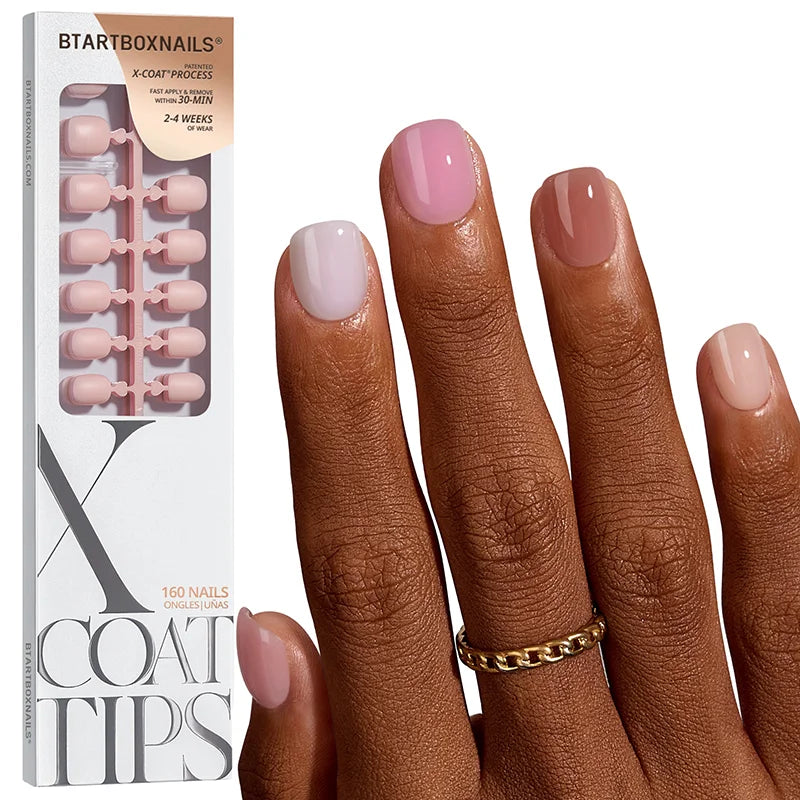
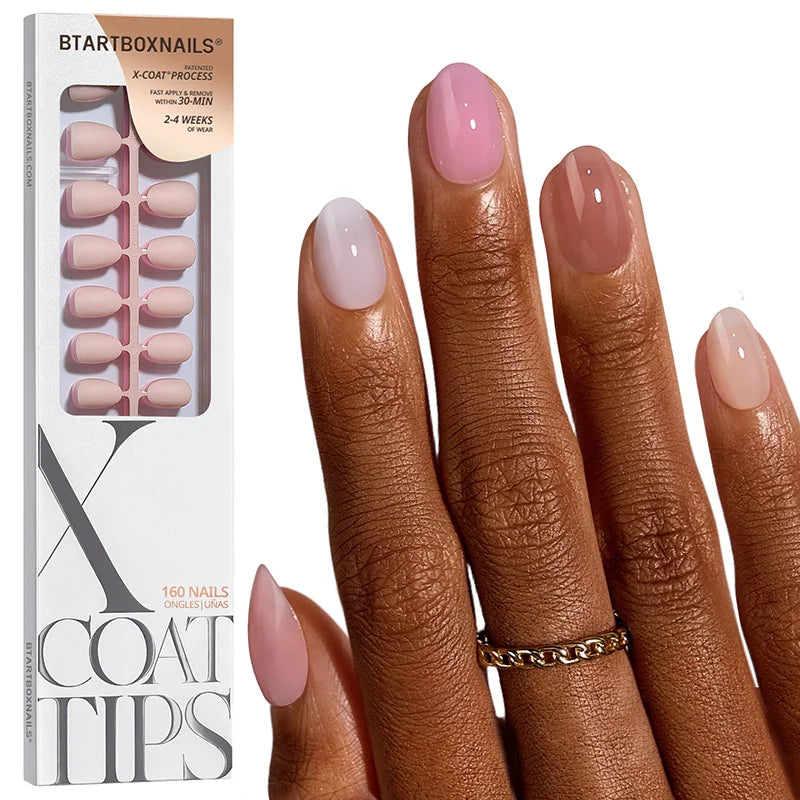
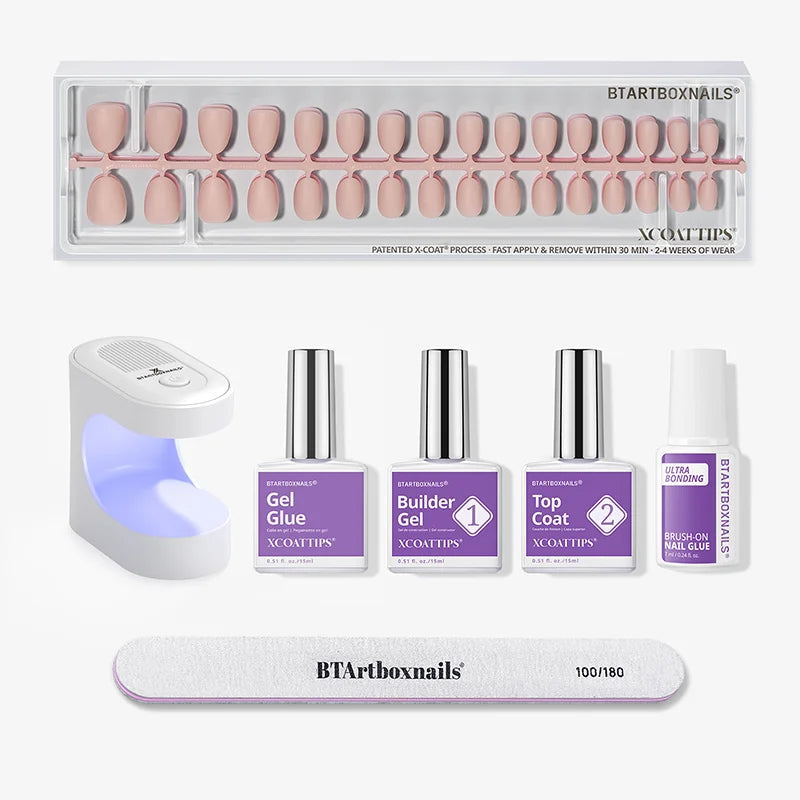
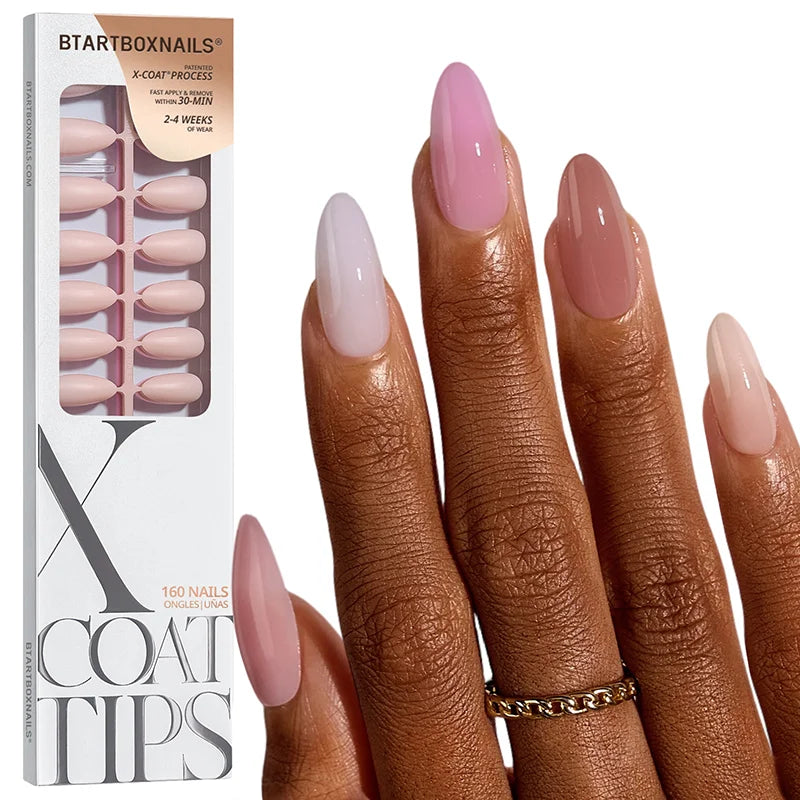
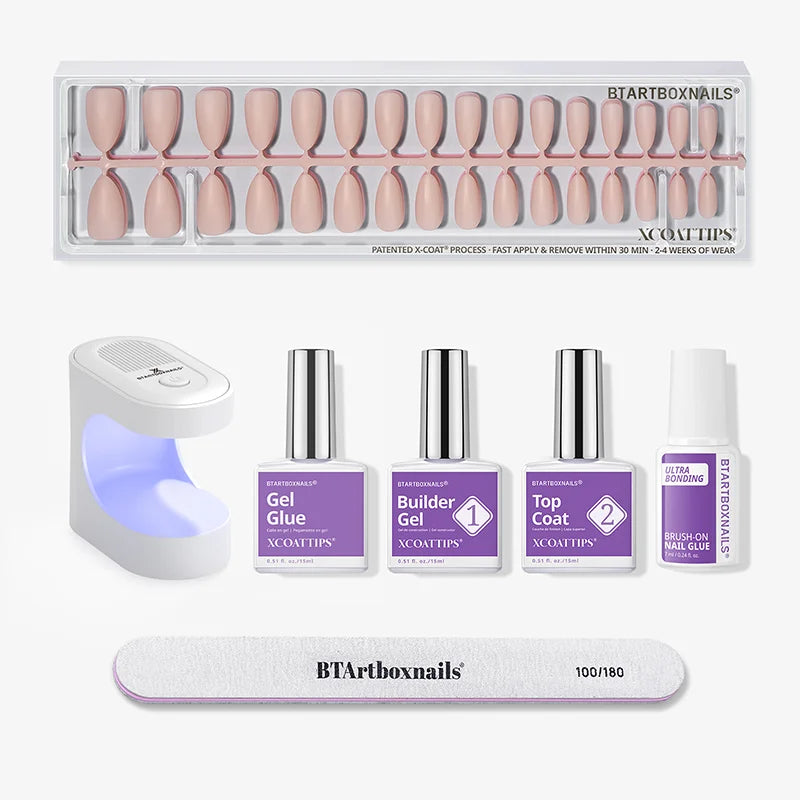
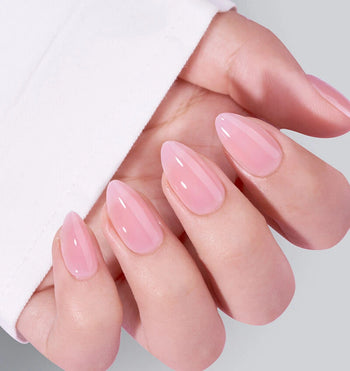
That's exactly why tens of thousands of BTArtbox customers made the switch to press-on nails and haven't looked back.
Here's what you get with press-on nails that you simply don't get with traditional polish:
- Zero thickening, zero mess. Press-on nails arrive ready to wear. No bottles, no thinners, no brush cleanup.
- Application in under 10 minutes. Traditional polish takes 20–40 minutes including drying time. Press-ons are done before you're done scrolling your phone.
- Zero drying time. Paint dries. Press-ons don't. You can get on with your day immediately — no risk of smudges, no waiting for layers to set.
- Up to 2 weeks of wear. A single application lasts up to two weeks with proper prep. Most traditional manicures are lucky to see five days without chipping.
- Hundreds of designs, zero skill required. Every set comes ready to wear straight out of the box. No brush, no art skills, no practice needed.
- Reusable. BTArtbox press-on nail sets can be removed, cleaned, and reapplied multiple times — making every set significantly more affordable per manicure than salon visits or single-use polish.
Conclusion: How to Thin Nail Polish
Thinning nail polish is a useful skill that can extend the life of your favorite shades and save you from wasting money on bottles you only used once. The key is acting quickly when you notice thickening — the longer you wait, the harder it is to revive a severely dried-out formula. Use a commercial nail polish thinner for best results, store your bottles properly going forward, and always roll rather than shake.
But if you're being honest with yourself and the time you spend fixing goopy polish keeps adding up — the smarter move is to stop dealing with this altogether. BTArtbox press-on nails give you a salon-quality manicure in minutes, with zero maintenance, zero thickening, and zero compromise on look or wear time.
Shop BTArtbox Press-On Nails →FAQ: How to Thin Nail Polish
Can I use acetone to thin nail polish?
Yes, but only as a last resort. Acetone breaks down the nail polish formula progressively, which can cause the color to fade and the finish to dull over time. Commercial nail polish thinner is always the better choice. If you find yourself reaching for acetone repeatedly, consider switching to press-on nails — there's nothing to thin or revive.
How long does thinned nail polish last?
A properly thinned bottle can last several more months if stored correctly — upright, tightly sealed, in a cool dark place. Avoid bathroom storage. The key is addressing thickening early rather than letting the polish sit in a severely thickened state for weeks.
What can I use instead of nail polish thinner?
The warm water method works well for mildly thickened polish. Rubbing alcohol (isopropyl alcohol) can also be used in small amounts, though it may affect the finish over time. Neither is as effective or safe for the formula as a proper nail polish thinner, but both are better options than overusing acetone.
How do I prevent nail polish from thickening in the first place?
Store bottles upright in a cool, dark, temperature-stable location — never the bathroom. Wipe the bottle neck clean after each use, tighten the cap fully, and avoid leaving the cap off for more than a few seconds. If you have a large collection, adding one drop of thinner to each new bottle proactively can extend its lifespan significantly.
Does shaking nail polish really make it worse?
Yes. Shaking introduces air bubbles into the formula, which cause streaks and uneven application. Always roll the bottle between your palms instead. If you do shake it by accident, let it sit for a few minutes to allow the bubbles to rise and dissipate before using.
Why does my nail polish get thick even when I haven't used it much?
Even unopened bottles thicken over time — the solvents slowly evaporate through the cap regardless of whether it's been used. Once you open a bottle, air exchange speeds up dramatically. This is why proper storage matters even for polishes you only use on special occasions.
Are press-on nails actually better than traditional nail polish?
For most people who regularly paint their nails, yes. Press-ons offer faster application, longer wear, zero drying time, and no ongoing maintenance costs. They're especially appealing if you've ever dealt with thickening, clumping, smudging, or chipping. BTArtbox press-ons are made from the same gel and acrylic materials used in salons — so the look and feel are identical to what you'd get from a professional manicurist.
How do BTArtbox press-on nails stay on for two weeks?
Proper prep is the key: clean and dehydrate your natural nails before application, use nail glue rather than adhesive tabs for a stronger bond, press each nail firmly for 30–60 seconds, and seal the edges with a clear top coat. Avoid soaking your hands in water for the first few hours after application. With this routine, two weeks of chip-free wear is completely realistic.