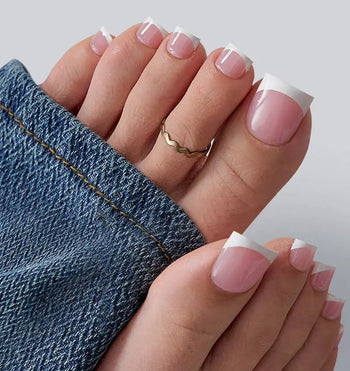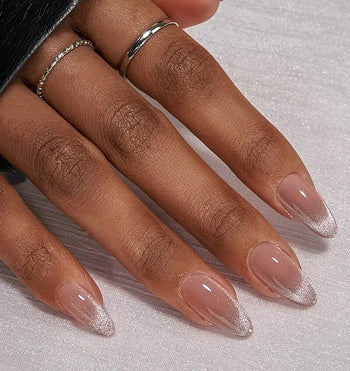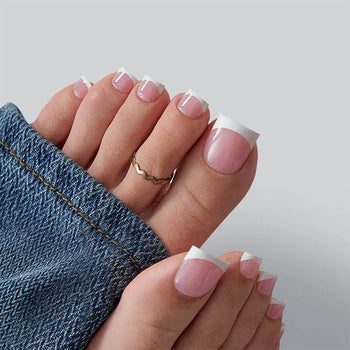
Moon nail designs are a captivating way to express your love for celestial beauty. These designs often feature the moon's enchanting shapes and colors, symbolizing mystery and femininity. With their versatility, you can enjoy a look that ranges from elegant and simple to bold and artistic, making them perfect for any occasion.
Whether you’re going for a subtle half-moon accent or a stunning galaxy-themed nail art, moon-inspired designs can elevate your manicure to a whole new level. You can mix and match colors and styles, incorporating metallic polishes or hand-painted details for a truly unique finish. This creativity allows you to showcase your personality while celebrating the beauty of the night sky.
As you explore various moon nail designs, you will find ideas that suit your taste and style. From delicate crescent moons to vibrant celestial patterns, there’s something for everyone. Get ready to bring the magic of the moon to your nails and make a statement with your next manicure.
Why Moon Nail Designs Are Trending?
 |
 |
 |
Moon nail designs have gained popularity due to their minimalist yet captivating aesthetic. They create a unique look that stands out while remaining elegant.
These designs can suit any occasion, whether you are dressing for work or a night out. The versatility of moon-inspired nails makes them appealing for everyday wear.
Key Features of Moon Nail Designs:
- Simple yet Striking: The designs often use basic shapes and colors, making them visually pleasing.
- Lunar Inspiration: Many designs feature elements like moons, stars, and celestial themes, connecting you to a cosmic aesthetic.
You can find styles that incorporate metallic polishes or classic French tips with a twist. One popular choice is the half-moon design. It mimics the natural shape of the cuticle, enhancing the nail's beauty.
Reasons for Their Appeal:
- Customizable: You can specialize your designs with different colors and patterns.
- Fashion-Forward: They align with current trends, keeping your manicure fresh and modern.
Try layering techniques or adding decals to create a personalized touch. This flexibility allows you to express yourself creatively. Whether for casual or glamorous looks, moon nail designs offer something for everyone.
Common Elements in Moon Nail Designs
Moon nail designs often feature various celestial elements that create a magical look. Here are some common elements you might use:
- Crescent Moons: This shape adds a stylish touch and can be done with different colors or textures.
- Full Moons: Perfect for a bolder design, full moons can be represented with metallic or matte finishes.
- Stars: Often used alongside moons, stars add sparkle and enhance the celestial theme.
- Constellations: These can be represented with dots and lines, creating a night-sky effect.
Colors play a significant role in these designs. You might notice:
- Pale Blue: Reminds one of the sky, providing a soft and soothing base.
- Gold: Adds a touch of elegance and highlights the celestial elements.
- Black: Serves as a perfect background, making other colors pop, similar to a night sky.
Incorporating these elements into your nail art can help you achieve a look that reflects your love for the moon and stars. Consider combining different designs and colors to personalize your manicure.
Step-by-Step Guide: How to Create Moon Nail Designs at Home
Creating moon nail designs at home can be fun and easy. Follow these steps to achieve a beautiful look.
What You'll Need:
- Base coat
- Nail polish (your choice of colors)
- Nail stickers or tape for precision
- Top coat
- Optional: metallic or shimmer polish
Steps:
-
Prep Your Nails: Start with clean, dry nails. Apply a base coat to protect your nails and help polish stick.
-
Choose Your Base Color: Pick a color for your base. Apply a thin, even coat and let it dry completely. You may need a second coat for a richer color.
-
Create the Moon Shape: Use nail stickers or tape to outline the moon shape at the base of your nails. Press them down firmly for a clean line.
-
Paint the Moon: Choose a contrasting color for the moon area. Fill it in carefully using a small brush or a nail polish applicator.
-
Add Shimmer or Metallic: If desired, add a layer of shimmer or metallic polish over the moon area for an extra shine.
-
Finish with Top Coat: Once everything is dry, apply a top coat to seal your design. This will add shine and help it last longer.
Enjoy your DIY moon nail art! Feel free to experiment with different colors and styles to make it your own.
Top Color Combinations for Moon Nail Designs
Choosing the right colors can make your moon nail designs stand out. Here are some trendy color palettes to consider:
- Black and Silver: This combination creates an edgy look that's perfect for a night out.
- White and Gold: An elegant choice, this pair adds a touch of sophistication to your nails.
- Soft Pastels: For a dreamy aesthetic, consider pastel shades like lavender or mint green.
Add a hint of shimmer or metallic accents to elevate your design. Shimmer polishes can catch the light and add dimension.
Try mixing colors within these palettes, like:
|
Base Color |
Accent Color |
|
Midnight Blue |
Silver Glitter |
|
Rose Pink |
Gold Foil |
|
Pale Yellow |
White |
These combinations can highlight the moon effect while keeping your nails stylish. Don't hesitate to experiment with different shades for a unique touch.
Advanced Moon Nail Art Design Ideas
 |
 |
 |
For those looking to elevate their nail art, advanced moon nail designs can offer stunning results. You can mix various themes, colors, and embellishments to create unique styles that showcase your creativity and personality.
Moon and Star Combinations
Combining moon and star designs can create a whimsical and enchanting nail look. You can paint a crescent moon on one or two nails and add tiny stars around it. Use a dark base color like navy or black to represent the night sky.
Consider using metallic or glitter polish for the moon to make it stand out. You can also experiment with different nail shapes, such as stiletto or almond, which lend themselves well to intricate designs.
A great way to add depth is by varying the size of the stars. Use a fine brush to paint smaller stars and a dotting tool for larger ones. This approach adds dimension and complexity to your design.
Incorporating Rhinestones and Florals
Adding rhinestones and floral details can enhance your moon nail art significantly. Rhinestones work well as accents, glimmering like stars against dark backgrounds. Position them near your moon or scattered throughout the nail for a charming effect.
For the floral aspect, you can use small flower decals or hand-paint delicate blooms. Shades of white or pastel colors provide a nice contrast to the dark colors of the moon and stars.
Try using a matte finish for the base and glossy top coats on the rhinestones and flowers for a mixed texture look. This contrast can make your nail art pop, grabbing attention.
Starry Night and Night Sky Themes
A starry night theme can bring a captivating allure to your nails. Start with a deep blue or black base to represent the night. You can blend in shades of purple or navy to create a gradient effect.

📌 Get this nail here 👉 Mid-night Stars Ombre Almond Nails - Press On Nails 👈
Next, add your moon in white or gold, using a detailed brush for sharp edges. After that, draw tiny stars randomly across your nails. You can also include clouds or a light shimmer effect to add depth.
Consider a matte top coat for a soft finish or a glossy one for a more dramatic effect. This theme not only expresses your artistic side but also connects with the mystical beauty of the night sky.
Maintaining and Protecting Your Moon Nail Designs
To keep your moon nail designs looking fresh, regular maintenance is key. Follow these tips:
- Use a Top Coat: Apply a clear top coat every few days. This adds shine and protects against chips and scratches.
- Limit Water Exposure: Avoid soaking your nails in water for long periods. Wear gloves when doing dishes or cleaning to protect your manicure.
- Moisturize Your Cuticles: Use cuticle oil daily to keep your cuticles healthy and your design intact. Healthy cuticles prevent peeling.
- Avoid Harsh Chemicals: Steer clear of products with strong chemicals. These can dull your nail art or lead to damage.
- Be Gentle: Treat your nails with care. Avoid using them as tools to open packages or pry things.
- Schedule Regular Manicures: Get your moon manicures refreshed regularly. This helps maintain the look and allows for new designs.
- Store Nail Products Properly: Keep your nail polish and art supplies in a cool, dry place. This extends their life and keeps colors vibrant.
Popular Trends in Moon Nail Art
 |
 |
 |
Moon nail art has gained popularity for its unique charm and versatility. Current trends focus on combining lunar designs with classic styles, making them appealing for various nail looks. Here’s a closer look at some favorite trends.
Simple and Elegant French Tips with a Lunar Twist
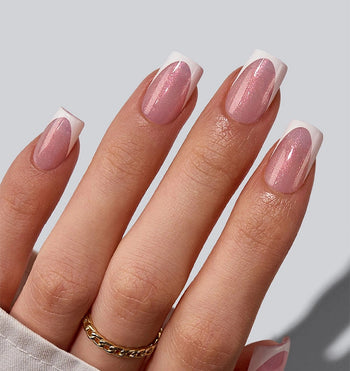
French tips have always been a classic choice in nail art. Now, adding a lunar twist makes them even more special. You can create this look by painting the traditional white tips and integrating small moon designs on one or two accent nails.

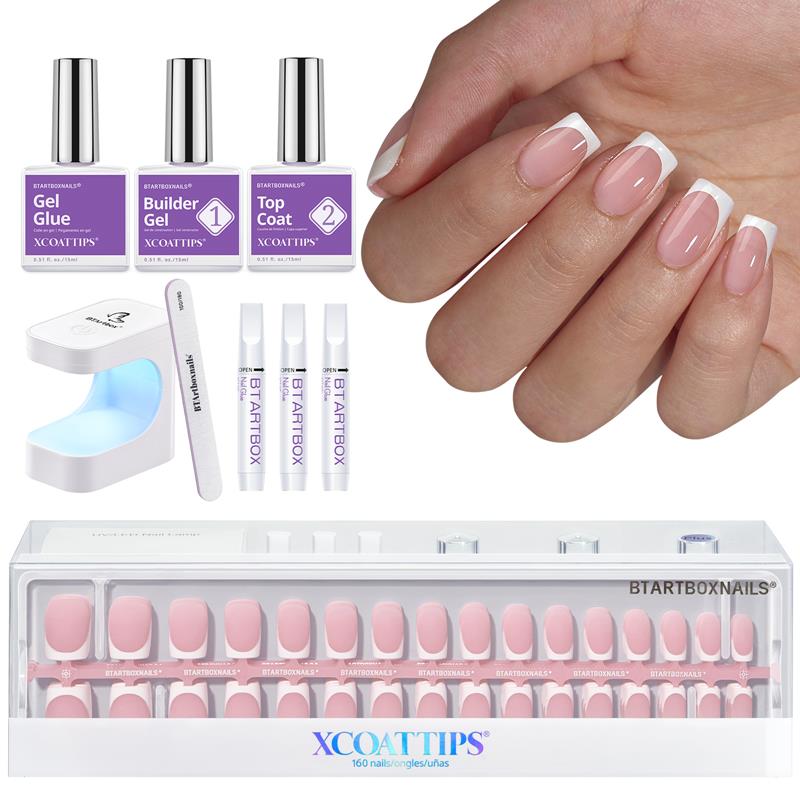
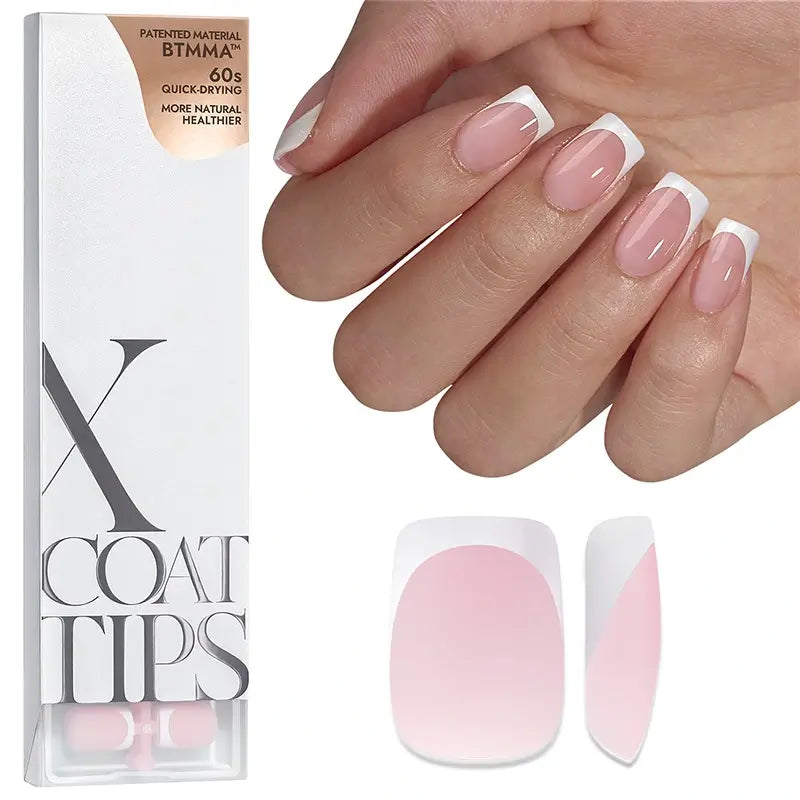
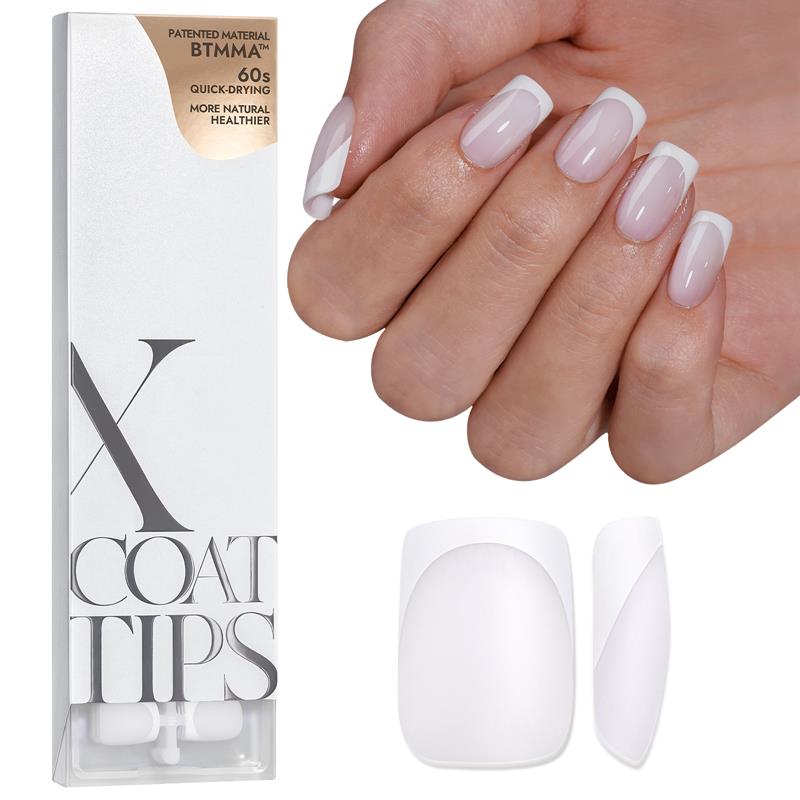
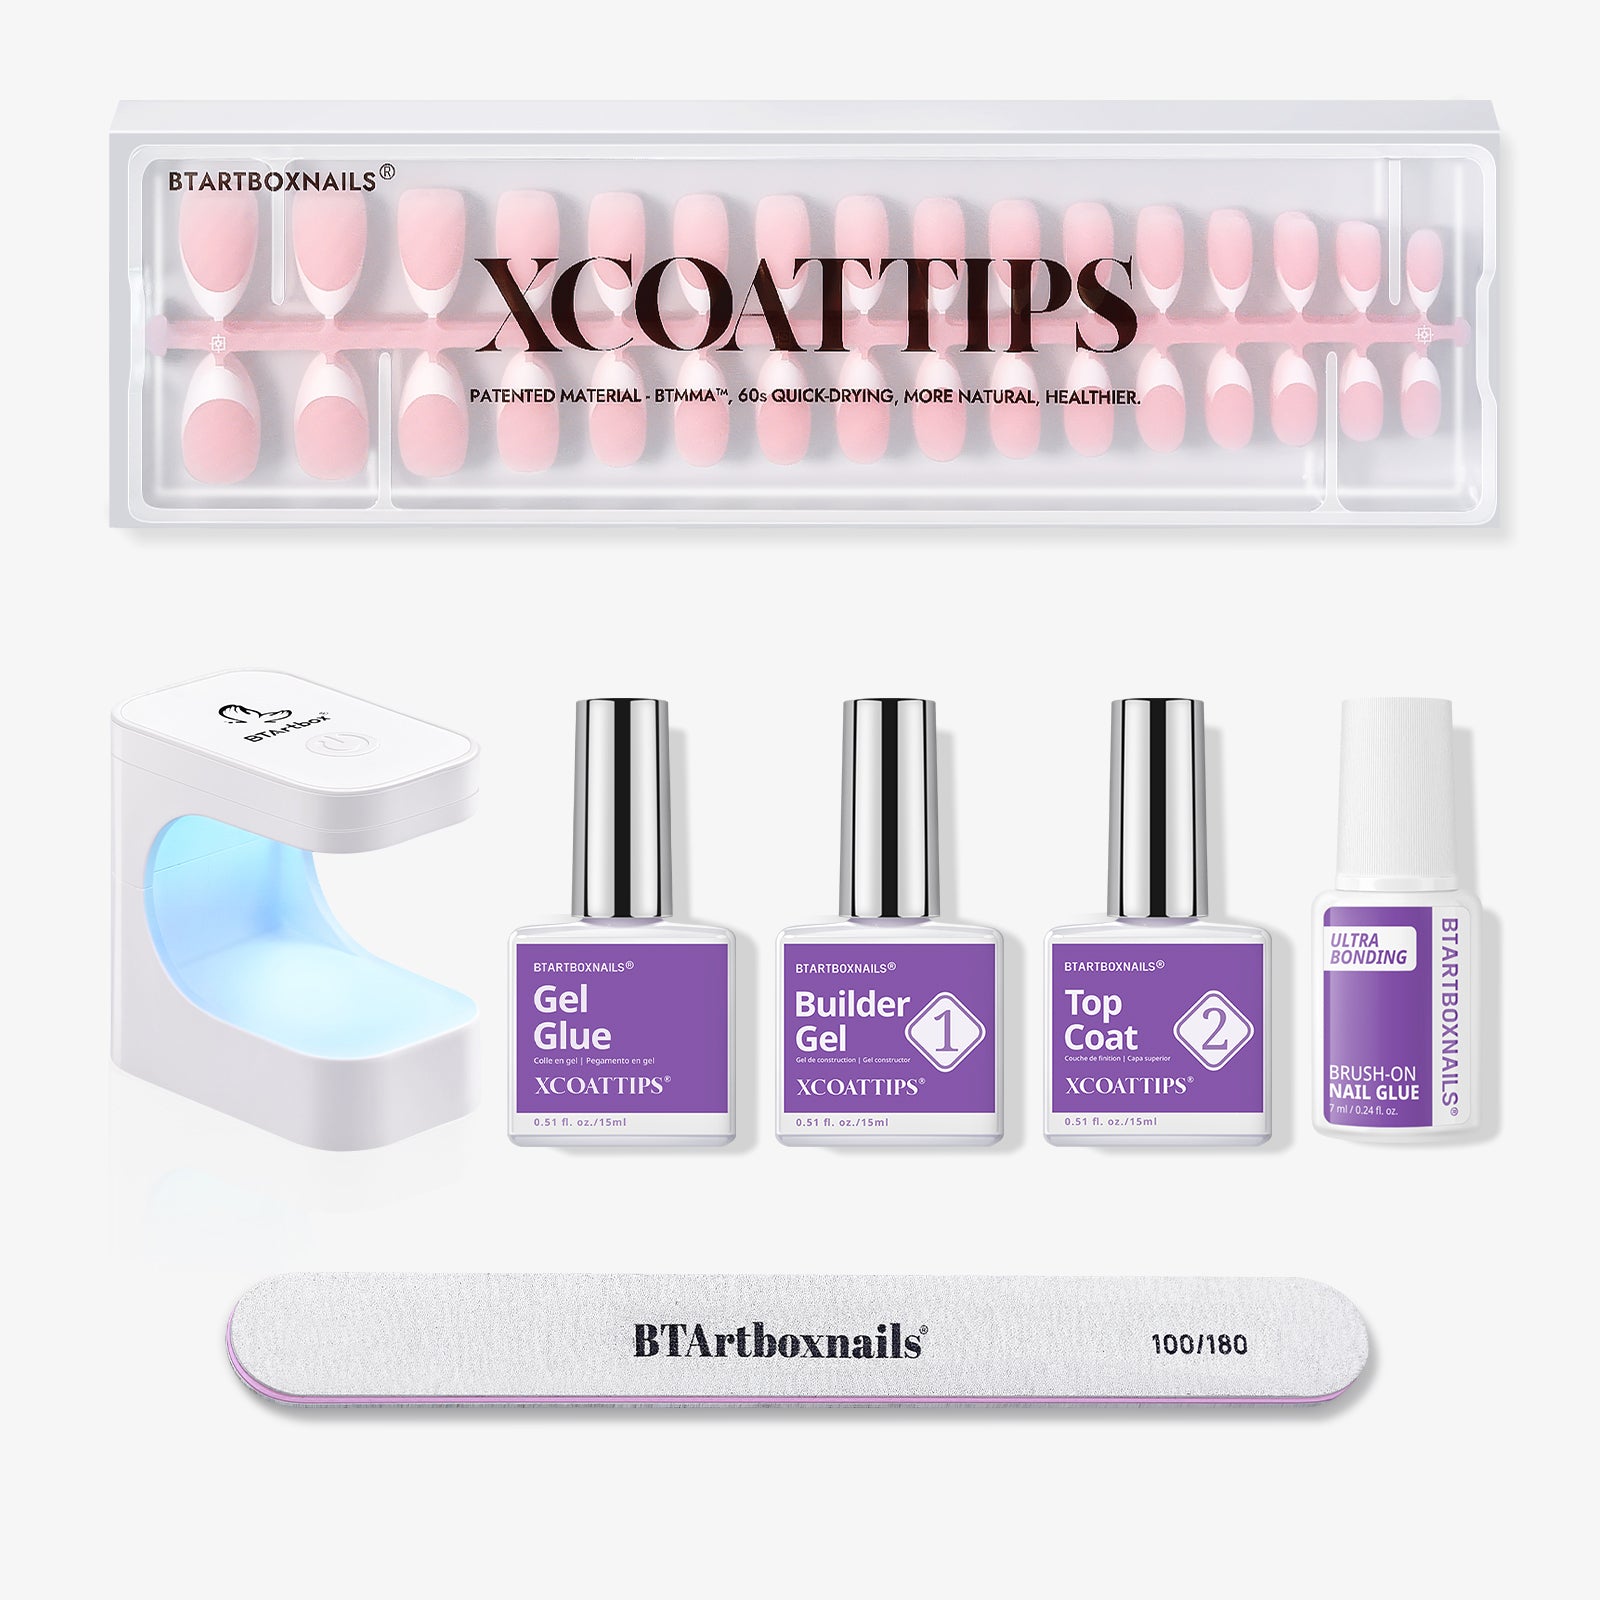
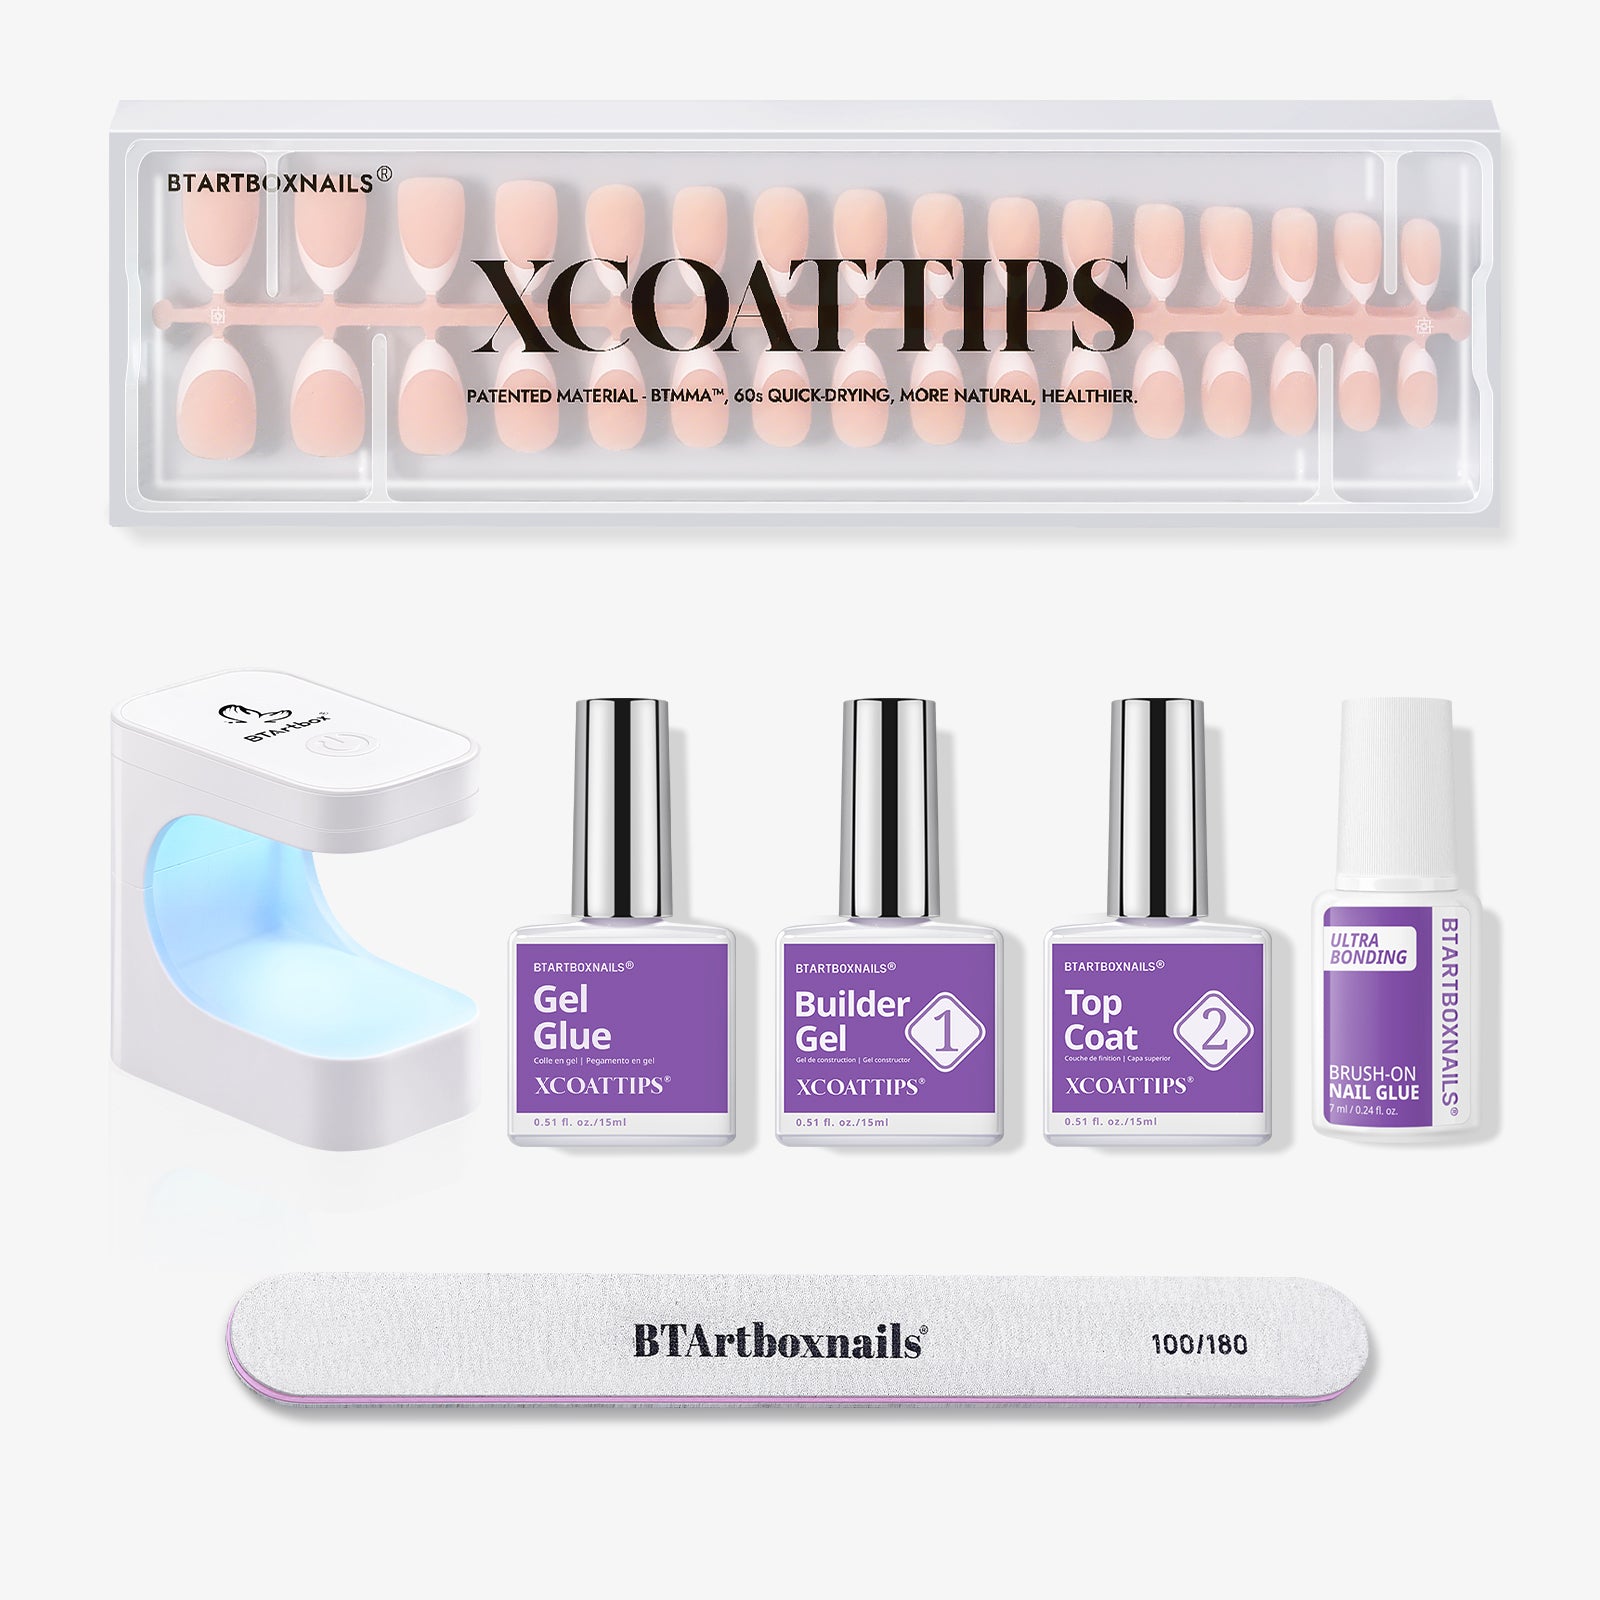
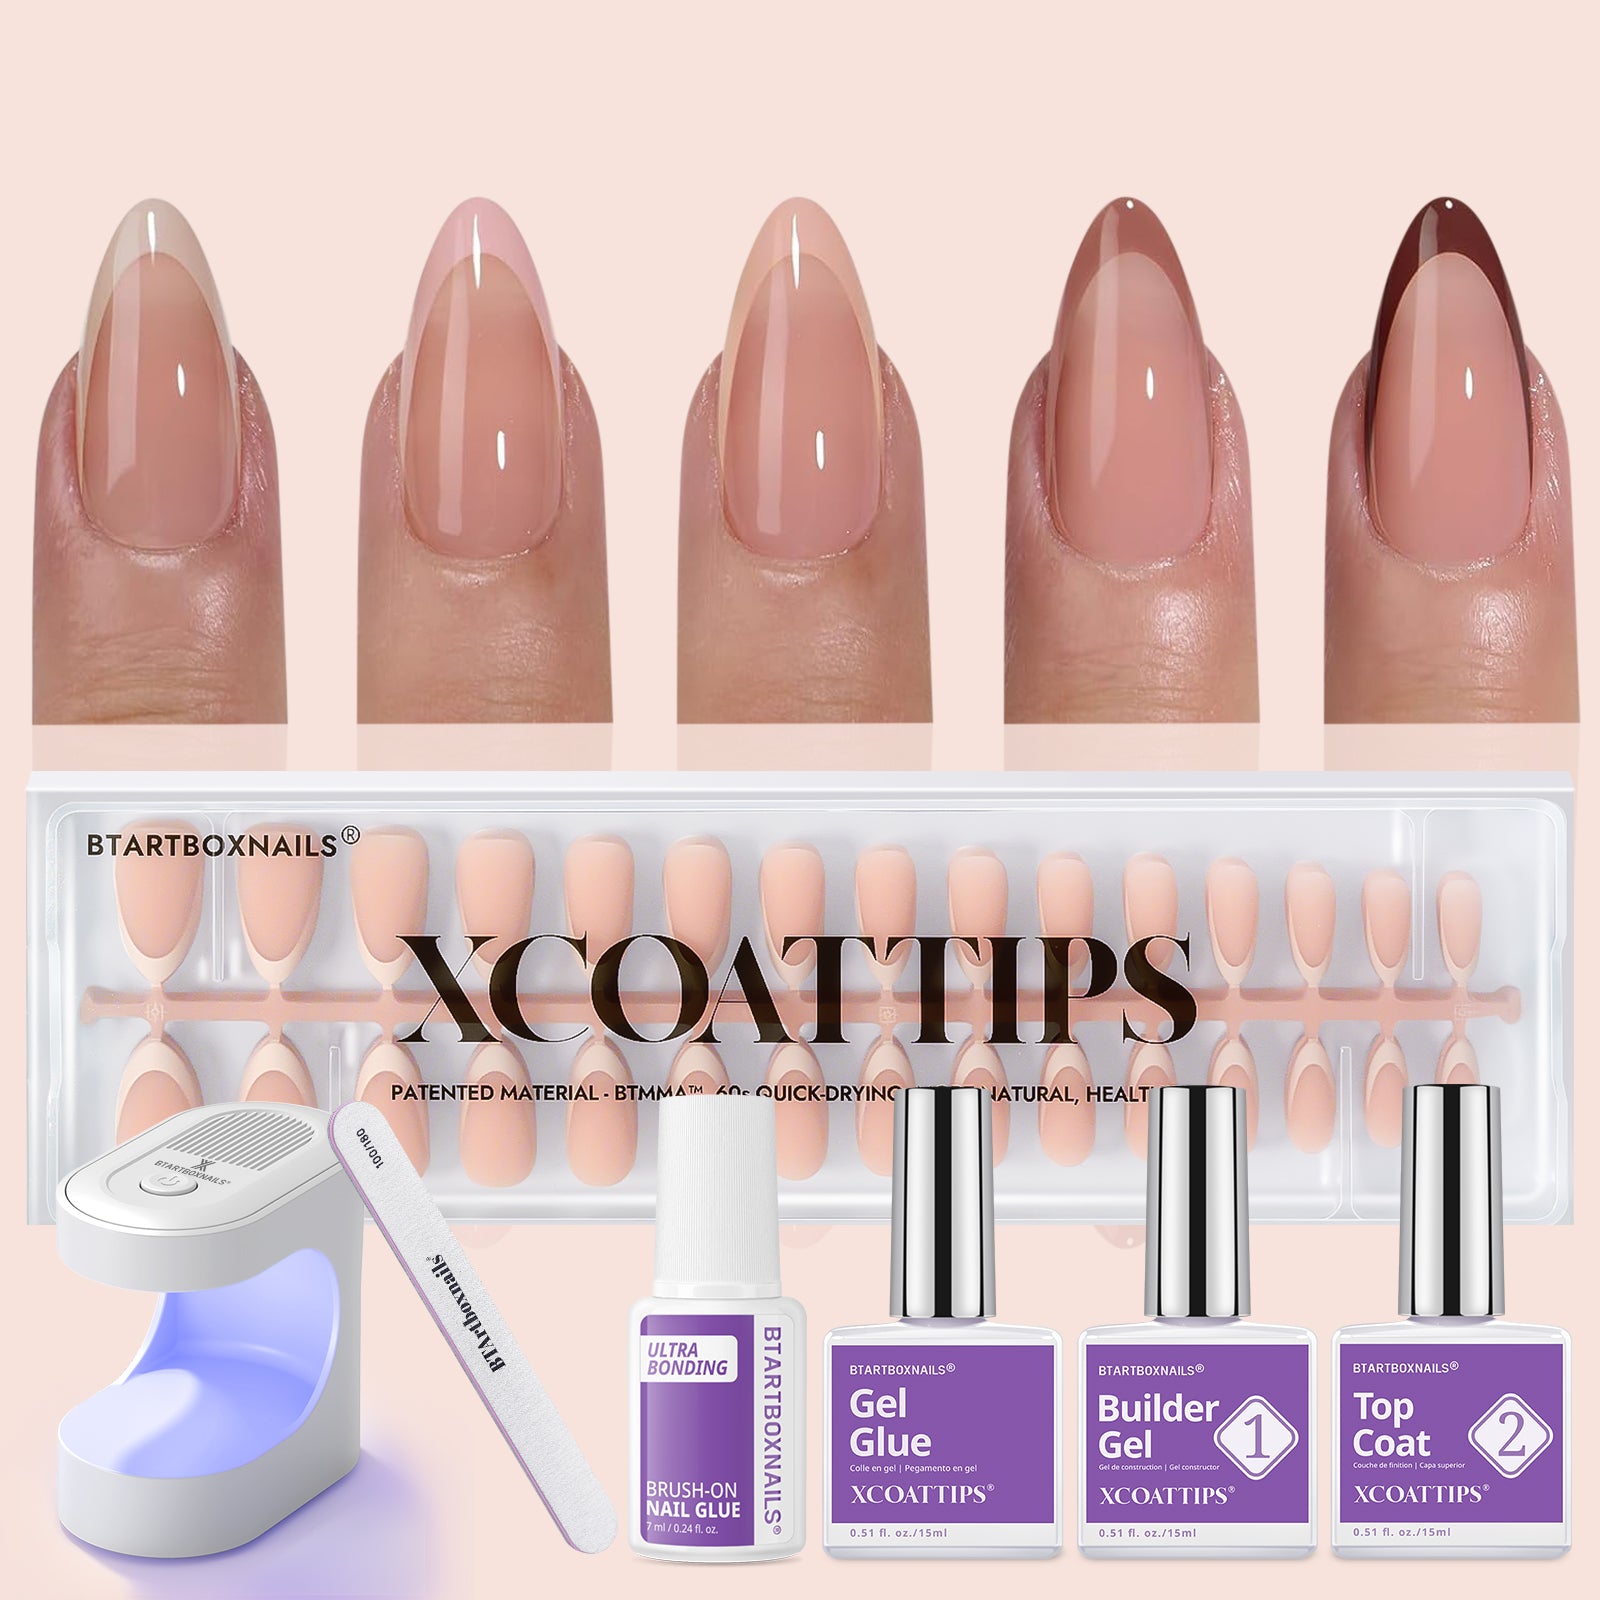
📌 Get this nail here 👉 XCOATTIPS® French - Medium Almond 👈
Choose subtle colors like soft pastels or a nude base for an elegant effect. You might use a thin brush to depict tiny crescent moons near the cuticles. For added flair, you can mix in glitter or metallic shades. This trendy design feels sophisticated while allowing a touch of fun.
The Rise of Nude Bases in Moon Nail Art
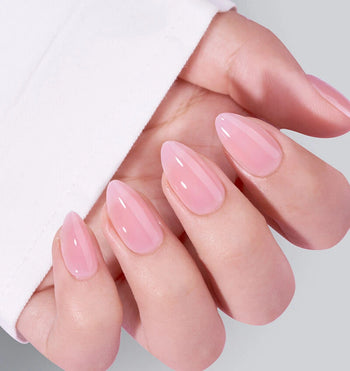
Nude nails are a popular trend that provides a perfect canvas for moon designs. The simplicity of a nude base allows intricate moon motifs to stand out. This look is great for people who prefer understated elegance.
You can get creative with the lunar theme. Use metallic colors or white polish to paint moons and stars directly on the nude background. The result is a chic and polished set of nails perfect for various occasions. Nude bases are versatile and can work with any outfit or setting.
Decal and Stamping Techniques for Moon Motifs
Decals and stamping techniques have made moon nail art much more accessible. These methods allow for precise designs without the need for advanced painting skills. You can find a variety of moon-themed decals ranging from simple crescent shapes to complex lunar phases.
For stamping, pick a design plate that features celestial patterns. With a little practice, you can create a seamless moon motif across your nails. This method is also time-saving and great for those who want detailed designs quickly. Mixing decals and stamping can add depth and variety to your nail art.
Tips for Achieving Professional-Quality Moon Nail Designs at Home
Creating moon nail designs can be fun and rewarding. Here are some tips to help you achieve a professional look.
-
Gather Your Tools
Before starting, make sure you have the right tools. You will need:
- Base coat
- Nail polish in your chosen colors
- Dotting tool or toothpick
- Striping tape or nail guides
📌 Check out our Nail Tools Collection
-
Prep Your Nails
Clean and shape your nails. Apply a base coat to protect them and help the polish stick better.
-
Use Nail Guides
For a neat lunula shape, use striping tape or nail guides. Place them carefully where you want the half-moon design.
-
Apply Colors Carefully
Choose contrasting colors to make the design pop. A classic option is a dark color for the moon and a lighter shade for the rest of the nail.
-
Make It Smooth
Apply the polish in thin layers. This helps avoid bubbles and ensures a smooth finish.
-
Finish with Top Coat
Once the polish dries, seal your design with a top coat. This adds shine and extends the life of your manicure.
-
Practice DIY Art
Don’t hesitate to try different techniques. Experiment with colors and shapes to create your unique style.
Conclusion
To wrap up, moon nail designs offer a unique and beautiful way to express your style through lunar-inspired art. Whether you prefer subtle crescents or bold, cosmic themes, these designs are perfect for adding a touch of elegance and mystery to your look. Moon nail art is versatile, trendy, and easy to customize to fit any occasion.
If you're ready to try out stunning nail designs with long-lasting, salon-quality results, explore the XCOATTIPS® French collection from BTartBox.
Shop now for the perfect nails that will make your moon-inspired art shine! Explore XCOATTIPS® French here.
Frequently Asked Questions
In this section, you will find answers to common questions about moon nail designs. This includes details about the patterns, symbolism, and how to create them on your own nails.
What is the moon pattern on nails?
The moon pattern on nails typically features images or shapes representing the moon. This can include crescent shapes or full moons, often paired with various colors and designs to create a unique look. These patterns can add an artistic and celestial touch to your manicure.
What is half moon nail design?
The half moon nail design features a small, curved section at the base of the nail. This design mimics the shape of the moon and is usually a contrasting color to the rest of the nail. It creates a classic and elegant style that highlights your natural nail shape.
Is Half moon on nails lucky?
The half moon design is often seen as a symbol of good luck and renewal. It represents new beginnings and the cycle of life, making it a popular choice for those who believe in its protective qualities. Many people choose this design to invite positive energy into their lives.
What are the five basic nail designs?
The five basic nail designs include solid color, French tips, ombre, glitter, and nail art. Each design can be customized with various colors and patterns. Moon nail designs can be incorporated into these basics for added flair and personalization.
What is the symbolism behind a moon design on nails?
Moon designs symbolize femininity, change, and intuition. They are often associated with night and mystery, representing the cycle of life. Many choose moon designs to express their connection to nature and the cosmos.
How do you make moon nails?
To create moon nails, start with a base coat in your preferred color. Use a small brush or nail art tool to add crescent shapes with a contrasting polish. You can also incorporate metallic polishes for extra shine. Finish with a top coat for durability and shine.
