Learning how to use a cuticle remover is a simple but important part of taking care of your nails. Cuticles protect your nails, but if they get too thick or too big, they can make your nails look messy.
A cuticle remover softens them so you can easily push them back and make your nails look neat and tidy. You'll want to pick out a remover that is gentle on your nails and then apply it carefully just to the cuticle area. After waiting a short while, you can push the cuticles back.
Want to get better at doing your cuticles and keep your nails looking great? Keep reading to find out how!
Understanding Cuticle Care

Proper cuticle care is essential for maintaining healthy nails, and understanding how to keep them in good condition is the first step in your nail care routine.
Importance of Cuticle Health
Your cuticle serves as a protective barrier for the new nails growing from the nail root. Dry cuticles can lead to peeling or cracking, which in turn can allow bacteria and fungi to cause infection.
Moisturizing your cuticles is vital to prevent them from becoming dry and to maintain the overall health of your nails.
- Why Moisturize: To prevent dryness, cracking, and potential nail damage.
- Result of Neglect: Ignored cuticles can lead to infections and unsightly nail health.
Conventional Methods: Cuticle Oils and Creams
Using cuticle oils and creams regularly can keep the cuticle area hydrated and support the integral structure of your nails.
-
Cuticle Oils: Typically contain natural oils, such as jojoba or almond oil, which deeply penetrate the skin to moisturize the cuticles.
|
Benefits |
Best Use |
|
Hydrates skin |
Use daily for best results |
|
Prevents ragged cuticles |
Apply to base of nails and massage |
-
Cuticle Creams: Are thicker in consistency and provide a barrier on the skin, locking in moisture for an extended period.
|
Benefits |
Best Use |
|
Extended hydration |
Apply at night before bed |
|
Heals dry cuticles |
Use on clean, polish-free nails |
For enhanced care, consider using moisturizing cuticle remover products, which can soften and safely remove overgrown cuticles. This makes it easier to push back the cuticle without damage, thereby improving the appearance of your nails.
Difference Between Cuticle Pushers and Removers

Cuticle Pushers: Essential tools to gently push the skin back from the nails after the cuticle has been softened.
- Metal Pusher: Durable and precise, often used in salons for its effectiveness.
- Cuticle Pusher: Comes in various materials; some prefer orangewood or rubber-tipped pushers for a softer touch.
Removers vs. Pushers:
- Cuticle removers dissolve or soften the cuticle, making it easier to remove without force.
- Cuticle pushers physically move the cuticle, and when used alone, may not be as effective or gentle.
Applying Cuticle Removers
Proper application of a cuticle remover is crucial in avoiding damage while effectively removing excess dead skin for cleaner nail beds.
Step-by-Step Application Guide
- Prepare Your Nails: Ensure your nails are clean and free of polish. Soak your hands in warm water with a few drops of soap for a few minutes to soften the cuticles.
- Apply Cuticle Remover: Using the product's applicator, meticulously apply the cuticle remover around the cuticle area. Be cautious to avoid direct contact with the nails.
- Wait: Allow the cuticle remover to sit for the duration specified by the product instructions, typically between 30 seconds to a minute.
- Gently Push Back Cuticles: With a cuticle stick or orangewood stick, gently push back the now-softened cuticles from the nails.
- Remove Dead Skin: Use a cotton ball or cloth to wipe any loosened dead skin away from the cuticle area.
- Rinse and Dry: After all cuticles have been addressed, rinse your hands in warm water and pat dry.
Tools and Tips for Effective Use
- Select the right tool for pushing back cuticles - a cuticle stick, typically made from wood like bamboo or orange, or a cuticle pusher.
- Look for cuticle removers with moisturizing ingredients to help hydrate the skin during the removal process.
- Always follow with a hand moisturizer to keep your skin and cuticles hydrated, as the remover might contain drying agents.
Post-Removal Care and Maintenance
After safely removing cuticles, it is crucial to engage in proper post-removal practices to maintain healthy nails and prevent infections.
Nourishing After Care
Your post-removal routine should focus on moisturizing to promote healing.
Apply a cuticle oil or balm that contains nourishing ingredients such as aloe or chamomile, which soothe the nail bed and prevent dryness that can lead to hangnails.
- Daily Moisturizing: Use cuticle oil every day to keep nails hydrated.
- Key Ingredients: Look for products with vitamins E and A for added nourishment.
Also read our guide: Causes and Treatment of Hangnails
Safe Practices to Avoid Infections
To keep your nails free from infection and bacteria, always sanitize your tools before and after use.
Keep your hands clean, and avoid harsh chemicals that might irritate the sensitive skin around your nails.
- Sanitization: Soak metal tools in isopropyl alcohol for 5 minutes and allow them to air dry.
- Protection: Wear gloves when using detergents or cleaning agents.
Special Considerations for Nail Enhancement
When opting for nail enhancements such as acrylics or gels, managing the health of your cuticles is paramount to ensuring that your nails not only look their best but remain healthy underneath the enhancements.
Managing Cuticles with Nail Enhancements
When you have nail enhancements like acrylics or gels, cuticle care requires a gentle approach. Nail polish and enhancements can make accessing the cuticle more challenging, so follow these tips to carefully manage your cuticles:
- For Acrylics and Gels: Apply cuticle remover around the base of the nails, avoiding rough contact with the enhancements. Allow it to sit for the recommended period. This is usually around 30 seconds to a minute.
- Pushing Back Cuticles: Use a cuticle pusher that's compatible with enhancements. For acrylic nails, a rubber-tipped pusher can be gentle yet effective. With gels, you may want to use a softer, silicone-tipped tool.
- Nail Health: Keeping the cuticles healthy is essential for maintaining longer nails. By gently pushing back the cuticles, you encourage natural nail growth and prevent potential damage.
Conclusion
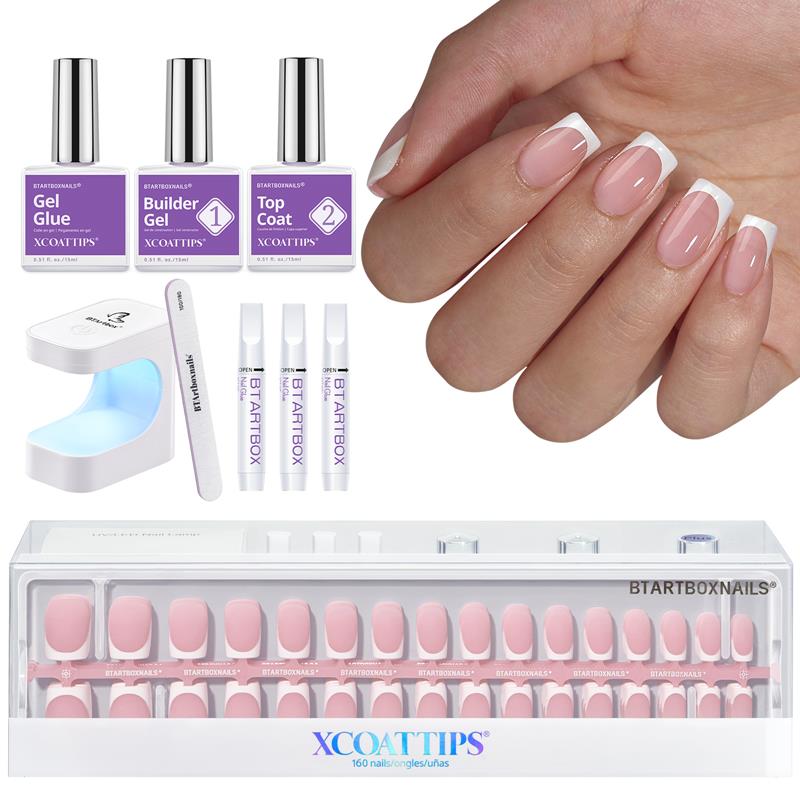
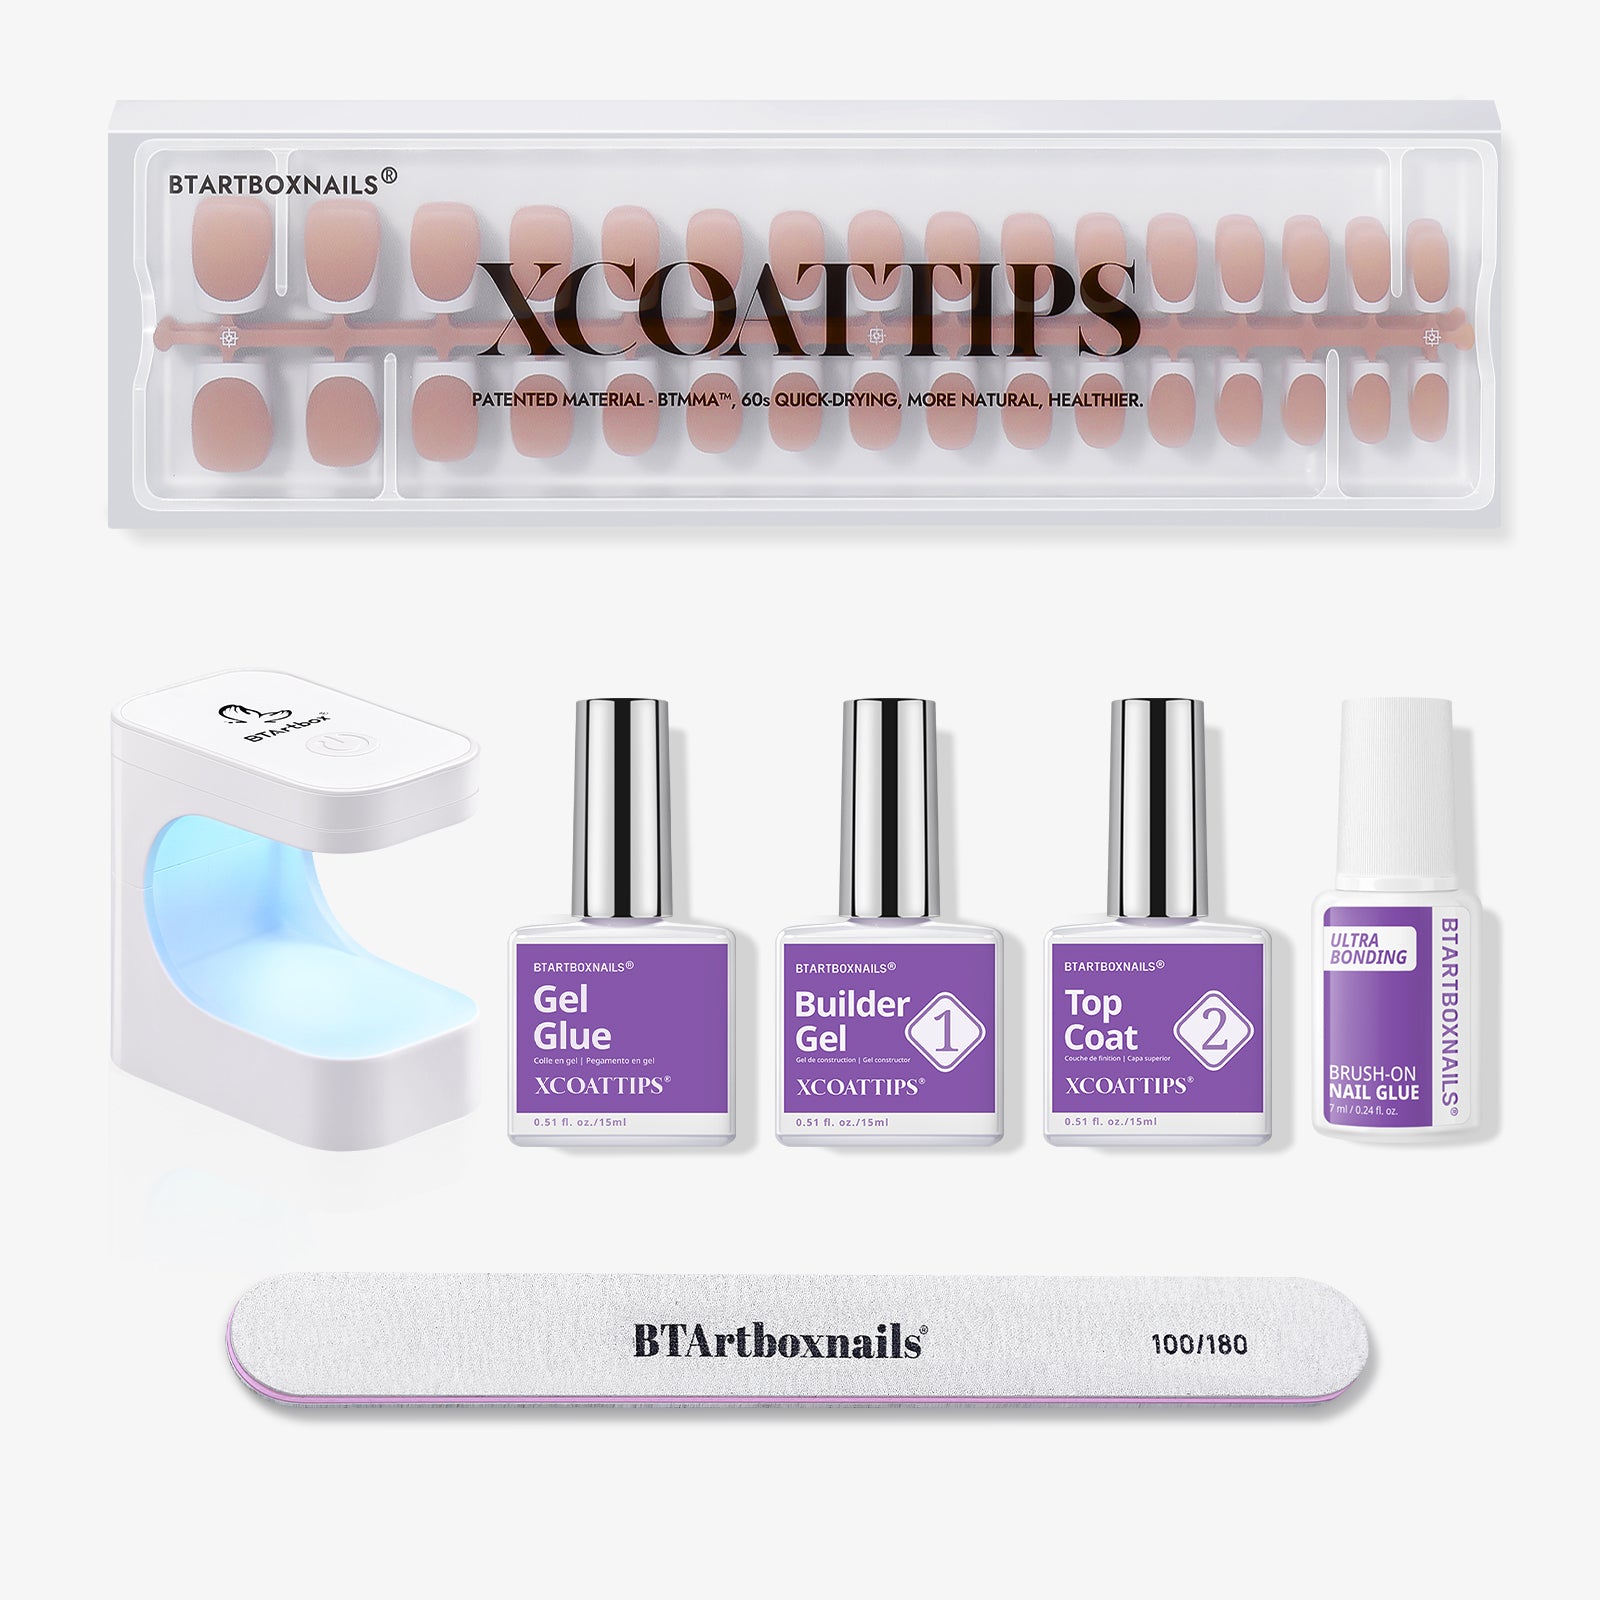
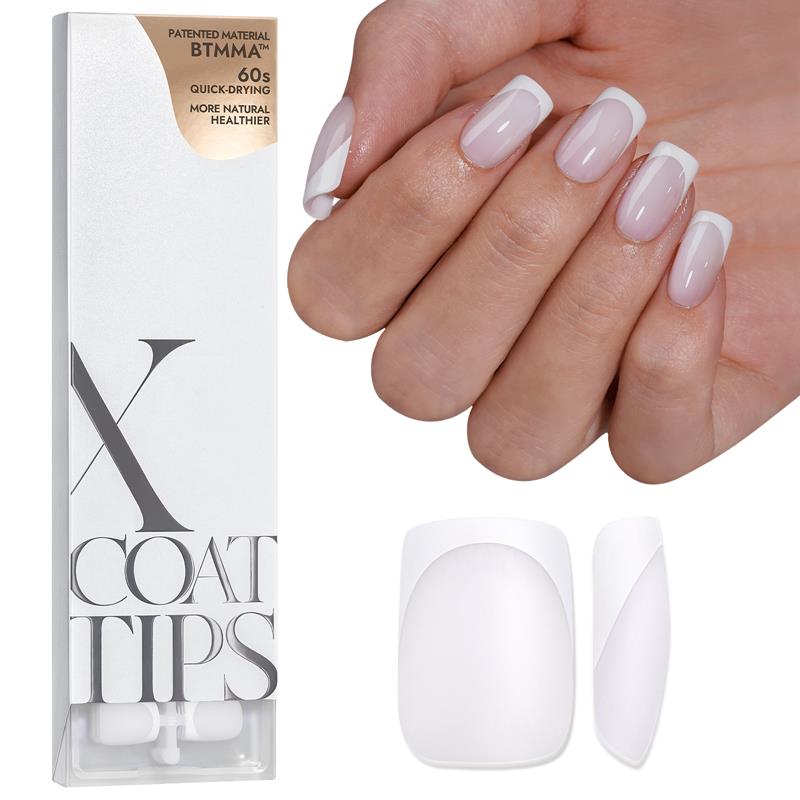
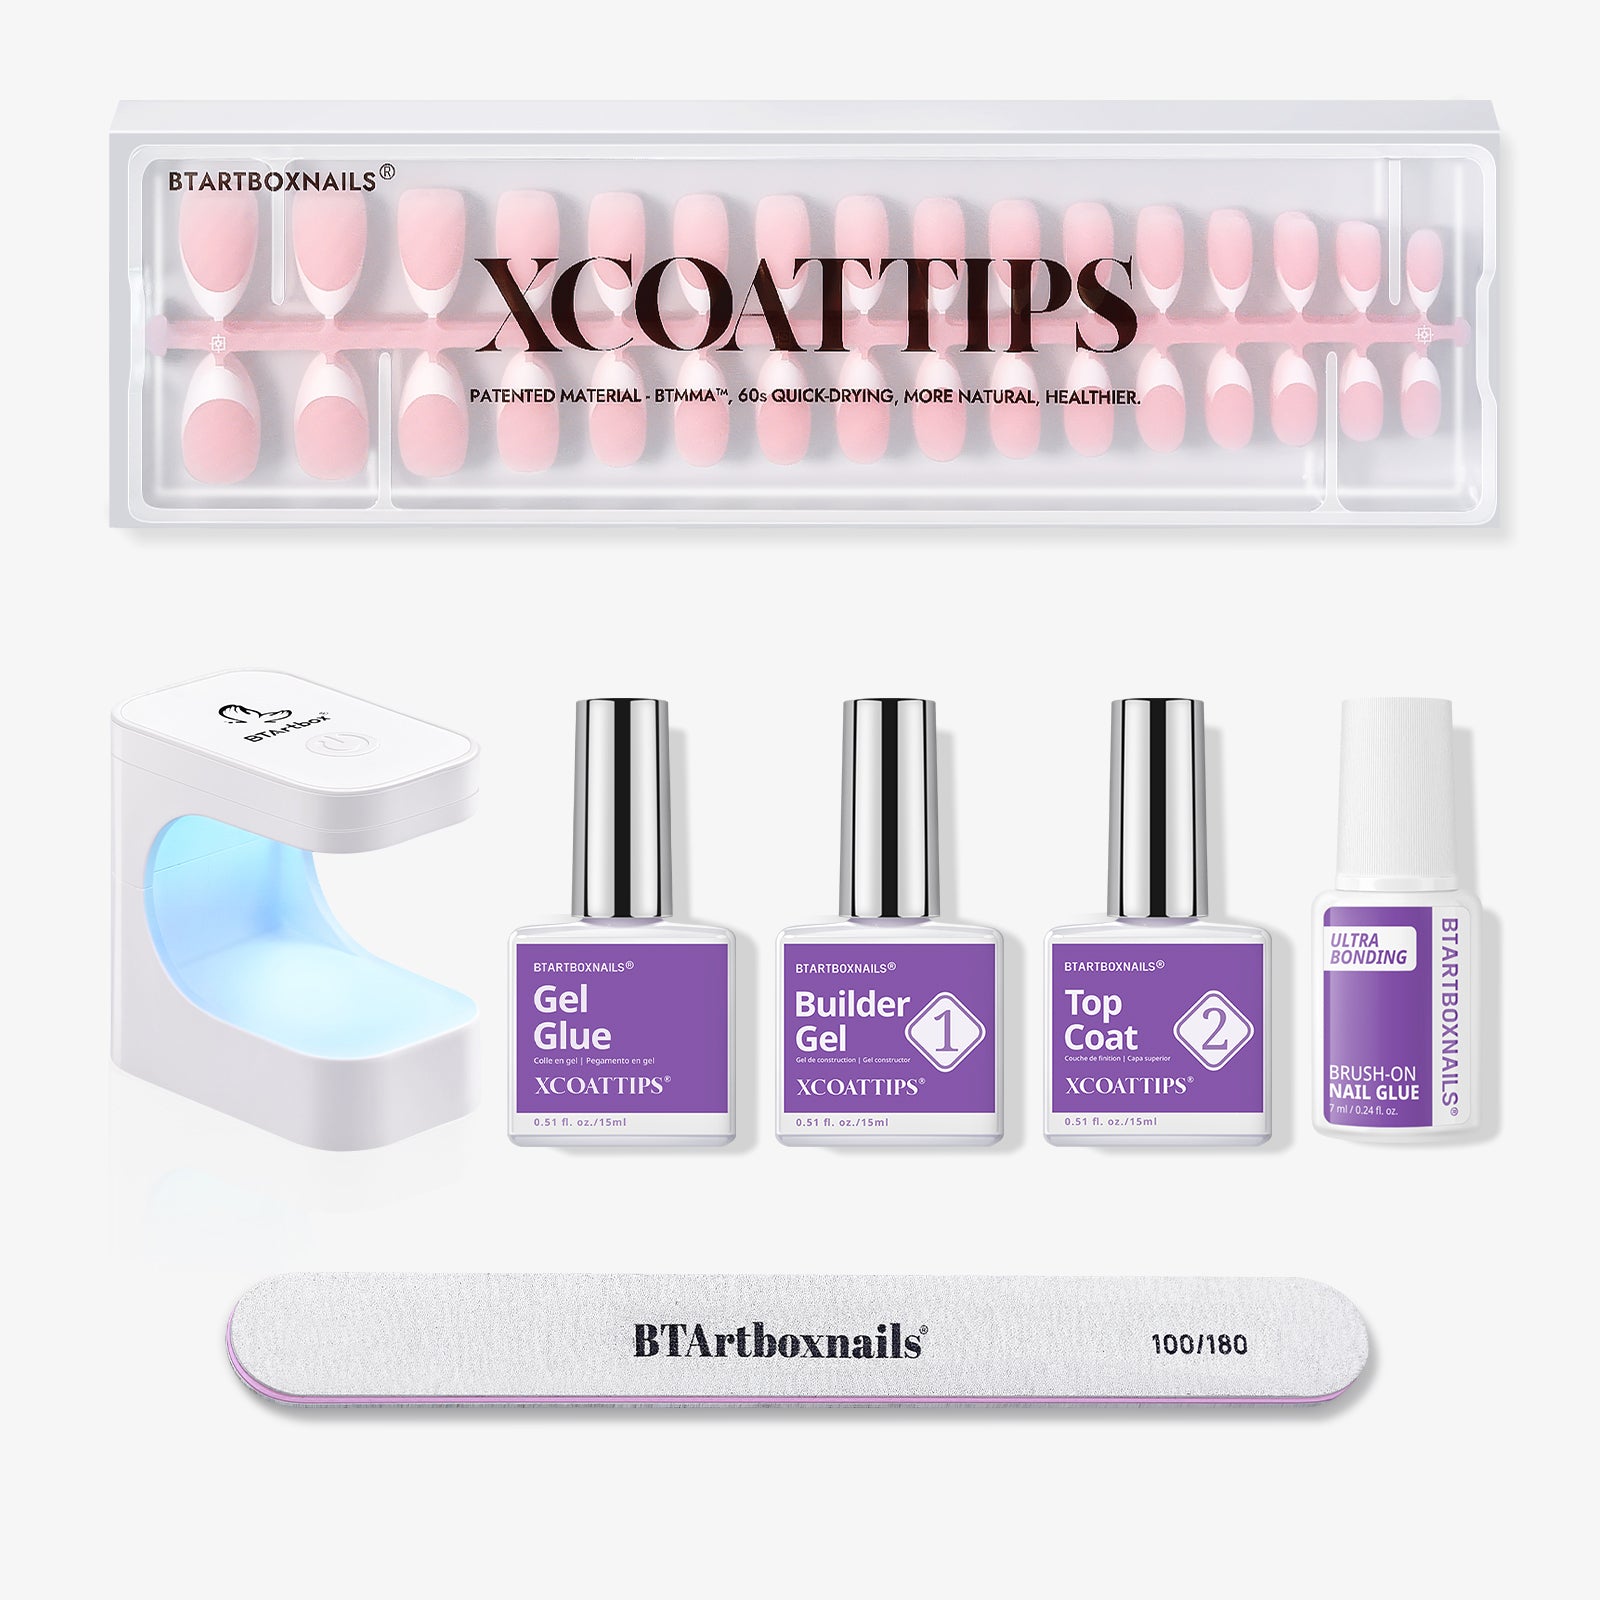
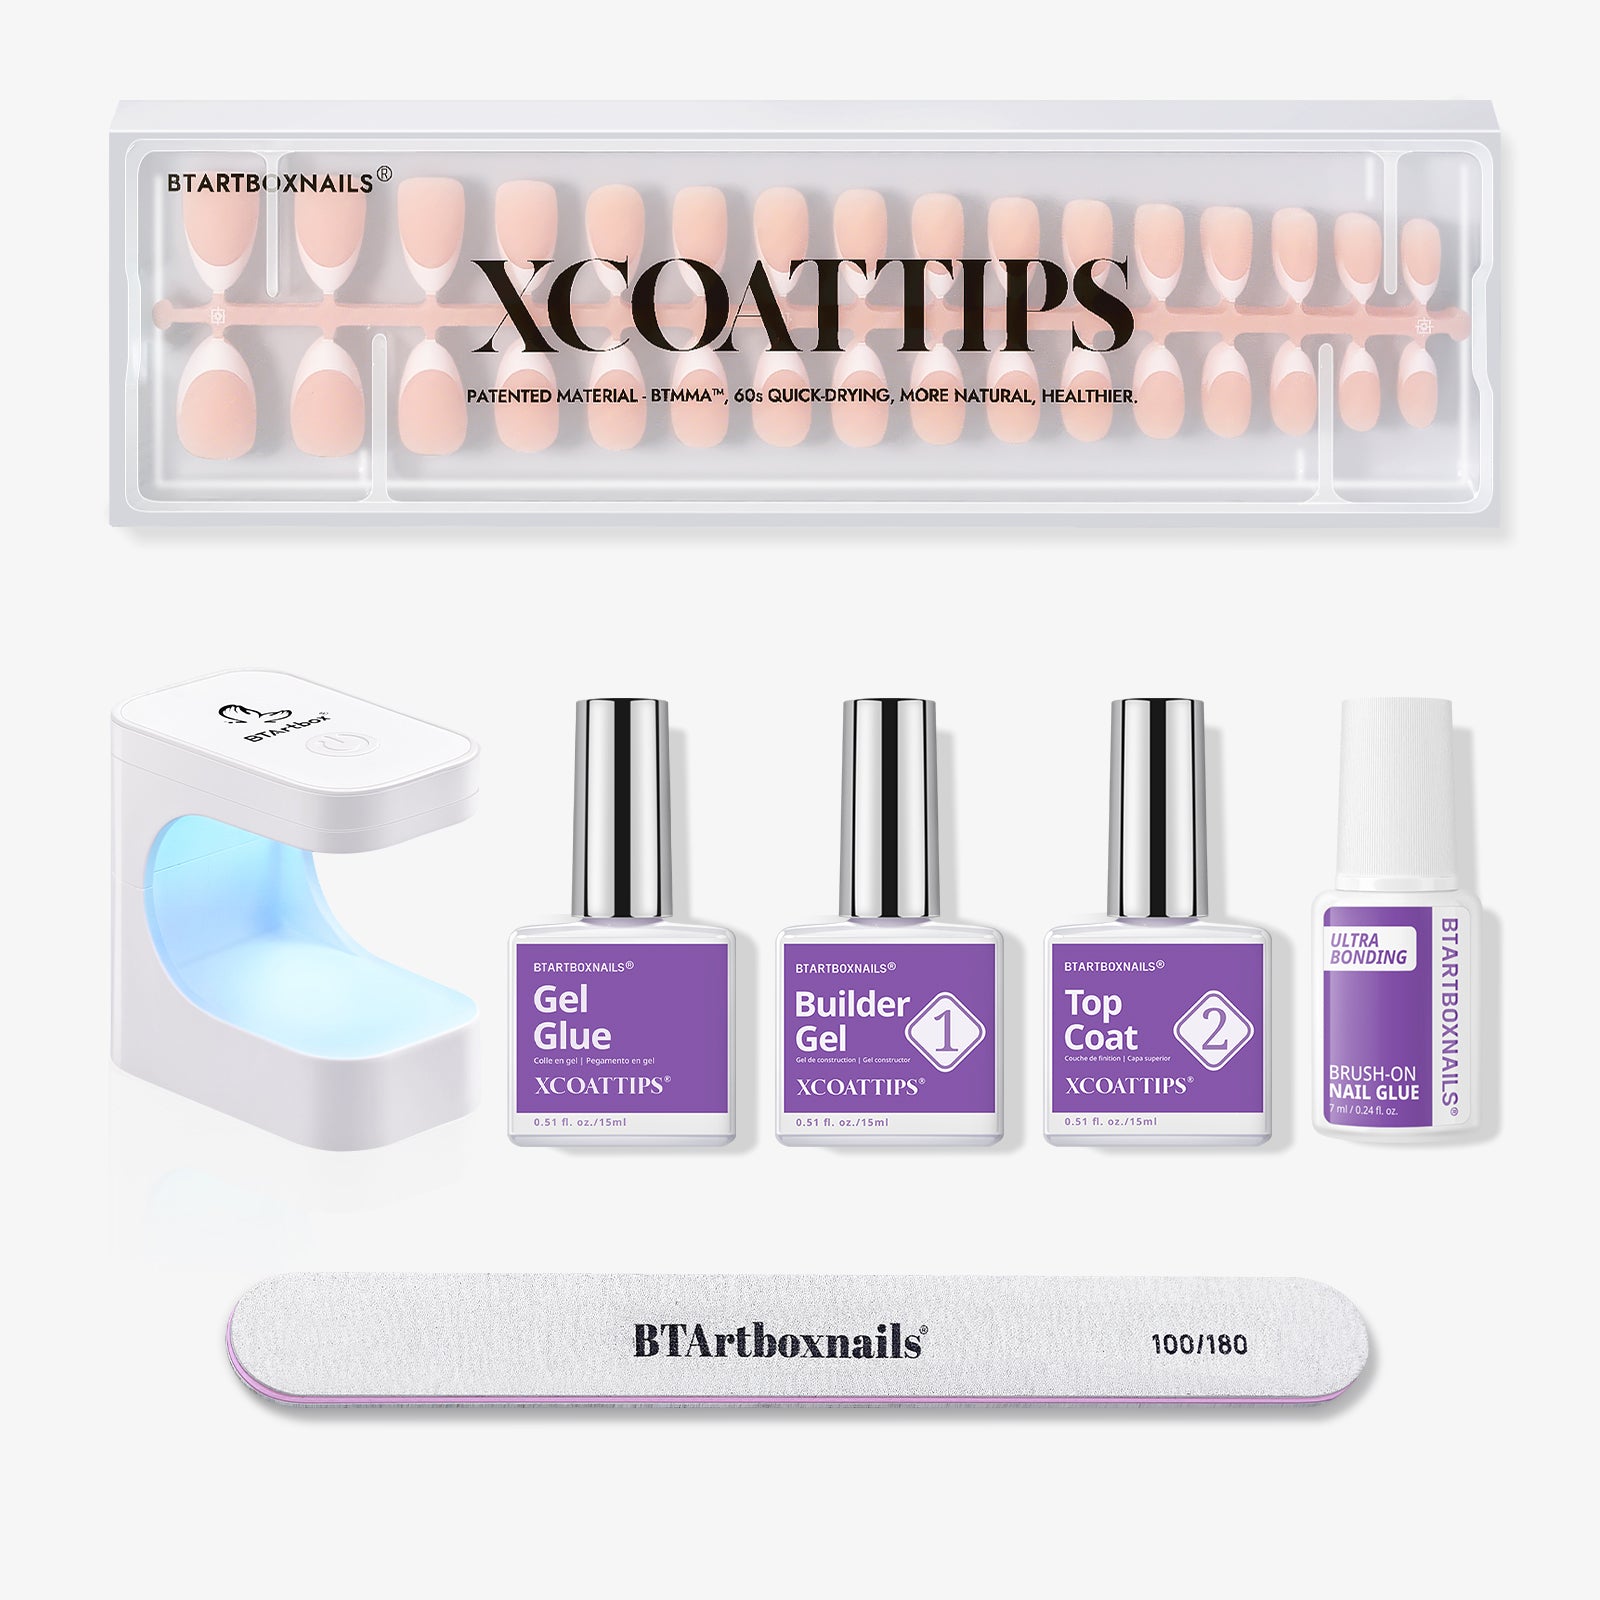
After pampering your nails with a gentle cuticle removal process and ensuring they're hydrated, it's time to consider your next stylish look. Try the XCOATTIPS from BTArtBoxNails for a customized base that makes your nail art pop and lasts longer. Add a good top coat to seal and shine, and your nails will be both healthy and striking.
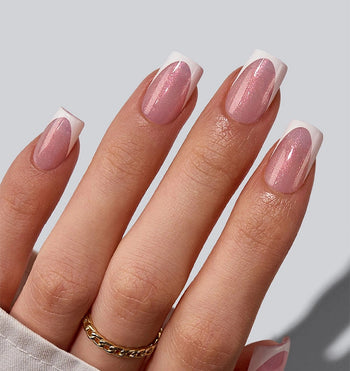
If you're in the mood for a nail style that requires less fussing over cuticles, press-on nails are an excellent choice. With BTArtBoxNails, you'll get a seamless application that looks natural and is easy to manage. Use our fingernail adhesive for a secure fit. Explore our collections of short fake nails, artificial nails, and graduation nails to keep your nails looking fabulous.
Frequently Asked Questions
How long should cuticle remover be left on before removal?
Cuticle remover should typically be left on for the amount of time recommended by the manufacturer, which usually ranges from a few seconds to five minutes. Avoid leaving the product on for longer than advised to prevent the risk of irritation.
How can I ensure that cuticle remover does not damage my nails?
To protect your nails, follow the product's instructions closely. Only use the recommended amount and do not leave the product on your nails for longer than instructed.
What do healthy cuticles look like?
Healthy cuticles are clear or slightly see-through, sitting snugly at the base of your nail without redness, swelling, or hurt. They shouldn't be dry or peeling but should feel soft. This means they're doing their job of keeping germs out and should be kept moisturized for the best nail health.
Can you remove press-on nails with cuticle remover?
You shouldn't use cuticle remover to take off press-on nails. It's made for softening the skin around your nails, not for getting rid of the glue that holds press-ons in place. To remove press-ons, soak your nails in warm water with a bit of soap, then gently pry the nails off with a tool like a cuticle stick. If needed, a bit of nail glue remover or acetone can help too. Using cuticle remover could harm both the fake and real nails.
