


If you want a long-lasting and versatile way to create stunning nail designs, builder gel nails are a great choice. Builder gel can add length, thickness, or strength to your natural nails or enhancements. It's perfect for creating unique and durable designs that last for weeks.
Builder gel nails are highly durable and don't chip or fade like regular nail polish. This allows your designs to stay looking great for much longer. You can create a wide range of designs, from simple French tips to intricate nail art.
Whether you're a professional or experimenting at home, builder gel nails offer a versatile and durable option. With the right tools and techniques, you can create unique and eye-catching designs that last for weeks. Give builder gel nails a try and see what amazing designs you can create.
What Are Builder Gel Nails?
Builder gel nails are a type of nail enhancement that use a thick, viscous gel to add length, thickness, and strength to your natural nails. This type of gel can be applied to your natural nails or to nail tips, and it can be cured under a UV or LED lamp. Builder gel nails can last for several weeks, making them a popular choice for people who want to maintain their manicure for an extended period.
Benefits of Builder Gel Over Traditional Acrylics
Builder gel has several advantages over traditional acrylics. For one thing, it's less likely to lift or crack, which means your manicure will last longer. Additionally, builder gel is more flexible than acrylics, which means it's less likely to break or snap. Finally, builder gel is less likely to cause damage to your natural nails, which is a concern for many people who use nail enhancements.
The Basics of Gel Nail Chemistry
Builder gel is made up of a combination of ingredients, including oligomers, monomers, and photoinitiators. When these ingredients are exposed to UV light, they polymerize and harden, creating a strong, durable surface. Unlike traditional acrylics, which are made up of a powder and liquid that are mixed, builder gel comes in a single bottle and is applied directly to your nails.
How to Apply Builder Gel?
If you're looking for a way to get strong, beautiful nails that last for weeks, then builder gel is the way to go. But how do you apply it? Here's a step-by-step guide to help you get the perfect application every time.
- Prepare your nails by filing them to the desired length and shape.
- Push back your cuticles.
- Apply a thin layer of primer to your nails and let it dry.
- Apply a base coat of builder gel evenly on your nails, with extra attention to the center.
- If adding extensions, attach nail forms or artificial tips securely to your nails.
- Take a small bead of builder gel and place it on the center of your nail, near the cuticle.
- Use a brush to spread the gel down the nail, making sure it's evenly distributed.
- Repeat the gel application process for each nail.
- Cure your nails under an LED light or UV lamp for 1-2 minutes to harden the gel.
- Apply a top coat of builder gel to seal everything in and give your nails a glossy finish.
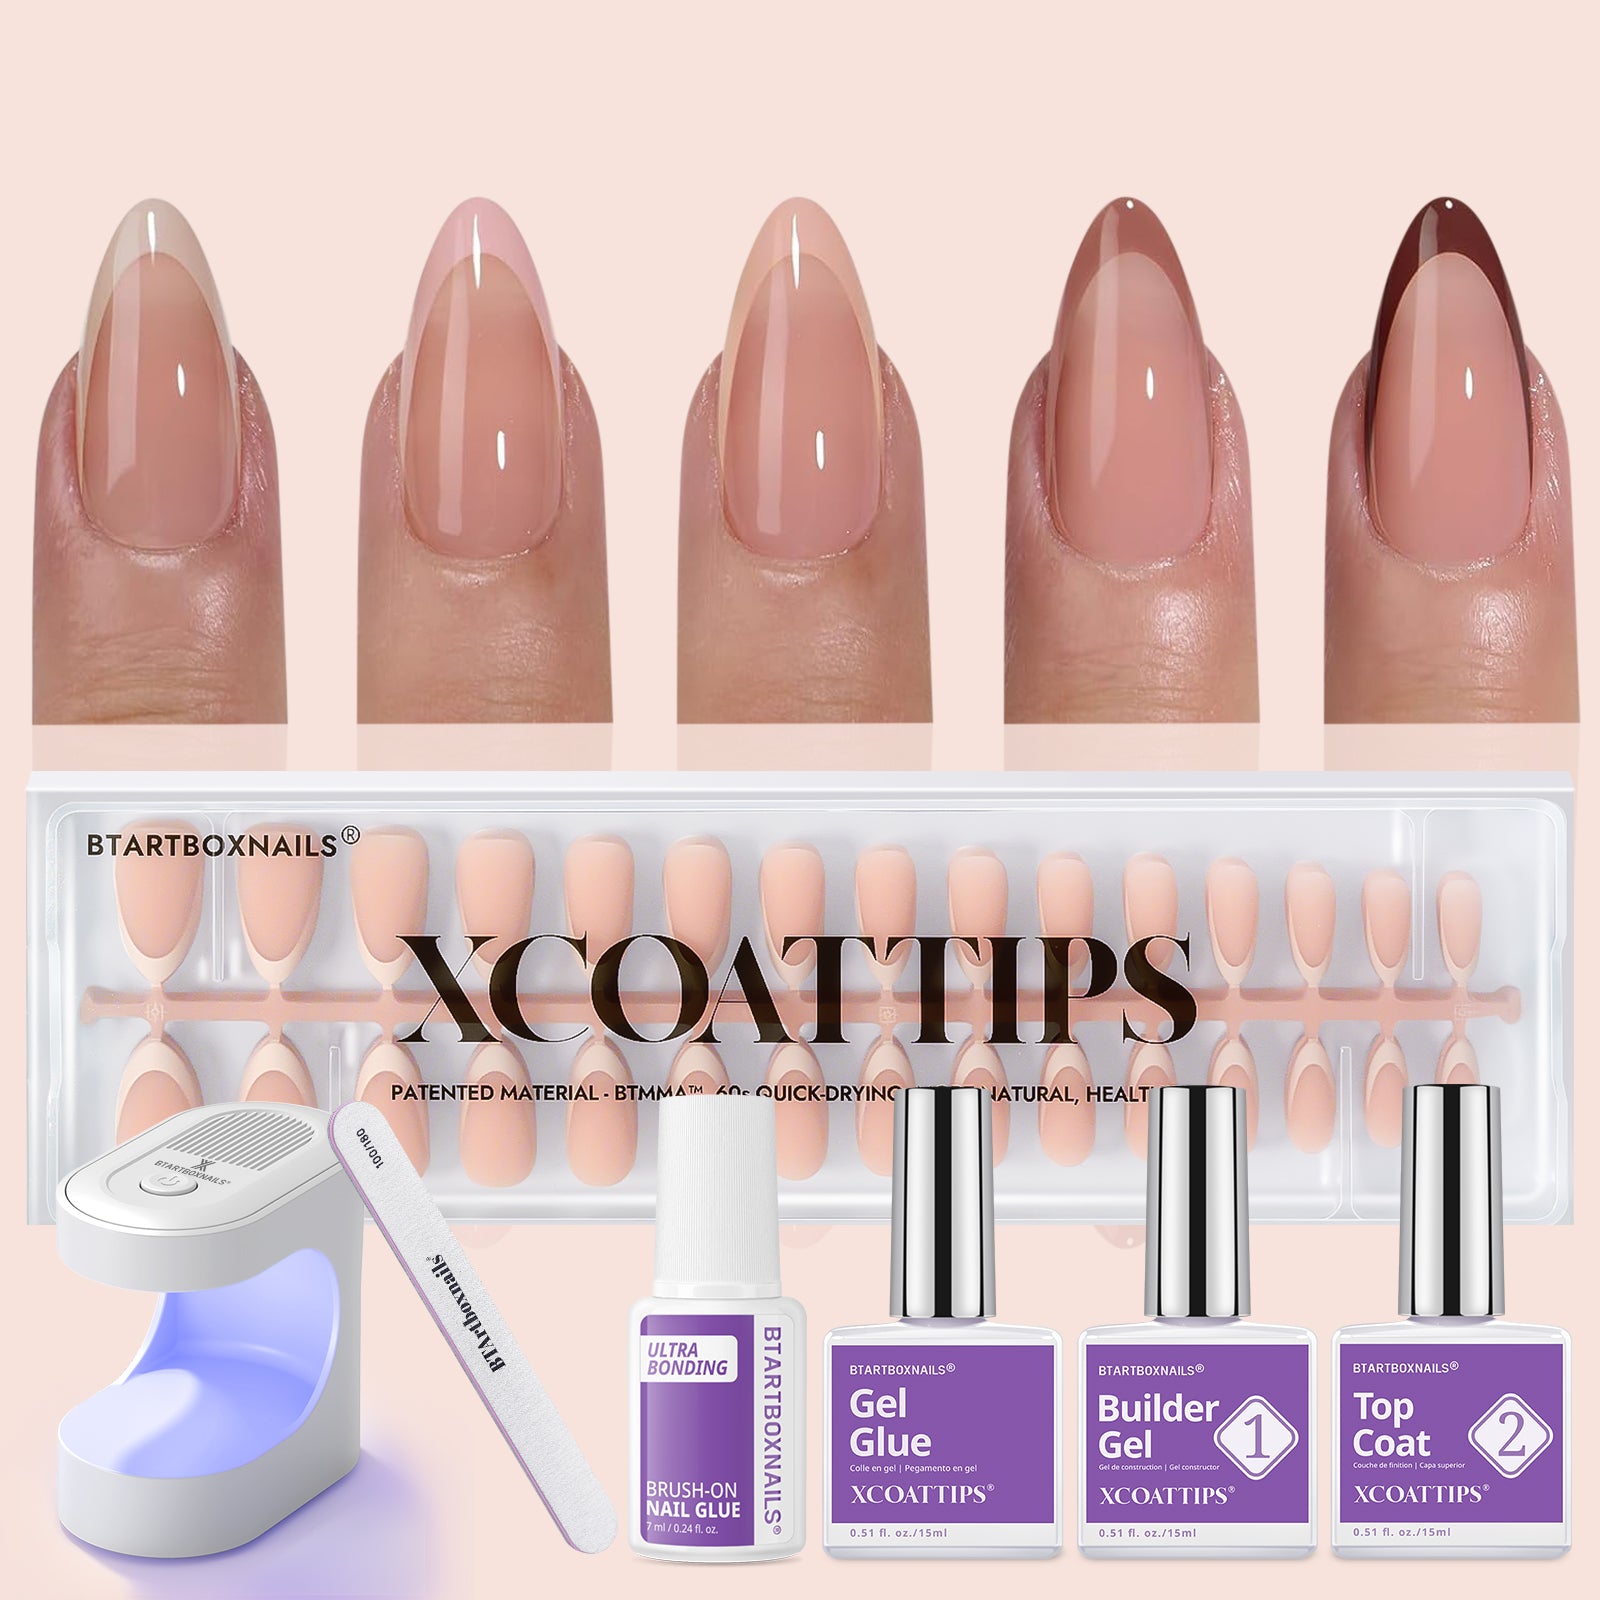
Top 20 Press-On Nail Ideas from BTArtbox Nails
If you're looking for some inspiration for your next nail appointment, here are the top builder gel nail design ideas for 2024. These designs are perfect for any occasion and will make your nails stand out.
1. Dazzling Pink Almond Nails

Shop Now 🛒: Dazzling Pink Almond Nails - Press On Nails
Bright pink almond-shaped nails for a vibrant look.
2. Ballet Almond Nails

Shop Now 🛒: Ballet Almond Nails
Soft pink nails with a delicate, ballet-inspired style.
3. Amber Almond Nails

Shop Now 🛒: Amber Almond Nails - Press On Nails
Warm amber-colored nails that add a touch of elegance.
4. Twister Square Nails

Shop Now 🛒: Twister Square Nails - Press On Nails
Twister Square Nails - Unique square nails with a swirling design.
5. Aurora French Almond Nails

Shop Now 🛒: Aurora French Almond Nails - Press On Nails
Aurora French Almond Nails - Classic French tips with an aurora twist.
6. Knightshield Almond Nails

Shop Now 🛒: Knightshield Almond Nails - Press On Nails
Knightshield Almond Nails - Bold almond nails with a knightly design.
7. Pinkbabi Almond Nails

Shop Now 🛒: Pinkbabi Almond Nails - Press On Nails
Pinkbabi Almond Nails - Light pink nails for a cute and playful look.
8. Crescent Moon Almond Nails

Shop Now 🛒: Crescent Moon Almond Nails - Press On Nails
Crescent Moon Almond Nails - Elegant nails with a crescent moon design.
9. Chromium Square Nails

Shop Now 🛒: Chromium Square Nails - Press On Nails
Chromium Square Nails - Shiny chrome square nails for a modern style.
10. Bubble Cake Almond Nails

Shop Now 🛒: Bubble Cake Almond Nails - Press On Nails
Bubble Cake Almond Nails - Fun, colorful nails with a bubble-like pattern.
11. The Pale Moonshine Square Nails

Shop Now 🛒: The Pale Moonshine Square Nails - Press On Nails
The Pale Moonshine Square Nails - Subtle and sophisticated pale nails.
12. Bowknot Pink Ombre Square Nails

Shop Now 🛒: Bowknot Pink Ombre Square Nails - Press On Nails
Bowknot Pink Ombre Square Nails - Gradient pink nails with a cute bow design.
13. Pine Tree Almond Nails

Shop Now 🛒: Pine Tree Almond Nails - Press On Nails
Pine Tree Almond Nails - Nature-inspired nails with a pine tree design.
14. Steelheart Almond Nails

Shop Now 🛒: Steelheart Almond Nails - Press On Nails
Steelheart Almond Nails - Strong, metallic nails for a bold statement.
15. Mermaid Ombre Square Nails

Shop Now 🛒: Mermaid Ombre Square Nails - Press On Nails
Mermaid Ombre Square Nails - Gradient nails with a mermaid-inspired look.
16. Twilight Ombre Almond Nails

Shop Now 🛒: Twilight Ombre Almond Nails - Press On Nails
Twilight Ombre Almond Nails - Dark, gradient nails for a twilight effect.
17. Mid-night Stars Ombre Almond Nails

Shop Now 🛒: Mid-night Stars Ombre Almond Nails - Press On Nails
Mid-night Stars Ombre Almond Nails - Starry night-inspired nails.
18. Holo Pearl Glazed Almond Nails

Shop Now 🛒: Holo Pearl Glazed Almond Nails - Press On Nails
Holo Pearl Glazed Almond Nails - Shimmery pearl nails with a holographic finish.
19. Holo Lilac Purple Almond Nails

Shop Now 🛒: Holo Lilac Purple Almond Nails - Press On Nails
Holo Lilac Purple Almond Nails - Light purple nails with a holographic touch.
20. Holo Pea Green Square Nails

Shop Now 🛒: Holo Pea Green Square Nails - Press On Nails
Holo Pea Green Square Nails - Fresh green nails with a holographic effect.
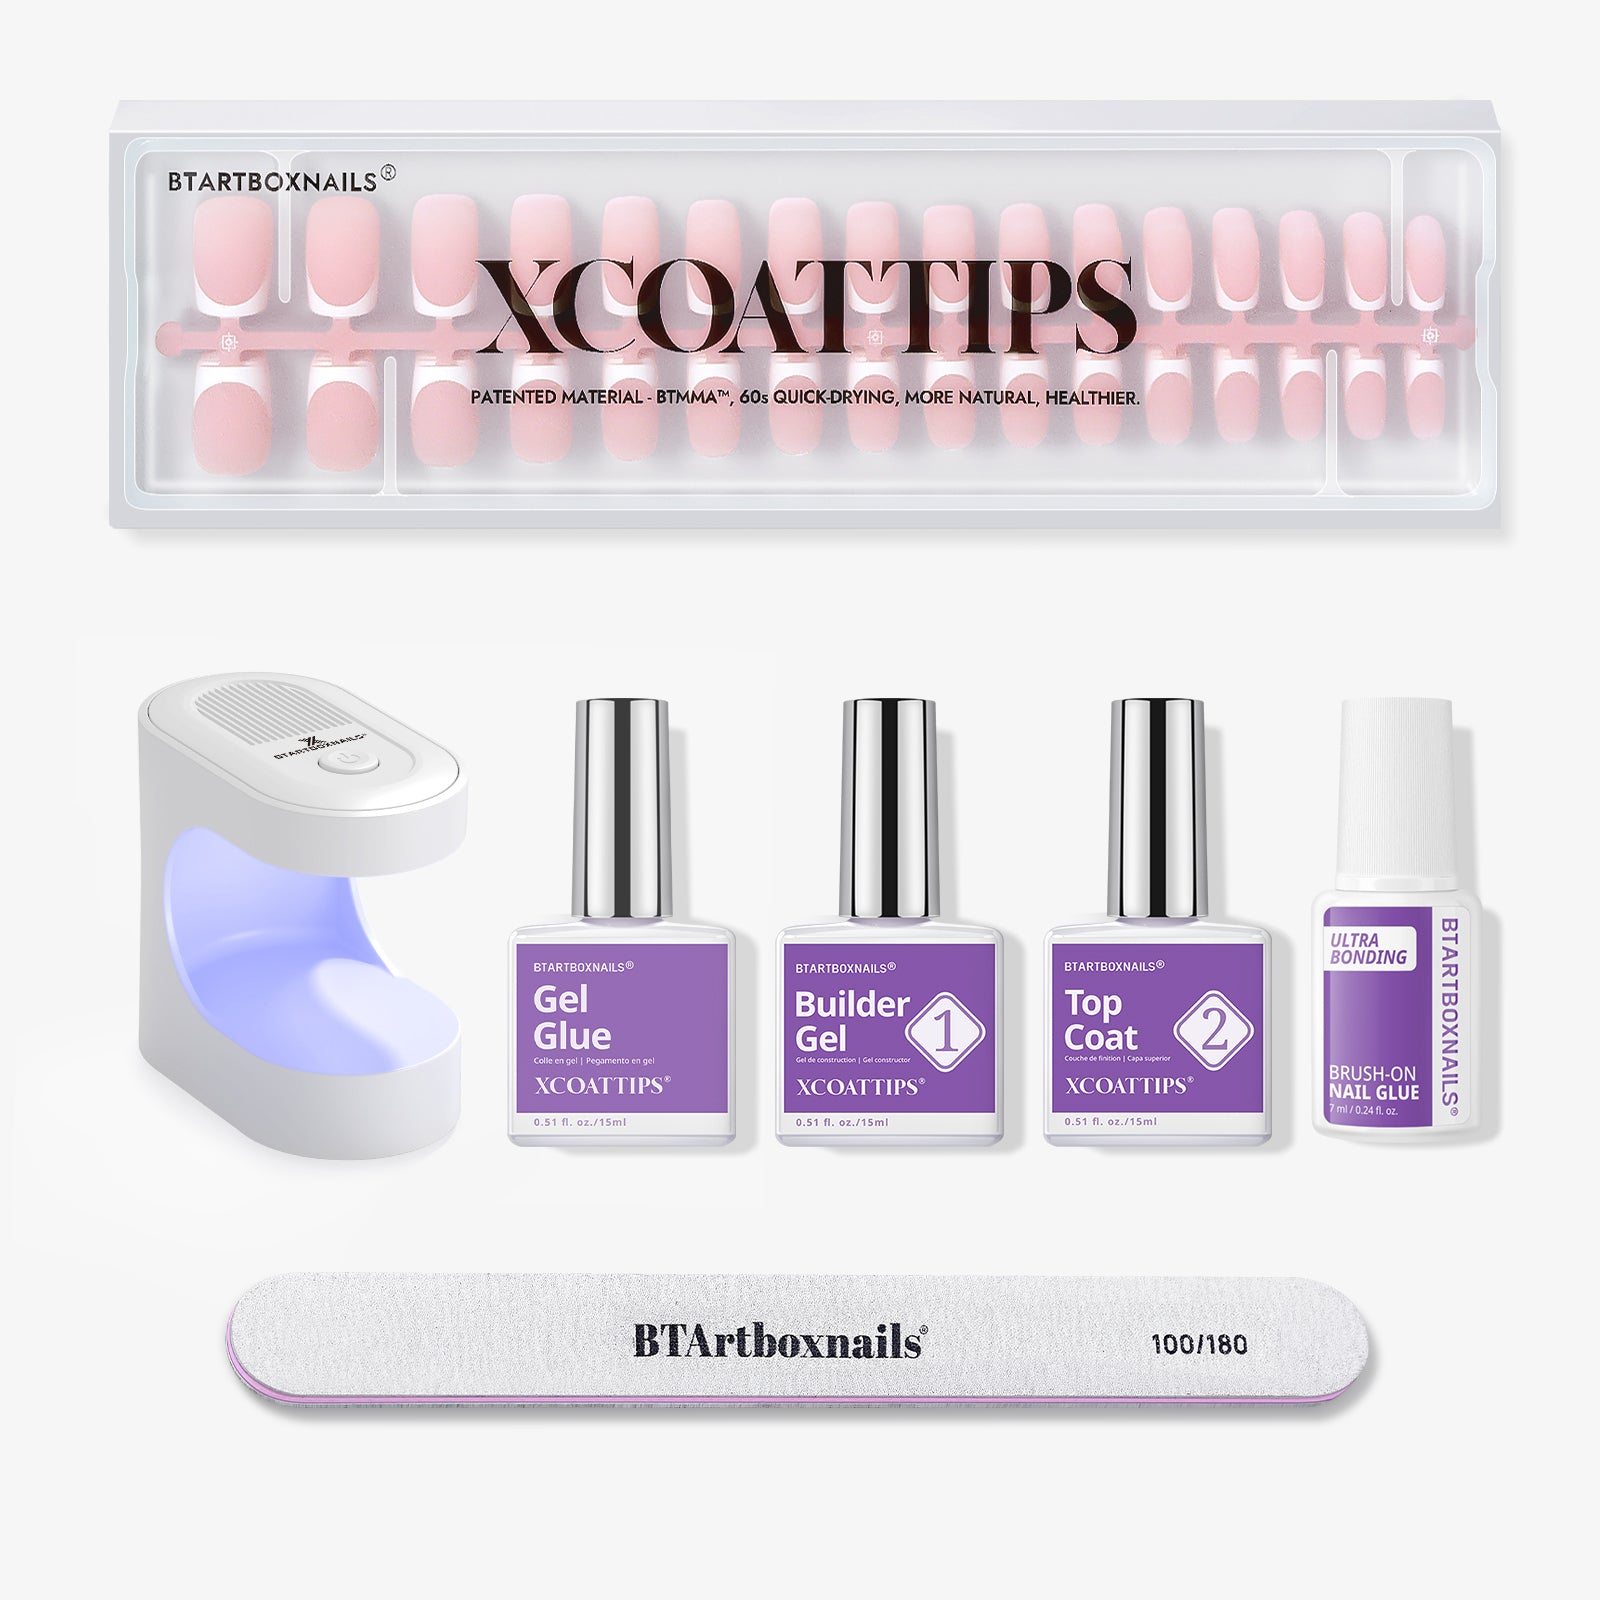
Step-by-Step Guide to Applying Builder Gel Nails
Builder gel nails are a great way to achieve strong, long-lasting nails with a beautiful finish. With the right materials and tools, you can easily apply builder gel nails at home. Follow this step-by-step guide to learn how to do it yourself.
Materials and Tools Needed
Before you begin, make sure you have all the necessary materials and tools. Here's what you'll need:
- Builder gel
- Base coat
- Top coat
- Nail file
- Nail buffer
- Nail brush
- UV lamp or LED lamp
Step 1: Prepare Your Nails
Start by preparing your nails. Remove any old nail polish and trim your nails to your desired length. Use a nail file to shape your nails and a nail buffer to smooth the surface of your nails.
Step 2: Apply Base Coat
Apply a thin layer of base coat to your nails. Make sure the base coat is evenly applied and covers the entire nail. Cure the base coat under an LED lamp for 1-2 minutes or a UV lamp for 2 minutes.
Step 3: Apply Builder Gel
Using a nail brush, apply the builder gel in the center of your nail and spread it towards the edges. For builder gel in a bottle, ensure even application. Make sure the builder gel is thick enough to provide the desired strength and shape, but not so thick that it will take a long time to cure.
Step 4: Cure the Builder Gel
Cure the builder gel under an LED lamp for 1-2 minutes or a UV lamp for 2 minutes. Repeat steps 3 and 4 until you achieve the desired thickness and shape.
Step 5: Apply Top Coat
Apply a thin layer of top coat to your nails. Cure the top coat under an LED lamp for 1-2 minutes or a UV lamp for 2 minutes.
Step 6: Finish Up
Once the top coat is cured, your builder gel nails are complete. Use a nail buffer to smooth the surface of your nails and remove any rough edges. Apply cuticle oil to your nails to keep them healthy and moisturized.
Maintenance and Aftercare
Taking care of your builder gel nails is essential to ensure they last as long as possible and maintain their stunning appearance. Here are some tips for maintaining and caring for your builder gel nails.
Daily Nail Care Routine
To keep your nails healthy and strong, it's important to maintain a daily nail care routine. This routine should include applying cuticle oil to your nails and cuticles daily to keep them moisturized and healthy. You should also use a nail brush to gently clean under your nails and remove any dirt or debris.
When to Reapply Builder Gel
Builder gel nails can last up to three weeks, depending on how well you take care of them. However, if you notice any lifting or chipping, it's time to have them reapplied. It's important to have your builder gel nails reapplied by a professional to ensure they are done correctly and safely.
Removing Builder Gel Safely
When it's time to remove your builder gel nails, it's important to do so safely to prevent damage to your natural nails. You should never try to peel or pick off your builder gel nails, as this can cause damage to your natural nails. Instead, have them removed by a professional using acetone.
During the removal process, it's important to protect your skin from the acetone by applying petroleum jelly around your nails. After the builder gel has been removed, give your natural nails a break before having them reapplied.
Additional Tips
Here are some additional tips for maintaining and caring for your builder gel nails:
- Use a top coat to seal in the builder gel and extend the life of your manicure.
- Clean up any excess builder gel or polish around your nails using a small brush or cotton swab dipped in acetone.
- Avoid exposing your nails to harsh chemicals or excessive water, as this can cause damage to your nails and shorten the life of your builder gel manicure.
Conclusion
In conclusion, builder gel nails add strength, length, and shape to your natural nails. This guide has explained how to use builder gel on natural nails and offered ideas for DIY nail art.
Key points include:
- Preparing your nails before applying builder gel.
- The application process for nail extensions and natural nails.
- Different types of builder gel available.
Experiment with different builder gel ideas, like adding glitter or using various colors. With practice, you can create beautiful, long-lasting nails.
Visit BTartbox Nails to explore more press-on nails and elevate your nail game from home.
Related Articles to Read 📖:
Frequently Asked Questions
Is builder gel good for nails?
Builder gel is a popular nail enhancement product designed to strengthen and protect your nails. It acts like armor, making your nails more resistant to breakage. Builder gel contains ingredients that improve both durability and appearance. Ethyl methacrylate (EMA) helps increase strength and flexibility, while hydroxyethyl methacrylate (HEMA) improves adhesion. Overall, builder gel is a good option if you want stronger, better-looking natural nails.
How do you use builder gel for nails?
Before applying builder gel, prepare your nails properly. Remove old polish and shape your nails using a file. Gently push back your cuticles and trim any excess skin. Lightly buff the nail surface to remove shine, then apply a thin base coat and cure it under an LED lamp for 1–2 minutes or a UV lamp for 2 minutes. Apply builder gel evenly, cure each layer, and finish with a top coat for a long-lasting result.
What's the difference between hard gel and builder gel?
Hard gel and builder gel are both used to create a strong layer over natural nails. The main difference is removal and flexibility. Hard gel is nonporous and must be filed off, while builder gel can come in soft, semi-hard, or hard forms. Builder gel is usually more flexible, making it easier to work with and less likely to crack.
Does builder gel last longer than acrylic?
Both builder gel and acrylic can last for several weeks with proper care. Builder gel is often seen as more flexible, which helps reduce cracking or lifting. Acrylic tends to be more rigid and may require full removal for maintenance. Builder gel can usually be filled and reapplied more easily, making upkeep simpler.
Does builder gel need UV light?
Builder gel requires curing under either an LED or UV lamp. LED lamps cure faster but only work with compatible gels. UV lamps take longer but can cure all types of builder gel. Always follow the product instructions to ensure proper curing and long-lasting results.
How many layers of builder gel?
The number of layers depends on the thickness and strength you want. Typically, two to three thin layers are recommended, curing each layer under an LED or UV lamp. For extra strength or structure, additional layers can be added, as long as each layer is properly cured.


