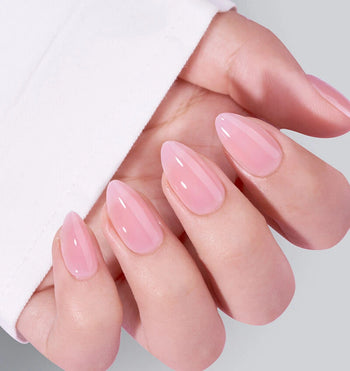
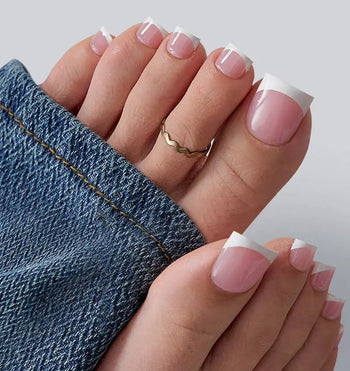
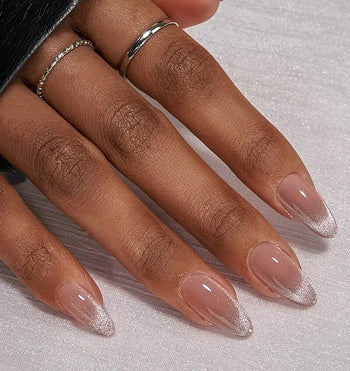
In the world of nail enhancements, builder gel vs acrylic is a common debate. Both can give you strong, lasting nails, but they differ in key ways.
Builder gel is a gel applied to your nails and cured under a UV or LED lamp. It's a simple process with no mixing needed. Builder gel is flexible and looks natural. It's also gentler on your natural nails, making it a good option for nail health.
Acrylic, on the other hand, is a mix of liquid and powder applied to your nails and shaped with a brush. It hardens as it dries, creating a strong surface that can handle a lot of wear. Acrylic is great for dramatic, sculpted nails with detailed designs. However, it can be harsher on your natural nails, and the fumes can be strong.
This article will explain the key differences between builder gel and acrylic nails. You'll learn about their application, durability, and impact on natural nails. Whether you prefer a natural look or dramatic designs, this guide will help you choose the best option for your needs. Dive in to find the perfect nail enhancement for you.
Table of contents
Understanding Nail Enhancements
When it comes to nail enhancements, two of the most popular options are builder gel and acrylic.
What Is a Builder Gel?
Builder gel is a type of nail extension that is made from a thick, viscous gel that is applied to the natural nail and cured under a UV or LED light.
What Are an Acrylic Nails?
Acrylic, on the other hand, is a type of nail enhancement that is made from a combination of a liquid monomer and a powder polymer. The mixture is applied to the natural nail and then shaped and filed into the desired shape.
Both builder gel and acrylic can be used to create a variety of nail art designs and can be finished with nail polish or gel polish. They can also be used to add length and strength to natural nails.
History and Evolution: Builder Gel vs. Acrylic Nails
The use of nail enhancements dates back to ancient times, when people used materials such as gum Arabic, egg whites, and beeswax to create false nails. In the 20th century, advancements in technology led to the development of acrylic nails, which quickly became a popular option for those looking to add length and strength to their natural nails.
In recent years, builder gel has emerged as a popular alternative to acrylic nails. Builder gel is generally considered to be less damaging to the natural nail than acrylics, as it is easier to apply and does not require as much filing and shaping. Additionally, builder gel is more flexible than acrylics, which can help prevent breakage.
Builder Gel vs. Acrylic Nails: Composition and Application
Chemical Composition
Builder gel vs. acrylic nails have different chemical compositions. Builder gel is made of a gel-like substance that is cured under a UV or LED nail lamp. The gel is typically a mixture of a polymer and a liquid monomer. On the other hand, acrylic nails are made of a combination of a polymer powder and a liquid monomer.
When applying builder gel, a base coat is first applied to the nail, followed by the builder gel. The gel is then shaped and cured under a nail lamp. Acrylic nails require a primer to be applied to the nail before the acrylic is applied. The acrylic is then formed and shaped on the nail and cured under a nail lamp.
Application Techniques
Builder gel and acrylic nails require different application techniques.
Builder gel is easier to apply than acrylic nails and is less damaging to natural nails. The gel is applied using a brush and can be molded into the desired shape using a slip solution. After curing, the gel can be filed and buffed to achieve the desired finish.
Acrylic nails require more skill to apply and can be more damaging to natural nails if not applied properly. The acrylic is formed using a brush and liquid monomer and then shaped on the nail. The acrylic dries quickly, so the nail technician must work quickly to achieve the desired shape. After curing, the acrylic can be filed and buffed to achieve the desired finish.
Both builder gel and acrylic nails require a top coat to be applied after shaping and curing to protect the nails and add shine. A nail lamp is also required to cure both builder gel and acrylic nails.
Builder Gel vs. Acrylic Nails: Differences in Properties
When it comes to choosing between builder gel and acrylic, understanding the differences in their properties is crucial. In this section, we will explore the differences in strength and durability, as well as flexibility and thickness between these two popular nail enhancement options.
Strength and Durability
Acrylic nails are known for their strength and durability. They are made by mixing a liquid monomer with a powder polymer, which creates a hard and durable surface when it dries. Acrylic nails are also resistant to breakage and can withstand daily wear and tear.
On the other hand, builder gel nails are not as strong as acrylic nails. They are made by applying a gel-like substance to the nails, which is then cured under a UV light. While builder gel nails are durable, they are not as strong as acrylic nails and are more prone to breaking or chipping.
Flexibility and Thickness
Acrylic nails are thicker and less flexible than builder gel nails. They are more rigid and do not bend easily, which can make them more prone to breaking. However, their thickness also makes them ideal for creating intricate nail designs and shapes.
Builder gel nails, on the other hand, are thinner and more flexible than acrylic nails. They are softer and more pliable, which makes them less likely to break or crack. They are also easier to file and shape, which makes them a great option for those who prefer a natural-looking nail.
In terms of viscosity, acrylic nails are thicker than builder gel nails, which can make them more difficult to apply. Builder gel nails have a more liquid consistency, which makes them easier to apply and shape.
Aesthetics and Finish: Builder Gel vs. Acrylic Nails
Achieving Desired Shape
When it comes to achieving your desired nail shape, both builder gel and acrylic nails can deliver. However, builder gel tends to be more flexible and easier to sculpt, making it a popular option for those looking for natural-looking nails or intricate designs. Acrylic nails, on the other hand, tend to be thicker and bulkier, making them ideal for those who want a more dramatic look.
To achieve your desired shape, both builder gel and acrylic nails require similar steps. You'll need to start with nail tips, sculpt the material to your desired shape, and then file and buff the nails until they're smooth. Once you've achieved your desired shape, you can then move on to the next step in the process.
Surface Finish and Shine
When it comes to surface finish and shine, both builder gel and acrylic nails can deliver a high-quality finish. However, there are a few differences between the two that you should be aware of.
Builder gel tends to have a clear, glossy finish that can be painted over with gel nail polish if desired. It also tends to be more flexible than acrylic nails, making it less likely to crack or break. Acrylic nails, on the other hand, tend to have a matte finish that can be buffed to a shine. They also tend to be thicker and stronger than builder gel, making them ideal for those who want long-lasting, durable nails.
Maintenance and Aftercare: Builder Gel & Acrylic Nails
Filling and Growth Management
After getting either builder gel or acrylic nails, you will need to maintain them to keep them looking their best. Both types of nails require regular filling to prevent damage and promote healthy nail growth. It is recommended that you get a fill every two to three weeks to keep your nails looking fresh and to prevent them from growing out too much.
During the fill-in process, the technician will file down the old product and apply new builder gel or acrylic to fill in the gaps. This process helps to maintain the shape of your nails and prevent any damage from occurring.
It is also important to manage the growth of your natural nails. As your nails grow, they will push the builder gel or acrylic further away from the cuticle. This can make your nails look uneven and can cause damage if left untreated. To prevent this, make sure to keep your nails trimmed and file them regularly to maintain their shape.
Nail Health and Care
Maintaining healthy nails is essential when it comes to keeping your builder gel or acrylic nails looking their best. It is important to keep your nails clean and free of any dirt or debris to prevent any infections from occurring.
To keep your nails healthy, make sure to moisturize your cuticles regularly and avoid picking at them. Picking at your cuticles can cause damage to the nail bed and can lead to infections.
It is also important to avoid any harsh chemicals or products that can damage your nails. When removing your nail polish, make sure to use an acetone-free nail polish remover to prevent any damage to your nails.
Removal Process: Builder Gel vs. Acrylic Nails
Removing your nail enhancements properly is crucial to maintaining the health and strength of your natural nails. The process of removing builder gel and acrylic nails is different, so it's important to know the proper techniques for each.
Safely Removing Enhancements
To safely remove your nail enhancements, you should always use professional-grade products and techniques. Attempting to remove your enhancements at home with improper tools or techniques can result in damage to your natural nails.
The most common method for removing builder gel and acrylic nails is by soaking them off with acetone. To do this, you'll need to wrap your nails in cotton soaked with acetone and then wrap them in foil to hold the cotton in place. This allows the acetone to penetrate the enhancement and break down the bond between the enhancement and your natural nail.
Tools and Techniques
When removing your nail enhancements, it's important to use the proper tools and techniques to avoid damaging your natural nails. Here are some tips for safely removing your builder gel and acrylic nails:
- Use a professional-grade e-file to remove the bulk of the enhancement before soaking it off with acetone. This will speed up the removal process and reduce the amount of time your nails are exposed to acetone.
- Use a metal pusher or orange wood stick to gently remove the softened enhancement from your nail plate after soaking.
- File your nails gently to remove any remaining product and shape them to your desired length and shape.
- Finish by buffing your nails to smooth out any rough spots and applying a nourishing cuticle oil to keep your nails healthy and hydrated.
In addition to acetone, you can also use isopropyl alcohol to help remove any remaining product from your nails. Simply soak a cotton ball in the alcohol and rub it over your nails to remove any stubborn residue.
Check our collection of nail tools.
Cost and Accessibility
Comparing Prices
When it comes to the cost of builder gel and acrylic nails, it largely depends on where you live and the salon you go to. Generally, builder gel nails are slightly more expensive than acrylic nails, but the price difference is not significant. The price of a full set of builder gel nails can range from $50 to $80, while a full set of acrylic nails can range from $40 to $70. However, keep in mind that the price can vary based on the complexity of the design and the experience of the nail technician.
Availability of Products
Comparing Prices
- When it comes to the cost of builder gel and acrylic nails, it largely depends on where you live and the salon you go to. Generally, builder gel nails are slightly more expensive than acrylic nails, but the price difference is not significant. The price of a full set of builder gel nails can range from $50 to $80, while a full set of acrylic nails can range from $40 to $70. However, keep in mind that the price can vary based on the complexity of the design and the experience of the nail technician.
Availability of Products
- Both builder gel and acrylic nails are available in most nail salons. Some salons may focus on one type, so it's important to find a salon that offers what you prefer. If you want to do your nails at home, you can find builder gel and acrylic kits online or at beauty supply stores.
- Applying both types requires some skill. If you're new to this, start with basic acrylic nails or a beginner builder gel kit to practice.
The choice between builder gel and acrylic nails depends on your preference and budget. Both have pros and cons, so consider these factors to find the best fit for you.
Conclusion
In conclusion, both builder gel and acrylic nails offer unique benefits and drawbacks. Builder gel is flexible and gentle on natural nails, while acrylic nails are strong and ideal for dramatic designs. Your choice depends on your personal preferences and needs. Consider the application process, durability, and impact on your natural nails when making your decision.
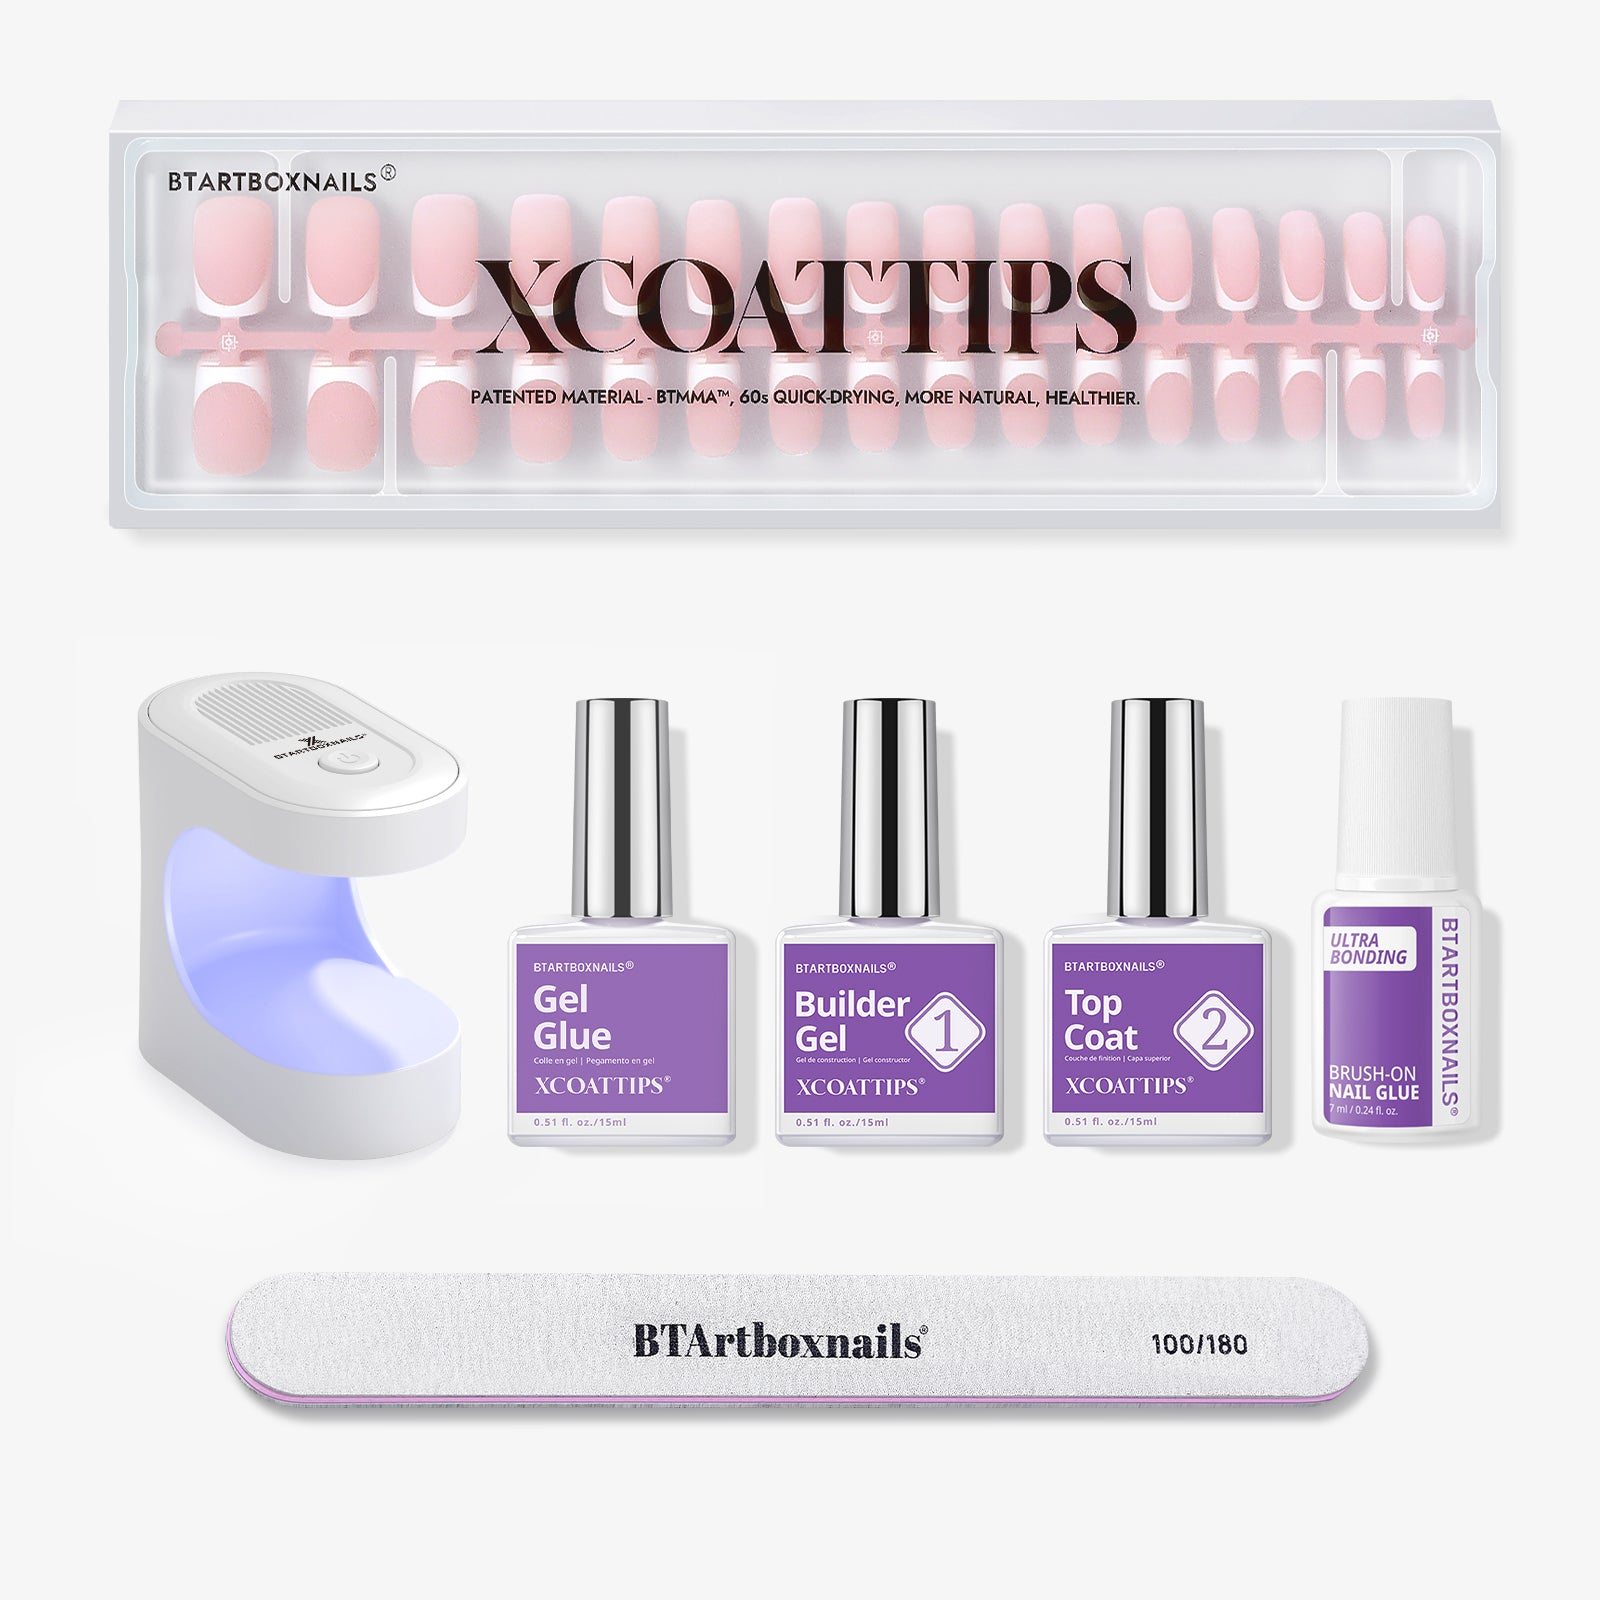
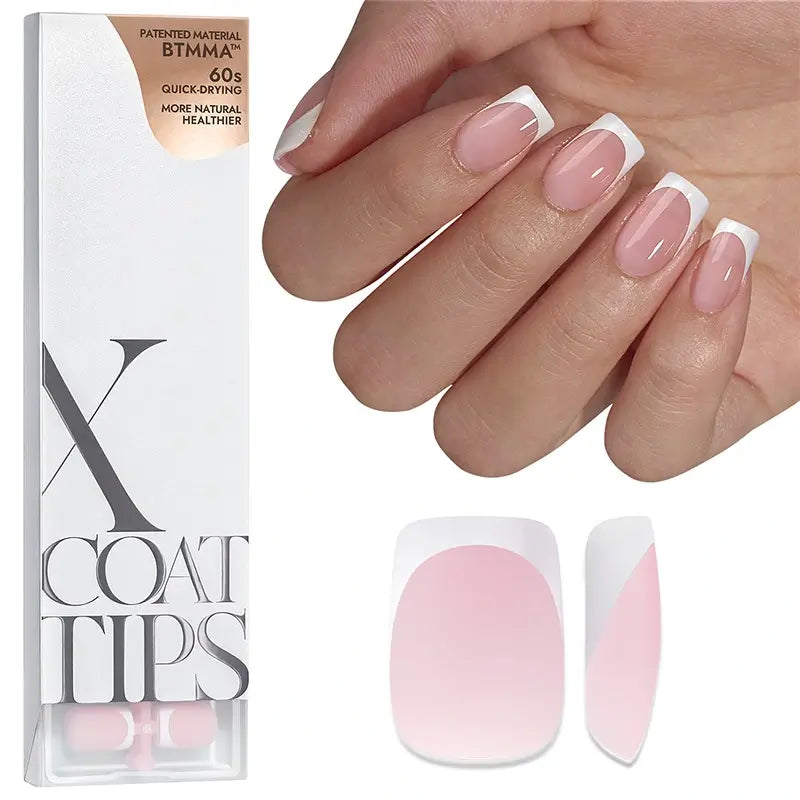
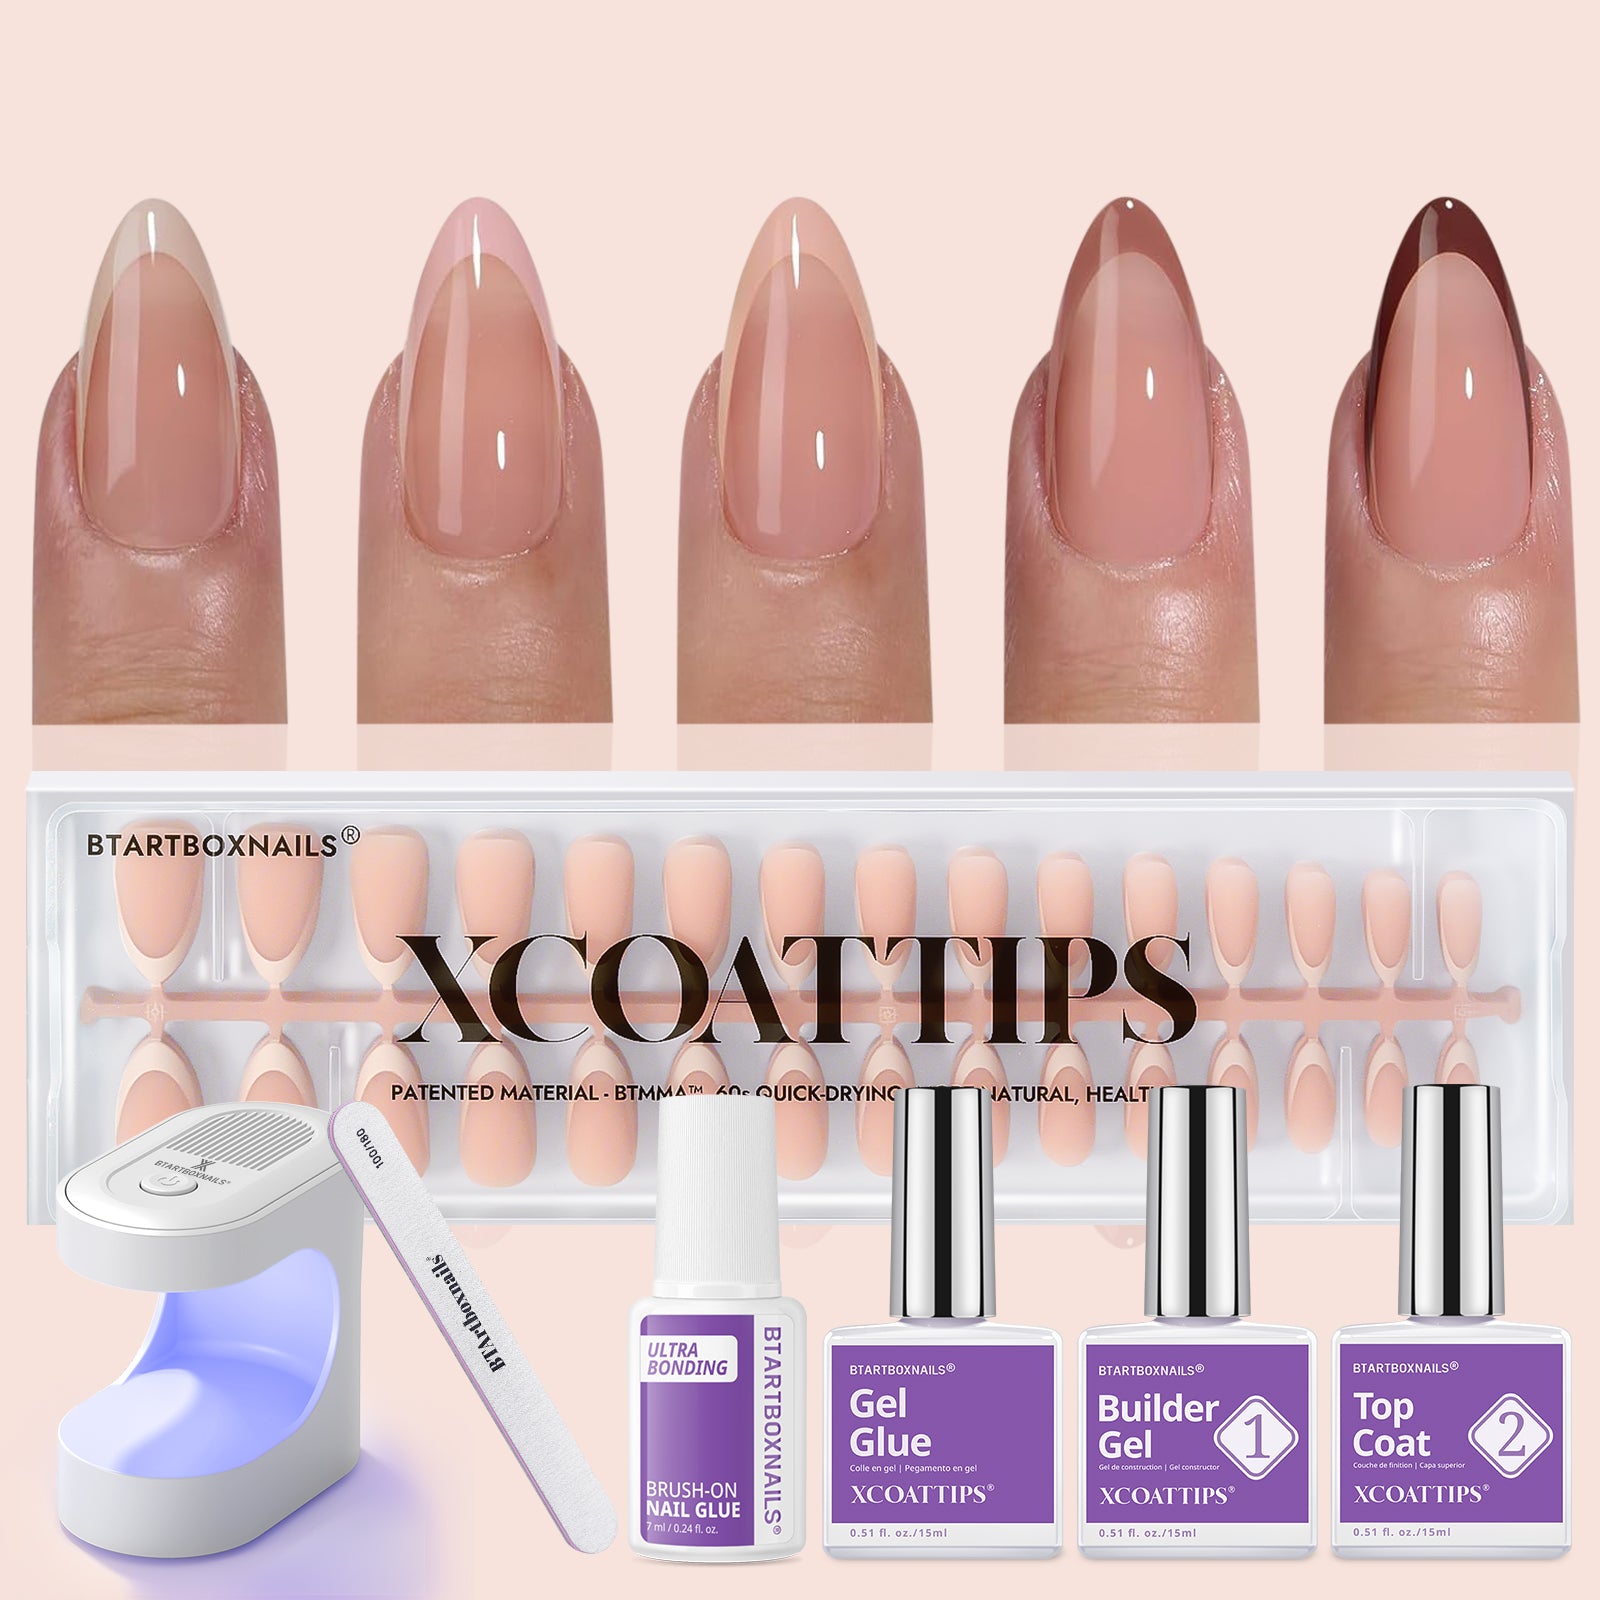
For those interested in trying builder gel, Btartbox Nails offers high-quality builder gel products. Additionally, explore their wide range of press-on nails with various designs to suit any style. Whether you prefer doing your own nails or want a quick and stylish solution, Btartbox has you covered.
Related Articles to Read 📖
Frequently Asked Questions
Is builder gel better than acrylic?
The answer to this question depends on what your needs are and how well the product is applied. Builder gel is easier to apply and is less damaging to your natural nails than acrylics. It also provides a more natural look and feel. On the other hand, acrylic is stronger and more durable than builder gel. It is also less likely to break or chip.
Is builder gel good or bad for your nails?
Builder gel is generally considered to be good for your nails. It is less damaging than acrylics and can help to strengthen and protect your natural nails. However, it is important to use builder gel properly and to avoid over-filing or over-buffing your nails, as this can cause damage.
What lasts longer gel or acrylic?
Acrylic nails generally last longer than gel nails. Acrylics are durable and can last up to 3-4 weeks with proper care, while gel nails typically last around 2-3 weeks. Both types require regular maintenance, but acrylics are known for their strength and longevity.
Why do my builder gel nails fall off?
There are several reasons why your builder gel nails may fall off. One common reason is improper application. If the gel is not applied properly, it may not adhere to your natural nail properly. Other factors that can cause builder gel nails to fall off include exposure to water, excessive use of hand sanitizer, and excessive filing or buffing.
How do you maintain builder gel?
To maintain your builder gel nails, it is important to keep them clean and dry. Avoid exposing them to water or excessive moisture, as this can cause the gel to lift or peel. You should also avoid using harsh chemicals or abrasive products on your nails.
Can you remove the builder gel without acetone?
Yes, you can remove builder gel without acetone. However, it may take longer and require more effort.
One method is to soak your nails in warm, soapy water for 20-30 minutes, and then gently scrape the gel off with a cuticle pusher or orange stick.
Another method is to use a nail file to gently file away the gel. However, these methods may not be as effective as using acetone.
