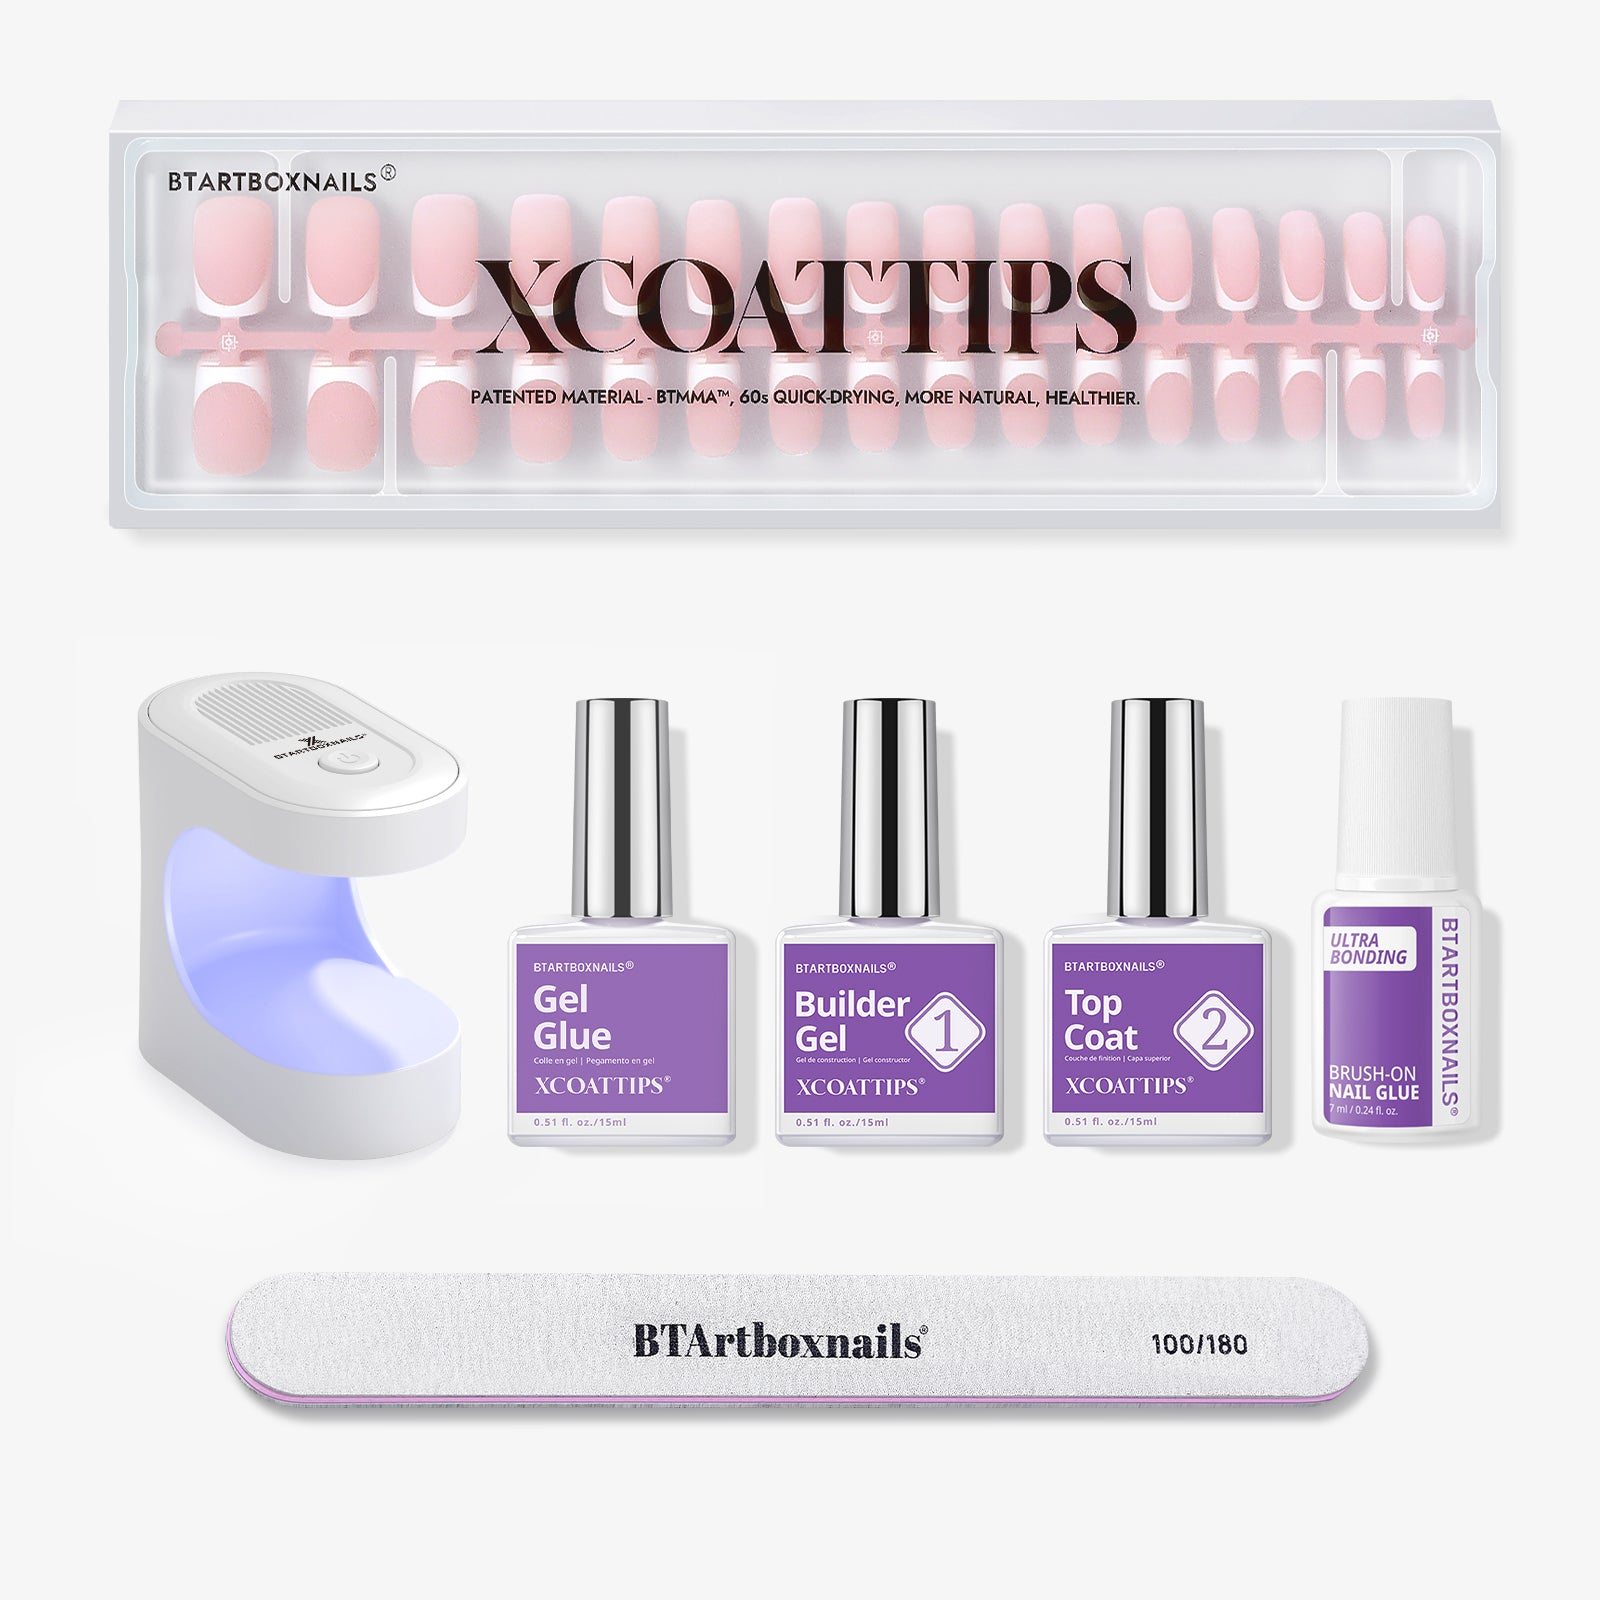
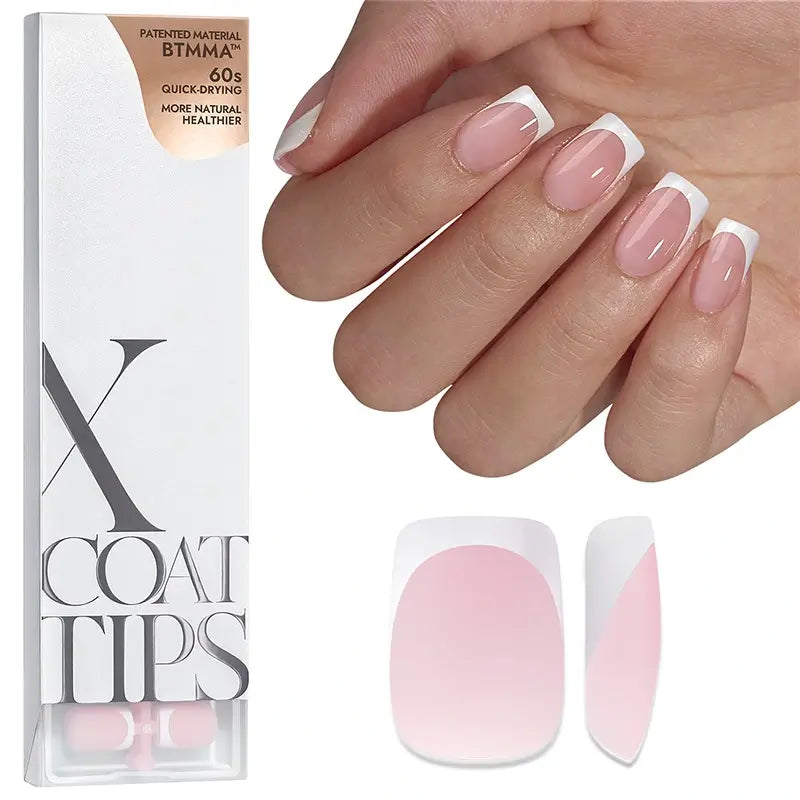
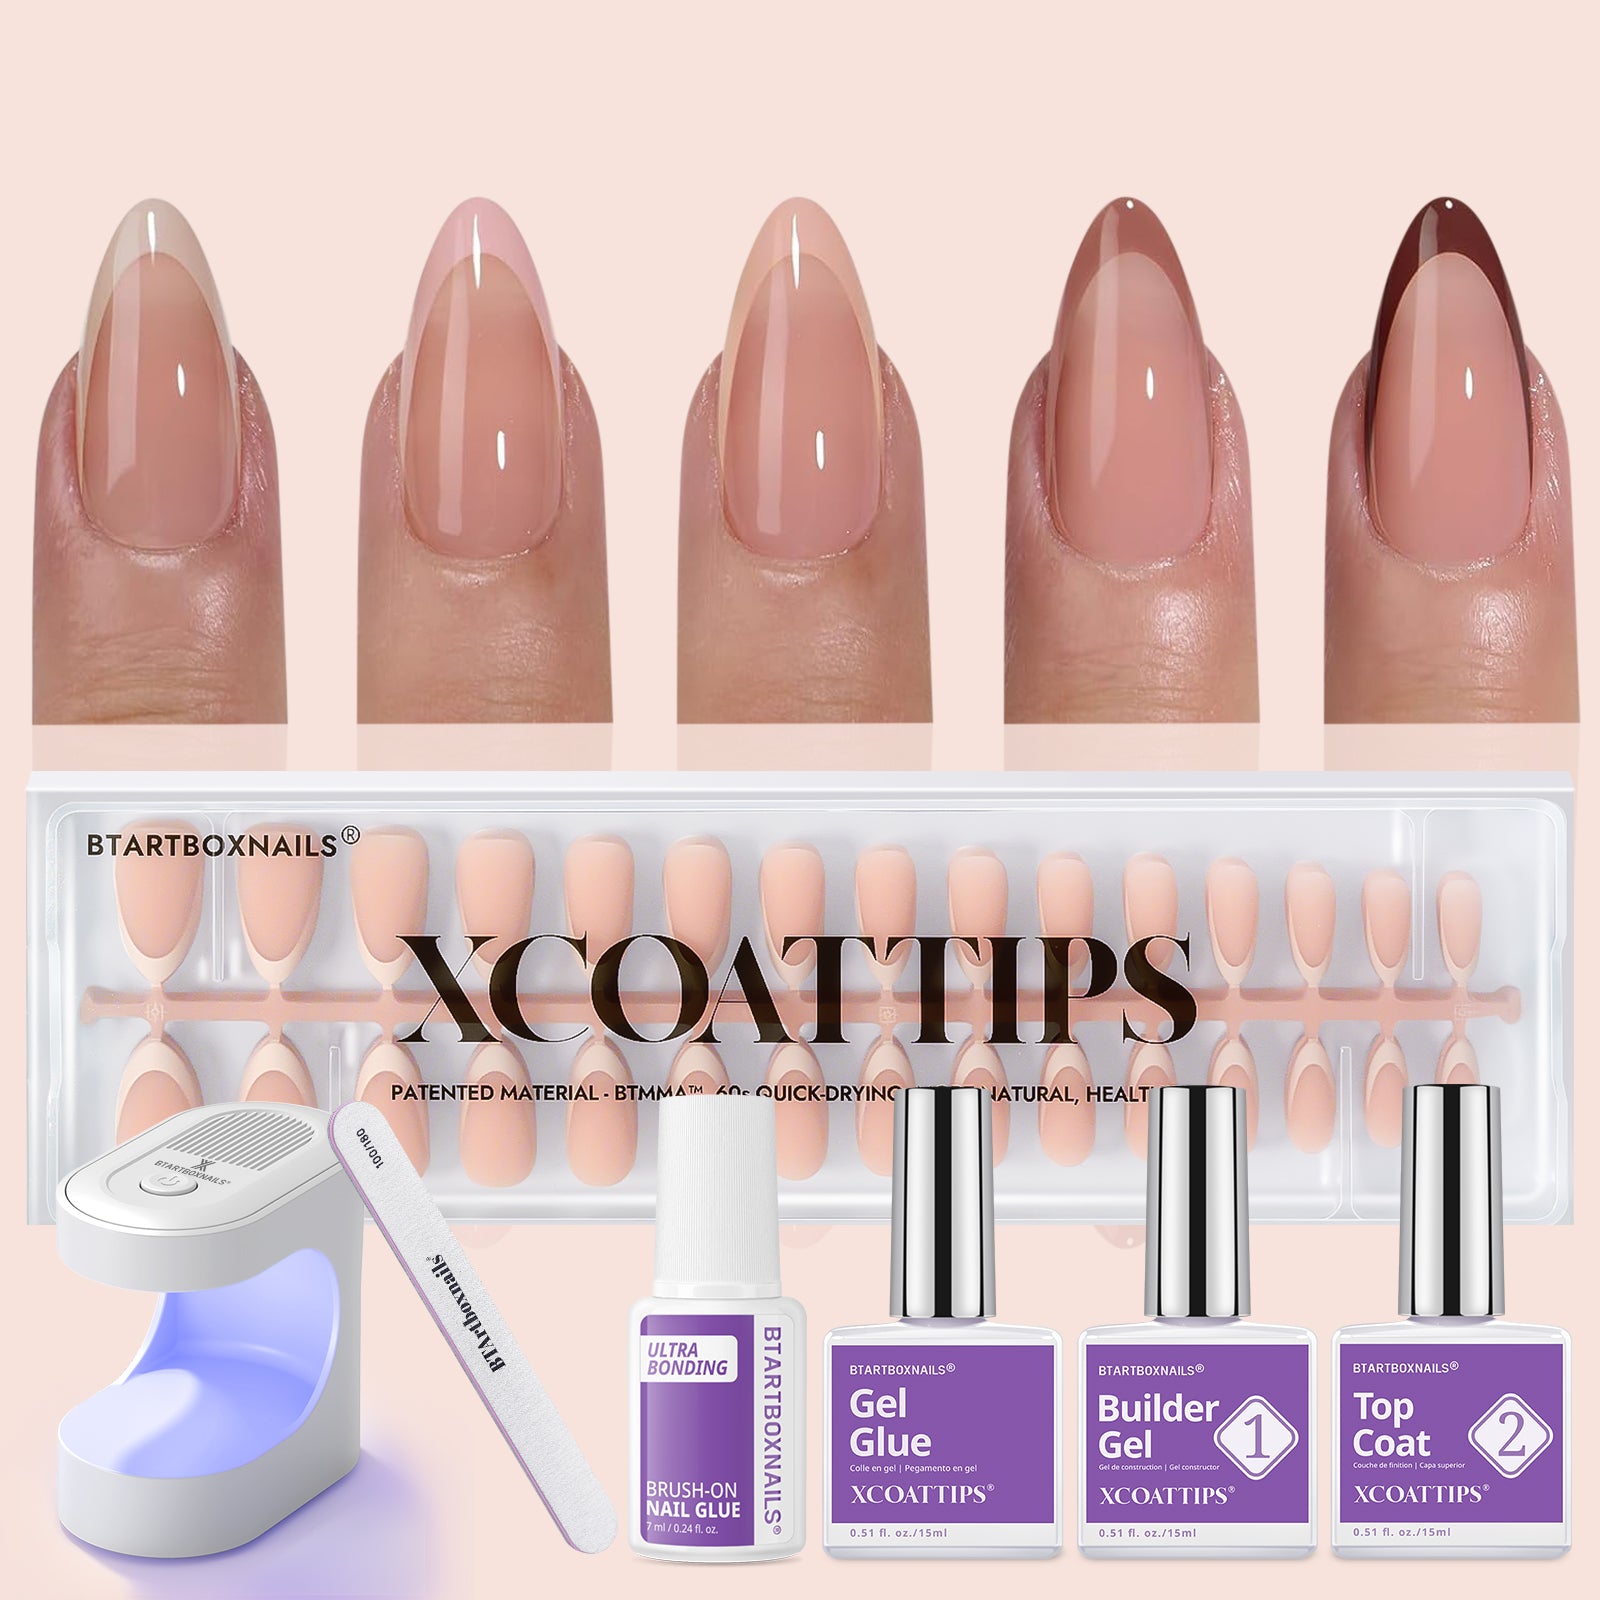
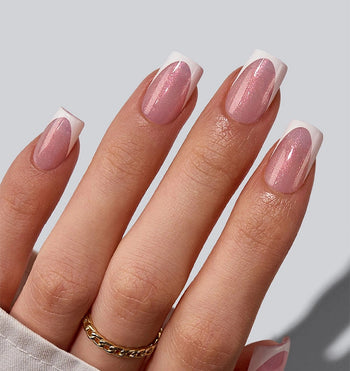
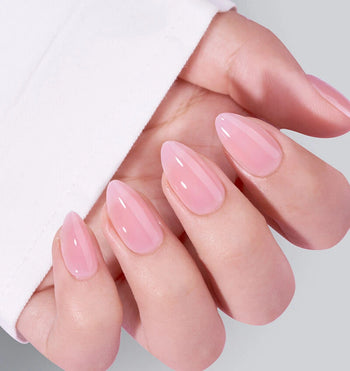
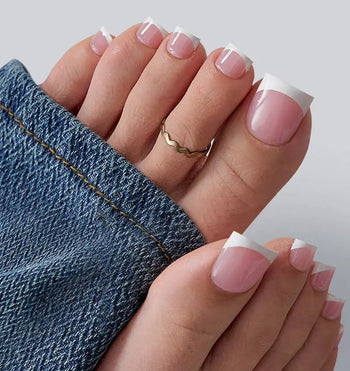
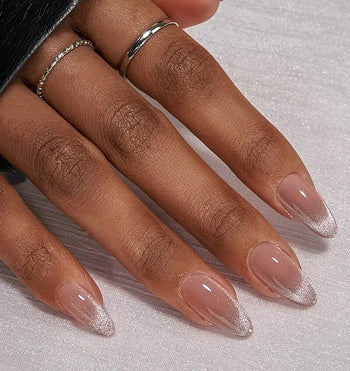
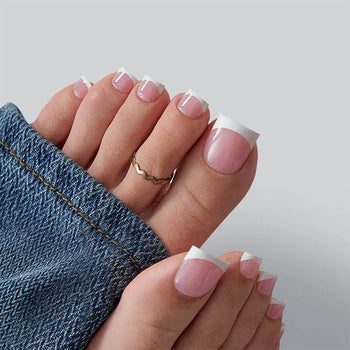
Gingerbread nails are the cutest way to embrace the holiday spirit, and thanks to press-on nails, achieving this festive look has never been easier! From warm brown tones to frosted white accents, these nails capture the cozy charm of the season without the mess or effort of traditional manicures.
Forget the hassle of lengthy salon visits—press-ons make it simple to create adorable gingerbread-inspired designs at home. Press-ons not only save time, but they also let you experiment with different shapes, textures, and details to match your holiday vibe. Whether you’re rocking a classic gingerbread house theme or adding a touch of glitter for extra sparkle, press-ons are your go-to solution for chic, seasonal nails in minutes.
Ready to make your nails the sweetest accessory this season? Keep reading for tips, styling ideas, and everything you need to know to rock gingerbread nails with press-ons!
Why Press-On Nails Are Perfect For Gingerbread Designs
Press-on nails make festive gingerbread-inspired manicures simple, stylish, and stress-free. They’re quick to apply, durable, and versatile, letting you create amazing holiday looks without any mess.
Whether you’re using pre-designed styles or getting creative with custom art, press-ons make achieving trendy, festive nails easier than ever.
Quick and Easy
Press-ons are the fastest way to nail a holiday look. In just a few minutes, you’ll have a flawless manicure—no drying time, no tools, no hassle. They’re perfect for anyone short on time who still wants a polished, festive vibe.
Plus, swapping styles for different occasions is effortless, so you can keep your nails fresh for every event.
Versatile
Press-ons let you experiment with endless designs. Whether you’re going for classic gingerbread tones, intricate snowflakes, or playful candy cane accents, they offer endless possibilities.
Many are reusable too—just clean them up and you’re ready for another festive occasion, making them both fun and budget-friendly.
Long-Lasting
Press-ons are built to last, keeping your gingerbread nails intact for up to a week with proper care. High-quality materials and strong adhesives ensure they stay secure through holiday parties and daily tasks.
The durability of press-on nails means you can count on them to keep your festive nail art looking flawless throughout the season.
Which Press-Ons To Use for Gingerbread Nail Designs
When picking press-ons for your gingerbread nail vibe, it’s all about the right colors, shapes, and little extra details to make your manicure pop. Warm tones, cute shapes, and festive accents can take your holiday nails from basic to totally adorable in no time.
Neutral Tones

Gingerbread nails are all about those warm, cozy vibes. Think soft browns, creamy white holiday nails, and beige shades—they’re the perfect backdrop for festive designs like frosted details or candy cane swirls.
Go for matte or glossy finishes to mix things up and add some dimension. The best part? These neutral tones aren’t just for the holidays—they’ll look amazing no matter the season.
Ideal Shapes

The shape of your nails sets the whole tone for your gingerbread look. Short ovals or almond shapes are comfy and give you just enough space for cute details. Want to go bold? Medium or long nails give you extra room for intricate gingerbread patterns.
Feeling fancy? Add a twist with French tips—just swap the classic white for a softer, rounded look to keep things festive and fun.
Love exploring festive nail styles? Don’t miss our blog on Trendy Almond Nail Designs for more chic ideas to elevate your holiday look!
Added Flair
Want to take your gingerbread nails to the next level? Add some sparkle, 3D details, or stick-on holiday designs like tiny gingerbread men or snowflakes. They’re an easy way to make your nails the star of the season.
Some press-on sets come with built-in accents, so you don’t have to worry about doing the extra work. Whether it’s glittery touches or textured designs, pick something that’s totally you and let your nails bring all the holiday cheer!
Add a modern twist to your gingerbread-inspired look with our Chocolate Brown Chrome Nails. Sleek, shiny, and perfect for the holiday season!
How To Create Gingerbread Nails With Press-Ons
Ready to rock some festive gingerbread nails? Follow these simple steps to prep, apply, and add those adorable holiday details to your press-on nails. Let’s get started!
Step 1: Prep Your Nails

Clean nails are the key to long-lasting press-ons. Start by wiping your natural nails with an alcohol prep pad to remove dirt and oils—this helps the adhesive stick better.
Push back your cuticles with a cuticle stick, trim if needed, and gently file for a smooth surface.
Bonus tip: Apply a base coat to protect your nails and keep the press-ons in place longer.
Step 2: Size and Select

Find the perfect fit by matching each nail to the press-ons in your set.
\Most kits have multiple sizes, so pick the ones that feel snug and natural.
Pro tip: Lay out the press-ons in the order you’ll apply them to keep the process smooth and organized.
Curious about the ideal nail size and length for your gingerbread nails? Discover everything you need to know in our Nail Length Chart and Nail Size Guide to achieve a flawless holiday manicure!
Step 3: Apply Adhesive

Decide if you’re going for nail glue (for extra durability) or adhesive tabs (for easy removal).
Add a small amount of glue or a sticky tab to the back of each press-on, making sure the adhesive covers the full contact area.
Just don’t overdo it—too much adhesive can get messy!
Step 4: Press and Hold
Line up the press-on with your cuticle and gently press it onto your nail.
Hold it in place for about 30 seconds to make sure it bonds securely. If you’re using adhesive tabs, press firmly to lock them in.
This step is crucial for keeping your nails looking flawless.
Step 5: Add Gingerbread Magic

Now for the fun part! Use a thin brush or nail art pen to draw tiny gingerbread men, candy canes, or snowflakes. Stick with white and brown polish to nail the classic gingerbread vibe.
Want something extra detailed? Nail stickers are an easy way to add charm without the hassle.
Step 6: Seal the Deal
Finish with a clear top coat to lock in your designs and add a glossy shine.
Don’t forget to swipe the edges of each nail to prevent chipping and keep your manicure looking fresh.
Let your nails dry completely before diving into holiday festivities, and you’re all set!
With press-ons and these easy steps, you’ll have the cutest gingerbread nails in no time!
Complete your gingerbread nail look with must-have tools and accessories from our Nail Stuff collection. Everything you need for flawless, festive nails!
More Styling Ideas for Gingerbread Press-On Nails
Gingerbread nails have the cutest vibe, and press-ons make it so easy to rock them!
Whether you’re all about classic holiday charm or something playful and sweet, these ideas will have your nails looking extra cute this season:
Classic Gingerbread

Bring on the gingerbread cookie vibes with warm brown press-ons that look fresh out of the oven. Add white icing swirls or tiny gingerbread man stickers to complete the cozy, nostalgic look!
Want to go all-in? Use a matte topcoat for a soft, cookie-like finish that’s just too cute to resist. It’s perfect if you love a mix of classic holiday vibes with a creative twist.
Festive Accents
Add a pop of holiday magic to your gingerbread nails with bold red and green accents. Think holly leaf stickers, twinkling stars, or even tiny bells for that extra festive flair. Top it off with a glitter polish to make your nails sparkle like holiday lights!
This look is perfect for parties, family get-togethers, or whenever you want your nails to scream holiday cheer.
Candy-Inspired
Sweeten up your gingerbread look with candy-themed details! Pair your base with candy cane stripes, gumdrop dots, or lollipop patterns for a playful twist.
Bright colors like pink, blue, and red mixed with gingerbread brown make your nails pop. Combine candy and gingerbread motifs for a fun, colorful design that’s basically dessert for your nails.
Minimalist Chic
Try minimalist gingerbread nails for a sleek and subtle holiday look. Soft nude or pastel bases paired with tiny white icing lines or delicate gingerbread man outlines keep it classy without overdoing it. Finish with a glossy or matte topcoat for that polished vibe.
This style is perfect for everyday wear or if you want to keep things simple and sophisticated while still feeling festive.
Tips To Keep Your Press-On Nails Looking Fresh
Press-on nails are a quick way to upgrade your look, but keeping them fresh takes just a little care. With these simple tips, you can extend their wear time while keeping your natural nails healthy and happy.
Keep Your Nails Dry
Water weakens the adhesive on press-on nails, so avoid getting them wet right after application.
- Let the glue set for at least an hour after applying your press-ons.
- Wear gloves when washing dishes or cleaning to protect against water exposure.
- Keep showers short and skip long soaks in the tub or pool to prevent lifting.
A little extra protection from water can go a long way in keeping your nails secure.
Moisturize Daily
Hydration is key to keeping your nails strong and your press-ons intact.
- Use cuticle oil or hand cream every day to keep your nails and cuticles flexible and moisturized.
- Opt for lightweight lotions during the day and thicker creams at night for maximum hydration.
Hydrated nails are less likely to split or break, helping both your natural nails and press-ons look their best.
Be Ready for Quick Fixes
Nail emergencies happen, but a little preparation can save the day.
- Keep extra nail glue, a nail file, and a top coat handy for touch-ups.
- Store a mini nail glue remover in your bag for quick fixes on the go.
If a press-on starts lifting, a small dab of glue can hold it in place until you’re ready for a proper fix.
Remove Gently
Taking off press-ons carefully is just as important as applying them.
- Don’t peel them off—this can damage your natural nails.
- Use an acetone-based remover to loosen the glue.
- Soak your nails in warm, soapy water with a little oil for a gentle lift.
Removing your press-ons the right way ensures your natural nails stay strong and healthy.
Want to keep your gingerbread nails looking flawless through the holidays? Check out our guide on Tips for Long-Lasting Nail Polish and enjoy salon-quality nails that shine all season long!
Conclusion
Gingerbread nails are just one way to get into the holiday spirit, but there’s a whole world of festive nail art to explore this season! From candy cane stripes to sparkling snowflakes, press-ons make it easy to switch up your look and try out different Christmas-inspired designs without the hassle. Whether you’re keeping it classic or experimenting with bold, whimsical styles, your nails can be the ultimate holiday accessory.
Want even more holiday nail inspiration? Check out our Cute Christmas Nails collection for festive designs that are fun, easy, and perfect for the season. It’s time to make your nails shine as bright as the Christmas lights!
Frequently Asked Questions about Gingerbread Nails
What are the steps to applying press-on gingerbread nails?
First, clean your nails using soap and water. Push back your cuticles gently. Then, buff your natural nails lightly for better adhesion. Choose a press-on nail that fits each of your nails comfortably. Apply a small amount of nail glue to your natural nail and press the artificial nail down firmly for about 10-15 seconds.
Can you reuse press-on nails after removing them?
Yes, many press-on nails can be reused. To do this successfully, remove them carefully without damaging them. Clean off any residual adhesive using rubbing alcohol. Store them properly in their original packaging to maintain their shape and design for the next time you want to wear them.
How long do press-on nails typically last?
Press-on nails usually last between 5-10 days, depending on your activity level and how carefully they are applied. To maximize wear, avoid soaking your hands in water for long periods and be gentle with your nails.
What should I do to prepare my natural nails for press-on application?
Prepare your nails by cleaning them thoroughly with soap and water. Dry them completely to prevent moisture from weakening the adhesive. Push back cuticles gently and lightly buff the nails for better stickiness. Avoid applying lotion before putting on the press-ons to ensure they stick well.
Are there any tips for ensuring press-on nails look natural and stay secure?
Choose a size that closely matches your natural nail. Avoid excess glue to prevent it from seeping out. After applying the nails, avoid water exposure for at least an hour. If you notice any lifting, apply a tiny drop of glue under the edge and press firmly.
What are the best ways to remove press-on nails without damaging my natural nails?
To remove press-on nails safely, soak your nails in warm, soapy water for about 10 minutes. Then, use a wooden stick to gently lift the edges and work your way around until the nail comes off. Avoid pulling forcefully to prevent natural nail damage.
