Curious about how to do marble nails right at the start? This fun DIY nail art is simpler than it looks! With a few swirls of polish on water and a quick dip, you can create a cool marble effect on your nails at home.
You'll need some nail polish, water, and a few tools to get started. Practice a little and you'll soon be crafting eye-catching designs that look just like real marble.
Ready to turn your nails into a statement piece? Read on to learn how to get that perfect marbled look!
What Are Marble Nails?
Marble nails are a popular nail art technique that creates a unique marbled effect.
This style involves swirling different nail polish colors on your nails. You can do this by swirling your fingers on the surface of water and then dipping your nails into the design.
To achieve this look, you use a few simple tools:
- Room temperature water: This helps the polish spread better.
- Nail polish: Choose complementary colors for the best effect.
- A small bowl: To hold the water.
The process starts by applying a base coat to your nails. Many people prefer white or light colors, as they enhance the marbled effect.
Once your base is dry, drop different nail polish colors onto the water in small dots.
Use a toothpick or a similar tool to swirl the colors together. After that, gently dip your finger into the design, covering your nail.
Be sure to clean up any excess polish on your skin after you lift your finger out. You can use cotton swabs and nail polish remover for this task.
A popular choice in designs includes purple marble nails, which can look stunning and sophisticated.
You can experiment with different colors to create a range of beautiful marble manicures.
This technique allows you to express your creativity with fun and stylish nail designs.
Types of Marble Nail Designs
When it comes to marble nails, you have several methods to choose from. Each option offers a unique look, so you can pick one that suits your style.
-
Traditional Water Marble
This technique involves swirling nail polish in a bowl of water. You can use two or more colors to create a stunning marbled effect. It may take some practice to perfect. -
Plastic Wrap Technique
For a simpler approach, use plastic wrap. First, apply a base color. Then, dab different colors with the wrap to create texture. This method is quick and fun. -
Nail Art Brush
If you enjoy precise work, a nail art brush is ideal. You can paint the marble design directly on your nails. This option allows for great detail, especially for beginners practicing their skills. -
French Tip Marble
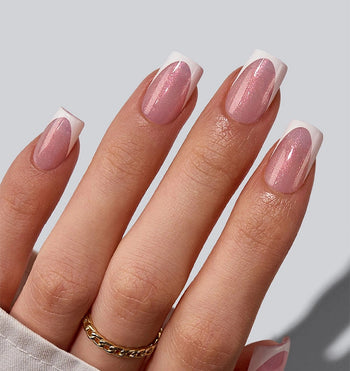
Combine trends by adding a marble effect to French tips. Start with a classic white tip then add marbling on the rest of the nail. This creates an elegant and modern look. -
Gel Nails
Gel polish can enhance the durability of your marble nails. It’s ideal if you want your design to last longer without chipping.
Choose a method that you feel comfortable with. Experimenting with styles can lead you to your perfect marble nail design.
What You'll Need
To create marble nails, you’ll need a few essential supplies. Here’s a simple list to get you started:
- Nail Polish Colors: Select 2-3 complementary colors. White is often recommended as a base.
- Base Coat: This helps the polish adhere better and protects your nails.
- Top Coat: To give your design a glossy finish and protect it from chipping.
- Nail Polish Remover: Acetone is effective for cleaning up any mistakes.
- Brushes: A detail brush helps with intricate designs, while a clean-up brush is great for tidy edges.
- Liquid Latex or Petroleum Jelly: Apply this around your cuticles to prevent mess.
- Cotton Swabs: Useful for clean-up without ruining your design.
- Cuticle Oil: Helps to nourish and protect your cuticles after nail art.
- Nail Brush: For cleaning under your nails before you start.
Before beginning, ensure that your nails are clean, filed, and have had cuticles pushed back. This will help the polish apply smoothly.
Gather all your supplies so you can work efficiently. Enjoy crafting your marble nails!
How To Do Marble Nails At Home

Creating marble nails can add a stylish touch to your look. This process involves several important steps, including preparing your nails and choosing the right colors. Follow these steps to achieve a beautiful marble design.
1. Prep Your Nails
Start with clean, dry nails. Remove any old polish and wash your hands to eliminate oils.
Gently push back your cuticles using a cuticle pusher. This will help the polish adhere better.
Next, file your nails to your desired shape. The most common shapes are square and oval.
Once your nails are shaped, buff the surface lightly to create a smooth finish.
Apply a clear base coat to protect your nails. Let it dry completely to ensure a good foundation for your marbled design.
2. Apply Your Base Color
Choose a base color that will enhance your marble design. Light colors like white, pale pink, or light blue work well as they make the marble patterns stand out.
Apply one or two coats of your base color. Allow each coat to dry fully before moving to the next step. This creates a solid background for your marble effect.
Make sure to cover the entire nail evenly. You can use a small nail brush to correct any mistakes, but aim for neatness from the start.
3. Prepare Your Water Marble Design
Fill a small, shallow bowl with room temperature water. Use distilled water if possible, as it can help with spreading the polish.
Next, select 2-4 nail polish colors that complement each other. Darker shades look great with light bases.
Drop one color into the water, letting it spread out. Add the next color in the center, repeating until you have a few rings of color.
Make sure the drops are close to each other but not overlapping too much.
4. Using The Toothpick, Swirl The Polish
Grab a toothpick and gently swirl it through the nail polish in the water. Start from the center and move outward to create your desired pattern.
You can make different designs by changing how you swirl the polish. For example, you can create a wave pattern or a more circular design.
Be careful not to disturb the water too much; keep your movements gentle. The swirl should be visible for a nice finish.
5. Dip Your Finger Into The Swirl
Choose which finger you want to marble first. Hold your finger just above the surface of the water, aligning it with the design you created.
Quickly dip your finger in straight down. Submerge it enough to cover the nail fully.
After a moment, slowly pull your finger out of the water. Be sure to do this carefully to keep the design intact.
6. Clean Up The Edges
Once your nail is out of the water, you may notice polish around the edges.
Use a clean-up brush dipped in nail polish remover to carefully remove excess polish from your skin.
Make sure to be gentle, so you don’t disturb the marble design on your nail. This step ensures a neat and professional-looking finish.
For the best results, clean the edges of each finger after marbling to maintain the design.
7. Finish With Top Coat
Allow your marbled nails to dry for a minute or two.
Once dry, apply a clear top coat to seal your design. The top coat adds shine and helps your marble nails last longer.
Choose a quick-dry top coat for convenience. Apply it evenly, covering the entire nail.
Let the top coat dry completely. This step is essential to protect your art and give it a polished finish.
Wrap Up on How To Do Marble Nails
Marble nails are a creative way to show off your style, and you can easily make them at home. Start with clean, shaped nails, then choose colors that blend well together for that marbled effect.
Use BTArtBox's tools for techniques like water marbling or plastic wrap to add the design.
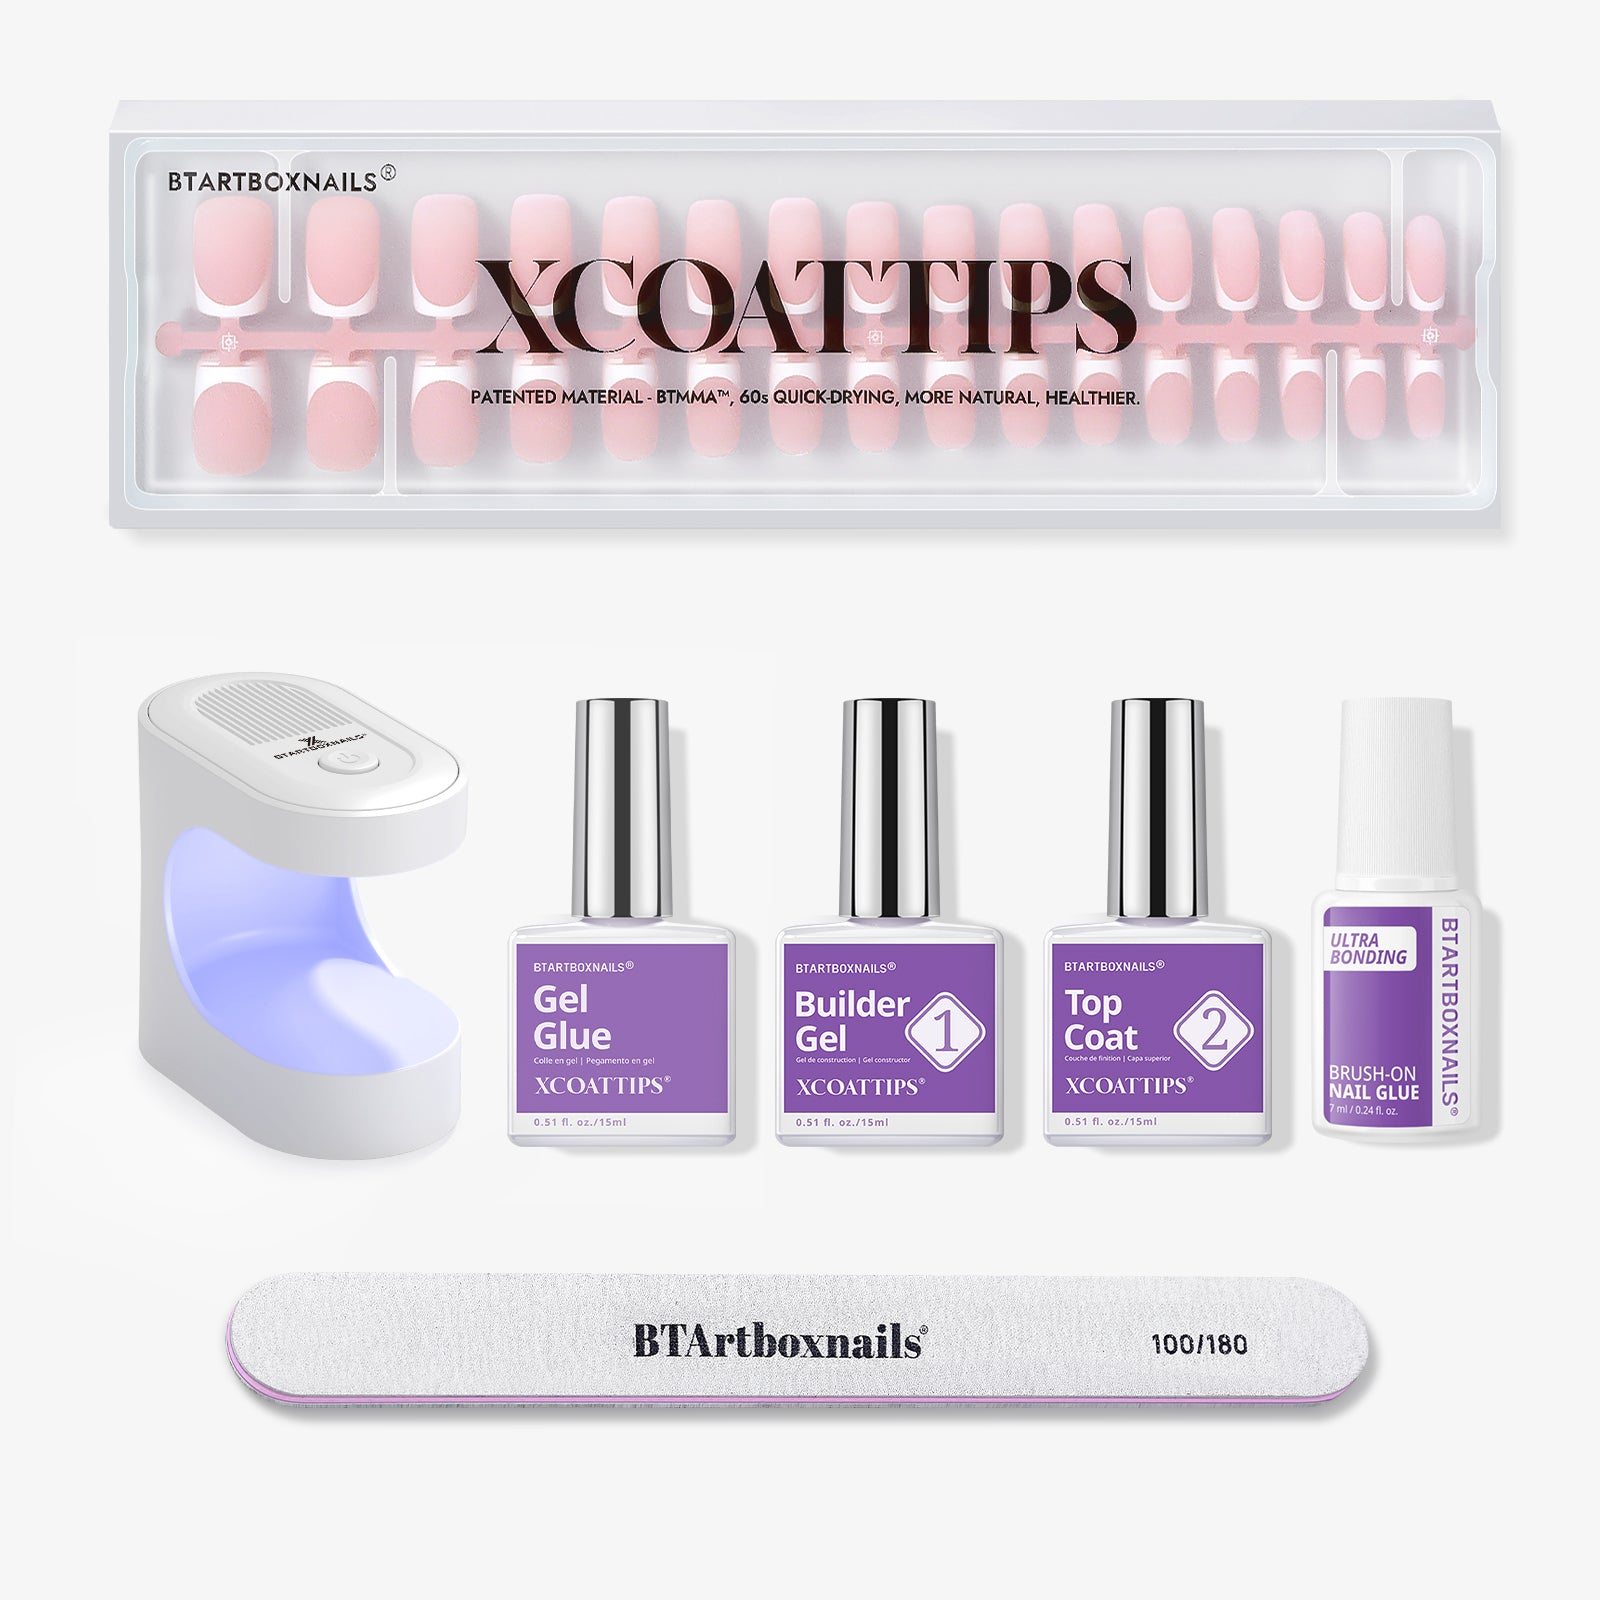
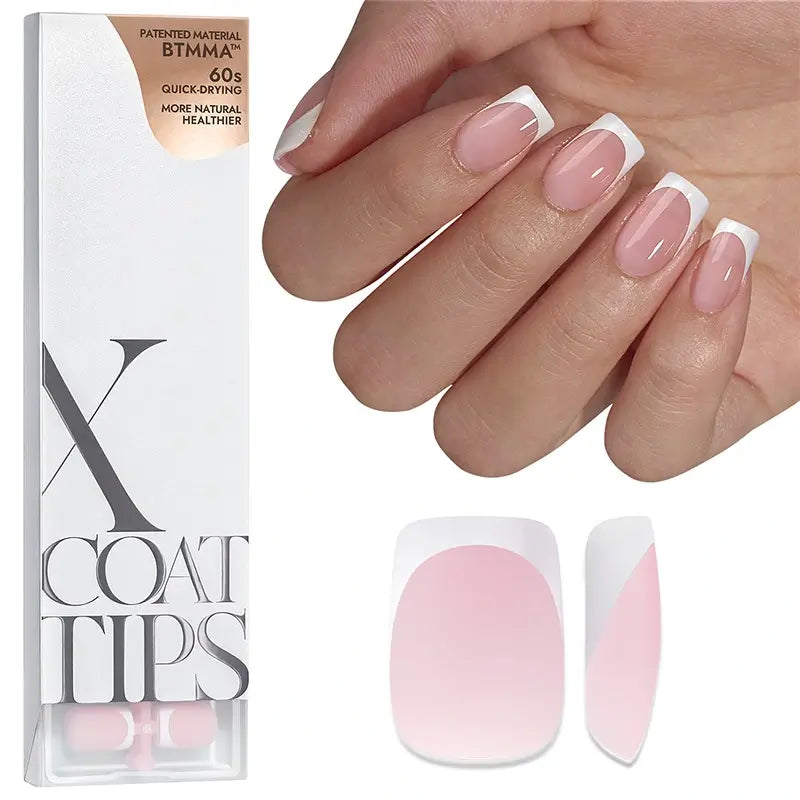
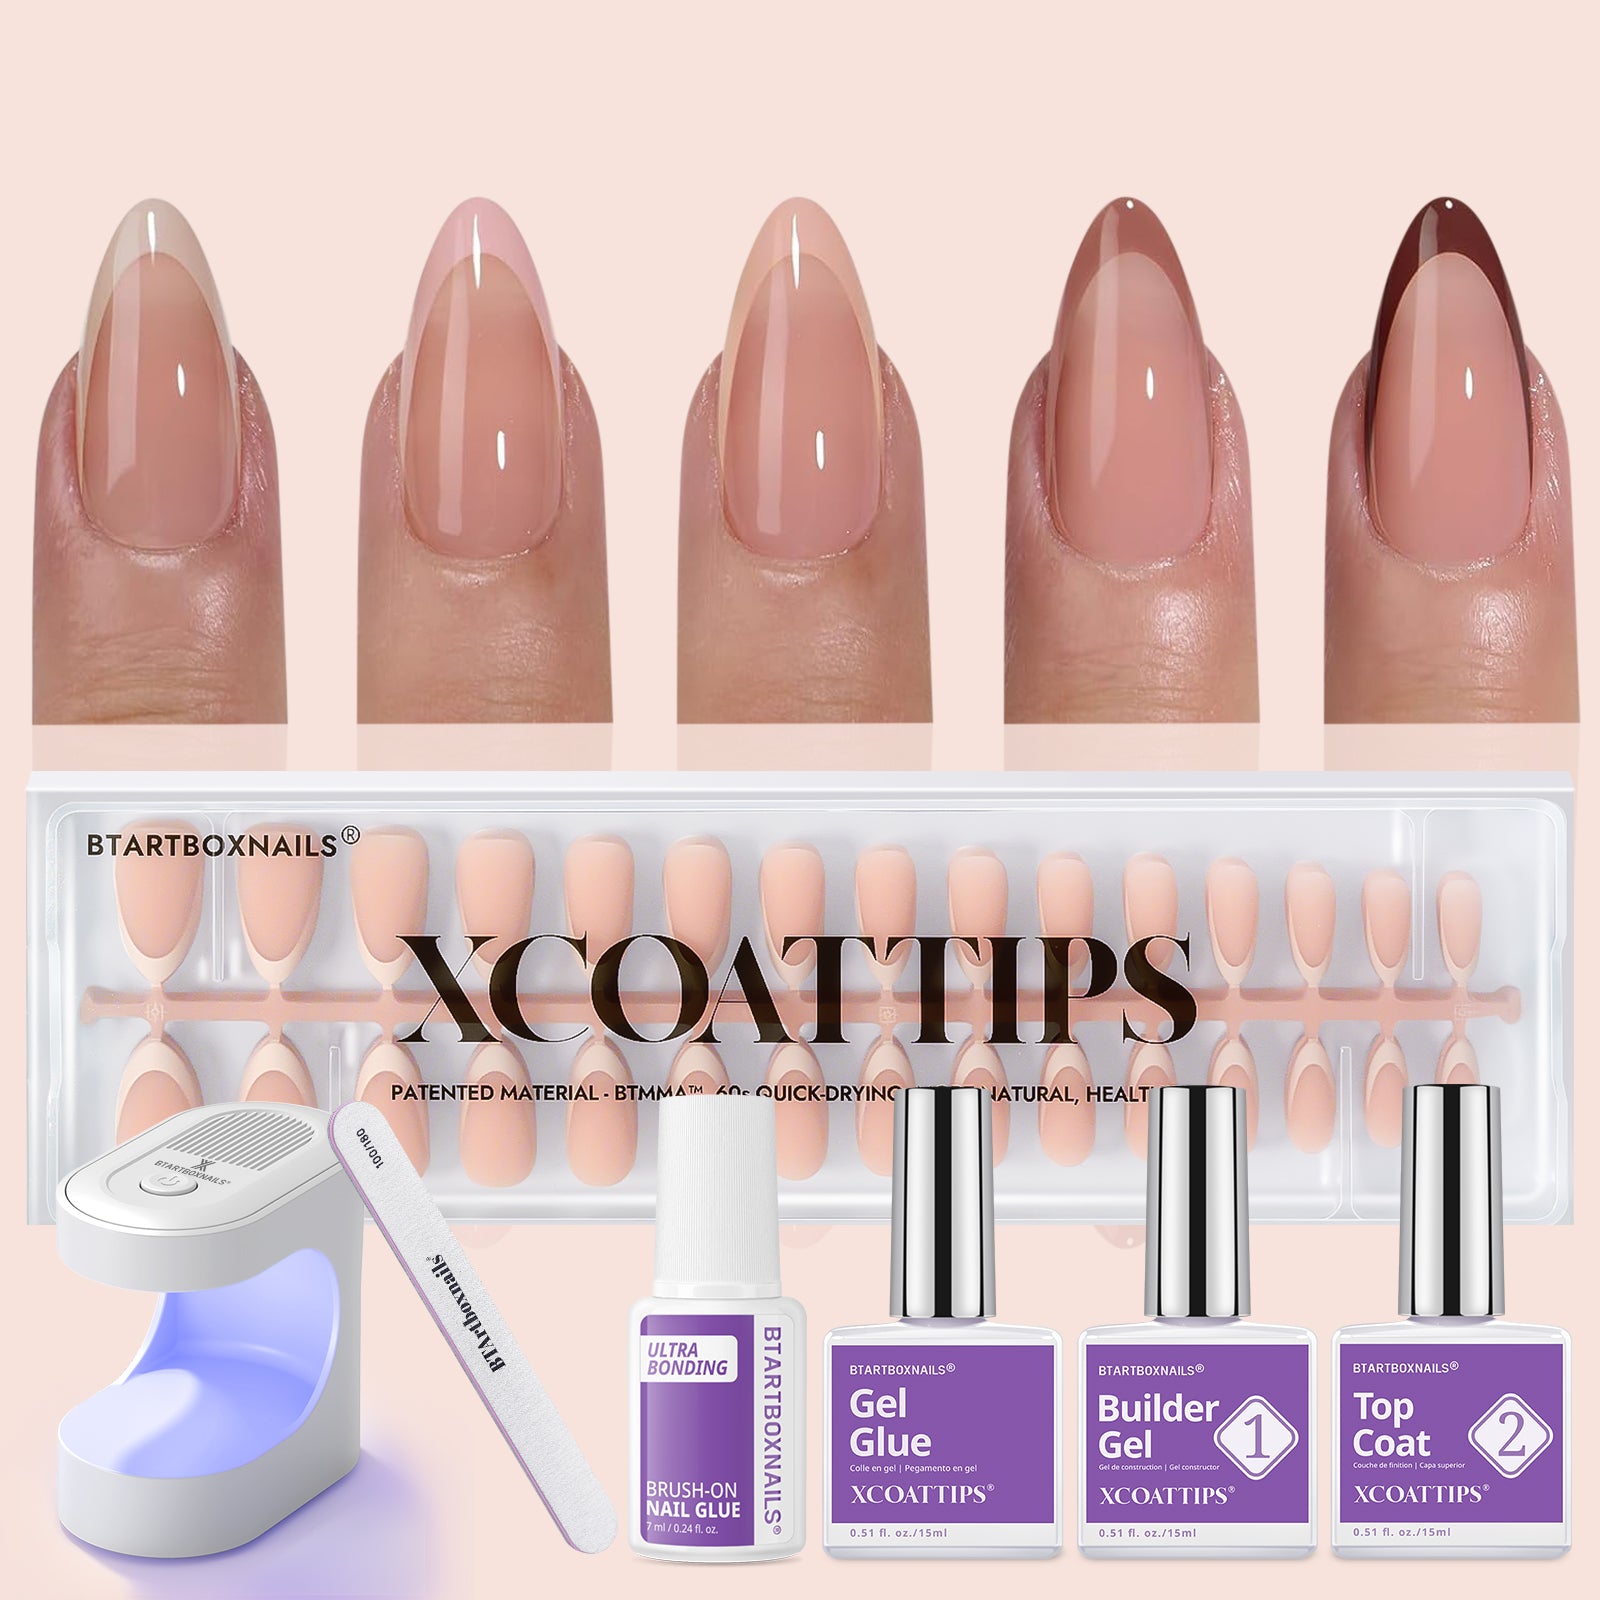
For a personalized touch, try using their XCOATTIPS to pre-design your nails before doing the marble effect.
Remember to apply a top coat every few days to keep your nails looking their best. Experiment with different colors and have fun finding your favorite marble nail look with BTArtBoxNails!
Frequently Asked Questions
How can I achieve a marble nail effect using gel polish?
To use gel polish for marble nails, follow a similar process.
Prep your nails and apply a base coat. After curing the base, drop gel colors of your choice onto the nail.
Use the swirling technique and then cure under a UV or LED lamp. Finish with a top coat for shine and protection.
What techniques can I use to do marble nails with regular polish?
You can use techniques like plastic wrap or a straw method with regular polish.
For the plastic wrap method, apply base colors and press a balled-up plastic wrap over the wet polish to create a texture.
With the straw method, drop polish colors on a surface and blow through a straw to swirl them.
Quickly dip your nails to get the design.
Can you create marble nails without using water, and if so, how?
Yes, marble nails can be made without water using nail art brushes.
Start with a base coat and apply drops of polish in random spots.
Use a brush or a dotting tool to swirl the colors together for a marbled effect.
What are some beginner-friendly tips for making marble nails at home?
For beginners, keep the design simple and use fewer colors at first.
Ensure the polish remains wet while you work to allow for smooth blending.
Practice the technique on a practice nail or a nail tip before trying it on your own fingers.
What type of water is best for creating marble nail art?
Room temperature water is best for marble nail art. Cold or hot water can affect how the polish spreads on the surface.
This makes it harder to create the desired design.
