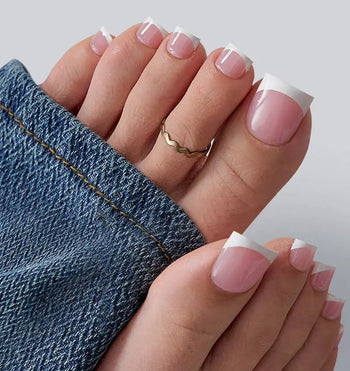
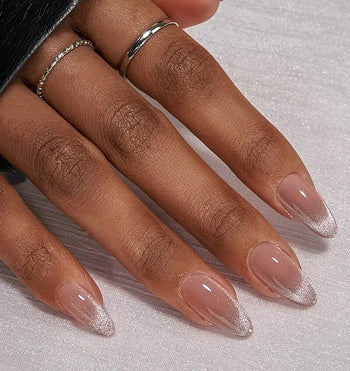
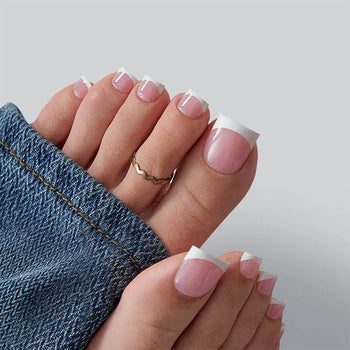
Gradient nails design has become the hottest trend in nail art, offering a mesmerizing way to elevate your manicure game. This stunning technique creates a seamless blend between two or more colors, transforming your nails into miniature works of art.
Unlike complex nail art that requires years of practice, gradient nails can be mastered with just a few basic tools and the right technique.
What makes this style truly special is its versatility —whether you're aiming for a subtle ombré effect for the office or a bold statement for a night out, gradient nails design delivers professional-looking results every time. From soft pastels that melt into each other to dramatic neon combinations, the possibilities are endless.
Ready to discover how you can create these eye-catching looks at home? Keep reading as we break down the exact steps and share pro tips to help you achieve salon-worthy gradient nails design in minutes.
What Are Gradient Nails Designs?
Gradient nails blend two or more colors together to create a beautiful fading effect that makes your manicure stand out. These eye-catching designs can range from subtle nude-to-white transitions to bold rainbow patterns.
Simple Explanation of Gradient (Ombré) Nails
Gradient nails, also called ombré nails, feature colors that smoothly flow from one shade into another.
Think of it like a sunset, where the colors melt together perfectly. You can create this look on each nail or across all your fingers.
There are two main types of gradient designs:
- Single-nail gradient: Colors blend on each individual nail
- Full-hand gradient: Each finger shows a different shade, creating a gradient across your whole hand
The most popular color combinations include the following:
- Pink to white
- Dark to light blue
- Nude to glitter
- Rainbow transitions
Why Gradient Designs Are So Popular Right Now
These dreamy nail designs have taken over social media because they're both pretty and versatile.
Gradient nails let you express your style in countless ways:
- For work: Try soft nude-to-pink blends
- For fun: Mix bright neons
- For special events: Add sparkles to your fade
The best part? You can match your gradient mani to any outfit or season. Plus, these designs hide chips better than solid colors, making your manicure look fresh longer.
Nail artists love creating these looks because they can mix colors endlessly. You can start with simple two-tone fades and work up to complex rainbow patterns as you get better at the technique.
Easy Gradient Nails Styles to Try
Gradient nails let you play with colors in ways that make your manicure pop. These fade effects work on any nail length and create stunning results with basic tools at home.
Classic Ombré (Soft Color Fades)
Peach Ombre Medium Almond Nails - Press On Nails
Start with light-to-dark fades using similar shades for an elegant look. Pick two colors like baby pink to deep rose, or pale blue to navy.
You'll need a makeup sponge and your chosen nail polishes. Paint the colors side by side on the sponge, then dab it onto your nails.
For short nails, try blue gradient fades—they make your nails look longer. Dark gradient styles work great in fall and winter months.
Blend the colors while they're still wet for the smoothest fade. Clean up the edges with a small brush dipped in nail polish remover.
Glitter Gradient Nails for Sparkle Lovers
Add sparkle to your nails by placing glitter polish at just the tips or bases. The glitter creates a magical effect as it scatters down the nail.
Mid-night Stars Ombre Almond Nails - Press On Nails
Mix silver glitter with pale pink for a princess-like shine. Or try gold glitter over dark colors for drama.
Paint your base color first. Once dry, dab glitter polish near the area you want sparkly. Use less glitter as you move away from that spot.
The trick is to keep the glitter placement random but controlled. This style looks fancy but is super easy to do at home.
Bold & Dramatic Color Transitions
Create eye-catching looks with contrasting colors like orange to purple or black to white. These bold transitions make a statement.
Try dotted gradients by placing small dots of your second color, then blending them out. This technique helps control the fade better.
Short nails look amazing with orange gradient fades - perfect for summer!
Paint the lighter shade first, then add the darker color at the tips.
Use quick, light strokes when blending to avoid thick, bumpy layers. Three thin coats work better than one thick one.
How Top Do Gradient Nails at Home
Creating beautiful gradient nails at home is easier than you might think! With the right tools and techniques, you can achieve that perfect fade between colors right at your kitchen table.
Must-Have Tools for Perfect DIY Gradient Nails
Base essentials:
- Clear base coat
- White nail polish
- 2-3 nail polish colors
- Quick-dry top coat
- Clean-up brush
Special tools:
- Makeup sponge (new and lint-free)
- Small plastic sheet or paper plate
- Nail polish remover
- Cotton swabs
- Scotch tape (optional)
Keep your workspace clean and well-lit. A plastic mat or old newspaper will protect your table from polish spills.
Step-by-Step Guide for Beginners
- Start by applying a clear base coat to protect your nails. Let it dry completely.
- Paint one coat of white polish on each nail. This makes your gradient colors pop more brightly.
- Pick two colors you love - try nude tones for a subtle look or bright shades for bold style.
- Paint stripes of both colors side by side on your makeup sponge.
- Quick tip: Dampen your sponge slightly with water and squeeze it dry. This helps prevent the sponge from soaking up too much polish.
- Press the sponge gently onto your nail, rolling it slightly to blend the colors. Repeat 2-3 times for better coverage.
- Clean up any mess around your nails with a small brush dipped in polish remover.
- Seal your gradient with a glossy top coat to smooth out the texture and make it shine.
Press-On Nails for Gradient Designs
Press-on nails with gradient designs give you stunning salon-quality looks in minutes. These fade effects blend colors smoothly from light to dark, creating eye-catching styles that match any outfit.
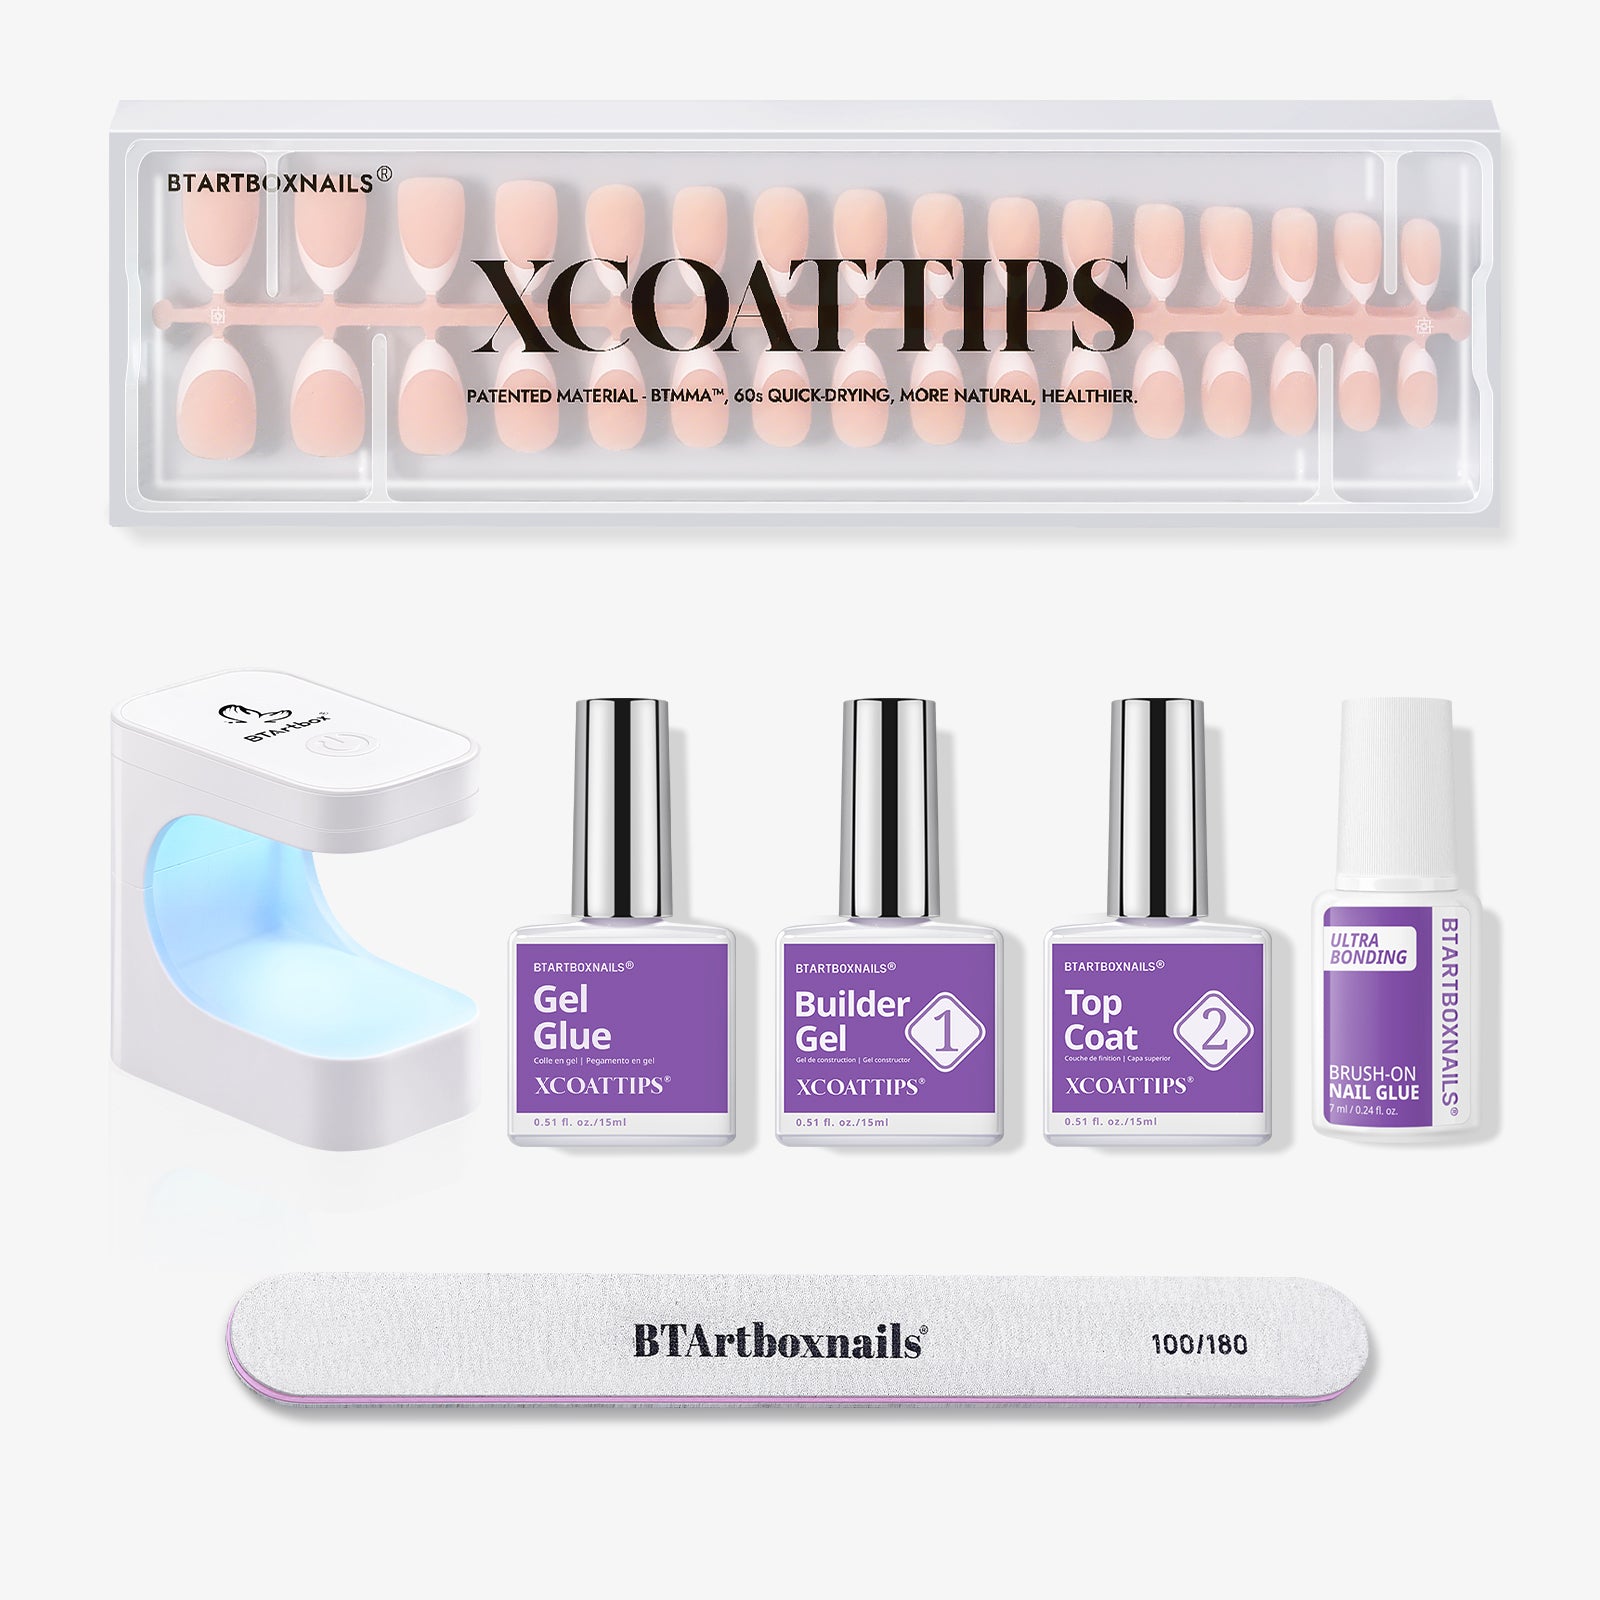
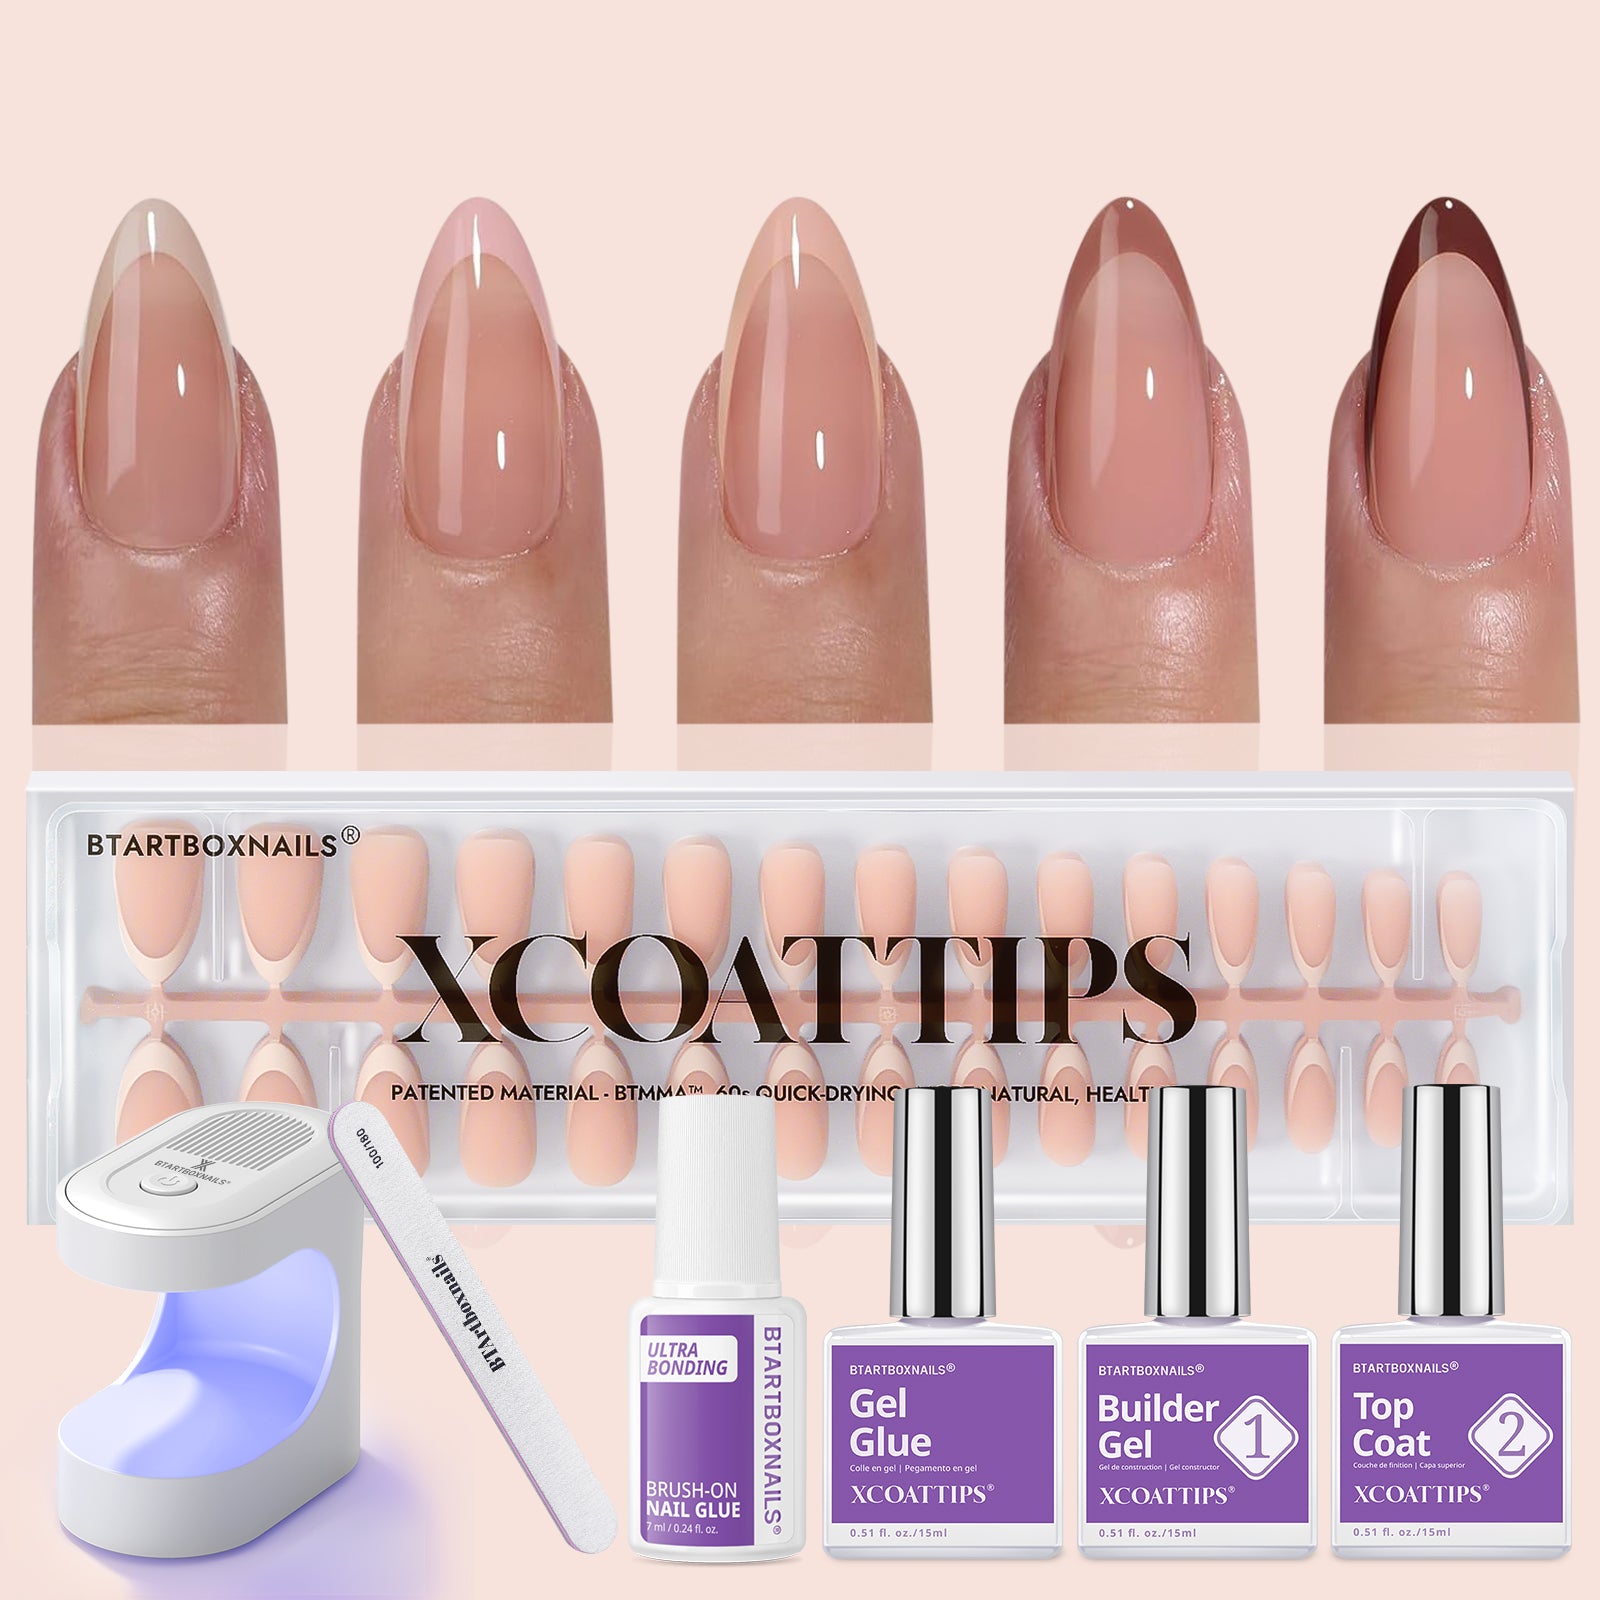
XCOATTIPS® Ombré Picks: Long Square & Medium Almond
XCOATTIPS® Ombré - Medium Almond
XCOATTIPS® Ombré - Long Square
The XCOATTIPS® collection features gorgeous chrome-to-matte gradients in square and almond shapes. You'll love how the green-to-silver fade catches the light with every hand movement.
Each set comes with 24 nails in 12 sizes. The adhesive tabs last up to 7 days with proper care. The nails are reusable and easy to remove without damaging your natural nails.
The square tips work great for typing and texting. The medium almond shape gives a more natural look while still being practical for daily tasks.
Elegant Neutrals: Vanilla Cream Square & Almond Press-Ons
Vanilla Cream Square Nails - Press On Nails
These nude-toned press-ons blend from soft cream to warm beige. The subtle gradient works perfectly for both office wear and special events.
The set includes nail glue and a mini file. You can trim and shape these nails to match your preferred length.
The glossy finish resists chips and scratches. Most users report these lasting 10-14 days with proper application.
Glamorous Options: Glittering Champagne & Mid-night Stars Ombre
Glittering Champagne Almond Nails - Press On Nails
These sparkly sets transition from metallic gold to shimmering black. Tiny glitter particles create a magical starry effect.
The coffin shape adds drama while staying comfortable. Each nail has a curved base that fits naturally on your nail bed.
The kit includes removal tools and extra adhesive tabs. You can reuse these nails multiple times if you store them carefully.
Trendy Almond Shapes: Knightshield, Pinkbabi, Peach Ombre
These almond-shaped sets feature trendy color combinations like pink-to-peach and lavender-to-white. The smooth gradient looks hand-painted.
Knightshield Almond Nails - Press On Nails
Pinkbabi Almond Nails - Press On Nails
The nails come in both matte and glossy finishes. You can mix and match lengths to create your perfect look.
The strong adhesive keeps nails secure during sports and swimming. Each set includes spare nails in popular sizes.
Unique Designs: Mermaid Ombre & Bold Color Press-Ons
These fun sets blend vibrant colors like turquoise-to-purple and red-to-orange. Chrome finishes create a mesmerizing color-shift effect.
Mermaid Ombre Square Nails - Press On Nails
The nails are made from durable materials that resist breaking. You can file and shape them without damaging the gradient design.
Application takes about 15 minutes. The included prep kit helps your manicure last longer.
How To Apply Press-On Gradient Nails Perfectly
Press-on gradient nails give you a stunning look without the salon price tag. Getting them to last and removing them safely makes all the difference in protecting your natural nails.
Prep Tips for Long-Lasting Wear
Clean your nails with rubbing alcohol to remove oils and dirt. This helps the adhesive stick better.
Pick the right size press-on for each nail. The nail should cover your natural nail from edge to edge without overlapping your skin.
Learn more about how to find the right nail size by reading our guide: Nail Length Chart & Nail Size: Your Guide to the Perfect Fit
File the surface of your natural nails gently with a buffer. Don't file too rough - just enough to create grip.
Essential prep steps:
- Push back cuticles
- Trim and shape natural nails
- Apply nail primer if included
- Use nail glue instead of adhesive tabs for longer wear
How to Remove Press-Ons Without Damaging Nails
Soak your nails in warm, soapy water for 10-15 minutes. The water helps loosen the adhesive bond.
Never force or peel off press-on nails. This can rip layers off your natural nail.
Safe removal options:
- Soak cotton balls in acetone
- Wrap each nail in foil
- Wait 15-20 minutes
- Gently wiggle press-ons loose
Apply cuticle oil after removal to restore moisture. Give your natural nails a break between applications to stay healthy.
Gradient Nails Color Ideas & Inspiration
Gradient nails blend colors to create stunning effects that catch the eye. From soft pastels to bold neons, these designs can match any style or mood.
Neutral Gradients (Peach, Vanilla Cream)
Soft peach fading into creamy white creates a clean, professional look perfect for work or special events. These gentle transitions work great on both short and long nails.
Try vanilla cream blending into light beige for a subtle, sophisticated style. This combo looks amazing in both matte and glossy finishes.
Rose gold gradients add a touch of sparkle while staying neutral. Mix it with pale pink or champagne tones for an elegant twist.
Pro tip: Short nails look best with 2-3 color transitions, while longer nails can handle up to 4 shades.
Edgy Looks (Mid-night Stars, Knightshield)
Deep blue fading into silver sparkles mimics a starry night sky. Add tiny dots of white polish to create twinkling stars.
Black to gunmetal grey gradients give off strong, bold vibes. This style works great with metallic or chrome finishes.
Purple to midnight blue creates a mysterious galaxy effect. Sprinkle some glitter on top for extra drama.
Best combinations:
- Dark purple → Navy → Silver
- Black → Dark grey → Chrome
- Deep blue → Purple → Star glitter
Seasonal Trends (Summer, Holidays, Parties)
Summer calls for bright coral fading into yellow, like a perfect sunset. Add tiny palm tree designs for beach vibes.
Winter gradients shine with icy blue to white transitions. Sparkly top coats create a frost-like effect.
Party nails pop with rainbow gradients - perfect for festivals and celebrations. Try neon pink to orange for dance parties.
Popular seasonal picks:
- Summer: Coral → Yellow → White
- Winter: Light blue → Silver → White
- Holiday: Red → Gold → Green
Why Press-Ons Are Perfect for Gradient Designs
Press-on nails make creating stunning gradient designs simple and stress-free.
The pre-made sets give you flawless fades and color transitions without any messy polish blending.
Save Time & Money vs. Salon Visits
Getting gradient nails at a salon takes lots of time and can cost $50-100 per visit.
Press-ons with pretty gradient designs cost $10-20 per set. You can put them on in just 15 minutes at home while watching TV or listening to music.
No more sitting at the salon for hours while the nail tech carefully paints each layer of polish. Press-ons come with the gradient already perfectly blended and dried.
You'll save hundreds of dollars each year by switching to press-ons for your gradient nail looks. That's money you can spend on other fun beauty items or save for something special.
Reusable Styles for Quick Nail Changes
Press-on gradient nails are super easy to remove and reuse multiple times. Just peel them off gently when you want to switch up your look.
Store your favorite gradient sets in their original box or a small container. With proper care, you can wear them again and again.
Mix and match different gradient sets to create new combos.
Try warm sunset tones one week and cool ocean blues the next. The options are endless!
Keep a few gradient sets on hand for last-minute events or when you need a quick nail refresh. You'll always have gorgeous nails ready to go in minutes.
Conclusion
Gradient nails give you endless ways to express your creativity. You can mix any colors you love to create stunning fades and transitions that catch everyone's eye.
With some practice and patience, you'll master this nail art technique at home. The key is taking your time and using the right tools - especially a makeup sponge for smooth blending.
Don't be afraid to experiment with different color combinations. Bold pinks to purples, fiery reds to black, or soft pastels can all create beautiful effects that match your style and mood.
Remember to seal your gradient design with a good top coat. This protects your artwork and adds a gorgeous shine that makes the colors pop even more.
Your gradient nails will turn heads and spark conversations. Every time you try this technique, you'll discover new color possibilities and improve your skills.
Go ahead and give gradient nails a try! With these tips and tricks, you're ready to create eye-catching nail art that shows off your personality.
Discover more nail designs by reading our guide 15 Best Nature Nail Designs Inspired by Earth's Beauty and 17 Stunning Aesthetic Nail Designs That Will Turn Heads.
Frequently Asked Questions on Gradient Nails Designs
How do you create a basic gradient nail design?
Start with clean, buffed nails and apply a base coat. Paint your first color and let it dry. Put two polish colors next to each other on a makeup sponge.
Dab the sponge gently onto your nail to blend the colors. Repeat this process 2-3 times for better color blending.
Use a small brush dipped in acetone to clean up any mess around your nails. Finish with a clear top coat to seal your design.
What color combinations work best for gradient nails?
Pink and white create a soft, romantic look. Blue shades give a beachy, ocean-inspired feel. Purple to pink makes a fun sunset effect. Gold to nude adds elegance to any outfit.
Similar shades of the same color create subtle, professional gradients.
Can you explain the distinction between ombre and gradient nail styles?
Ombre uses different shades of the same color, like light pink to dark pink. Gradient nails use different colors, like blue to purple. Both styles use the same application methods with makeup sponges.
What techniques can be used to add glitter to gradient nails?
Apply fine glitter polish over your gradient while it's still slightly wet. Pat chunky glitter onto the lighter areas of your gradient. Use a glitter top coat that fades from dense to sparse coverage.
What are the trendy gradient nail styles for summer?
Sunset-inspired oranges and pinks capture beach vibes. Tropical blues and greens mirror ocean waters. Neon color combinations make bold statements. Pastel gradients offer soft, ice cream-inspired looks.
How can I achieve a natural look with nude ombre nails?
Choose nude polishes within two shades of your natural nail color. Apply the darker shade at your cuticle, blending into the lighter tip.
Keep the transition subtle by using minimal sponge pressure. Add a matte top coat for an extra natural finish.
