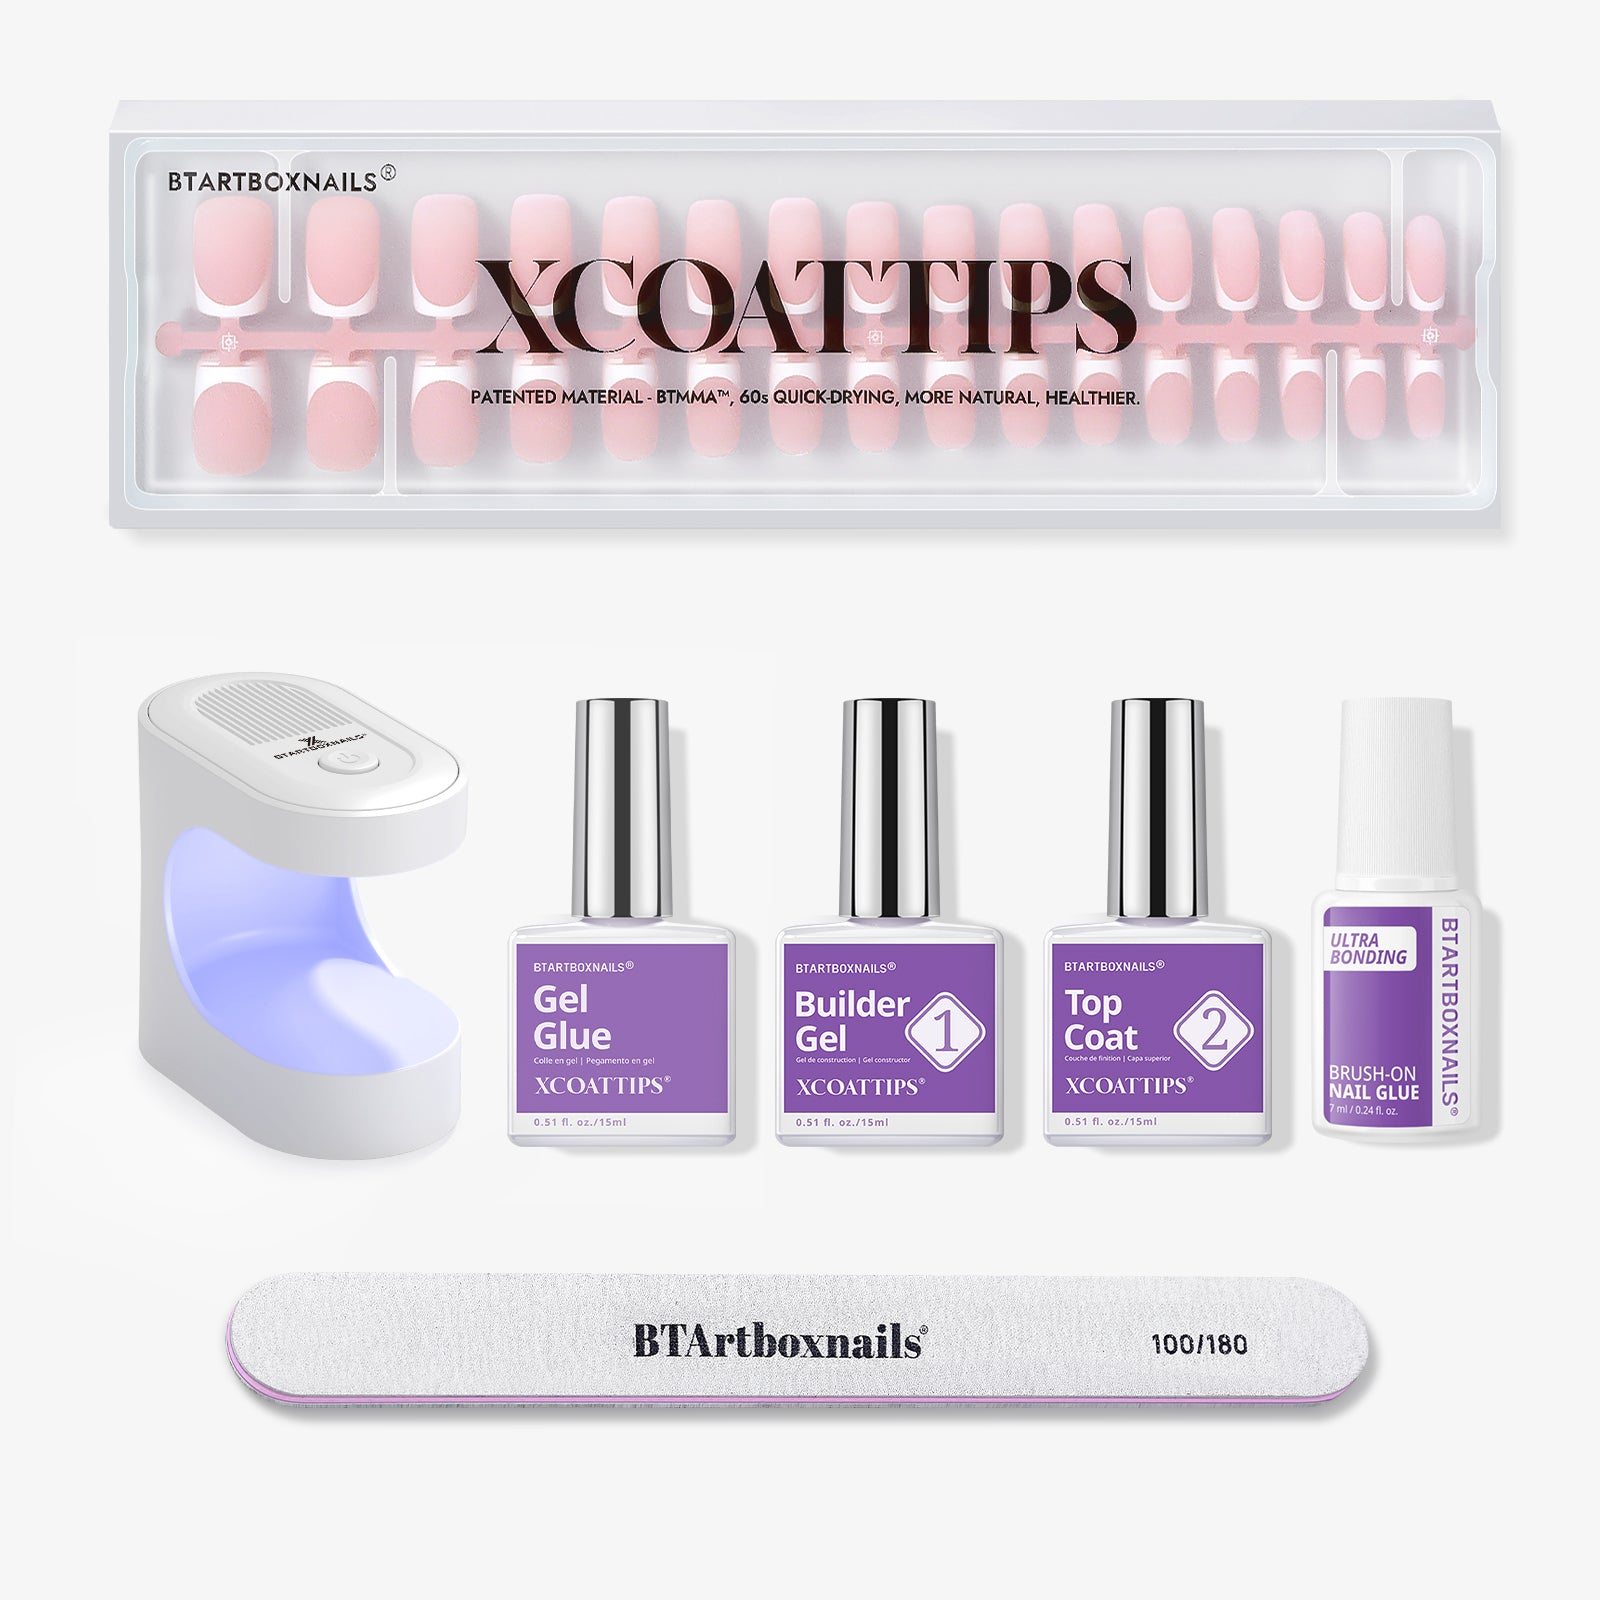
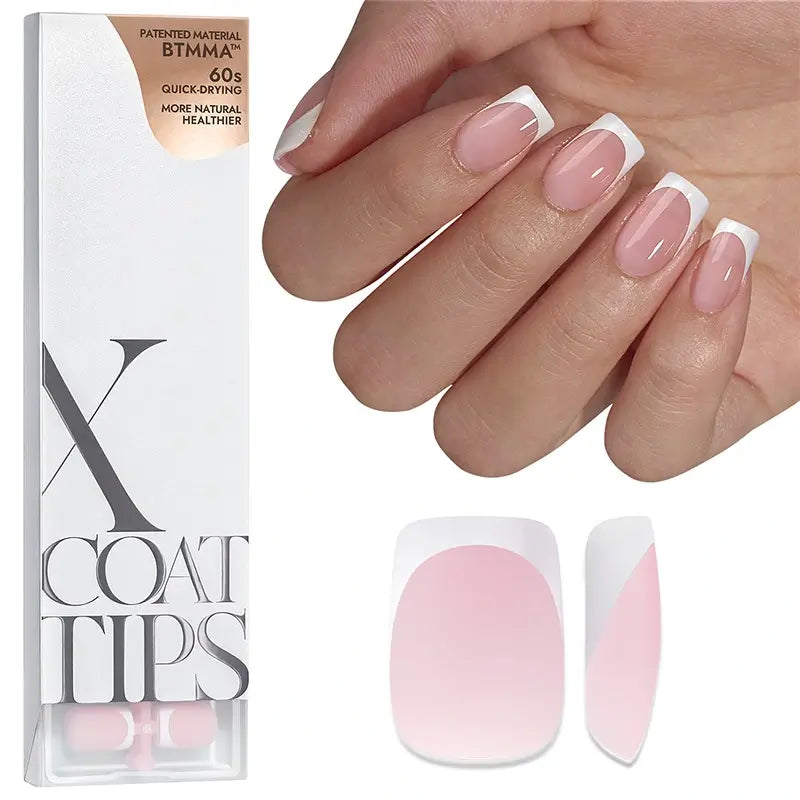
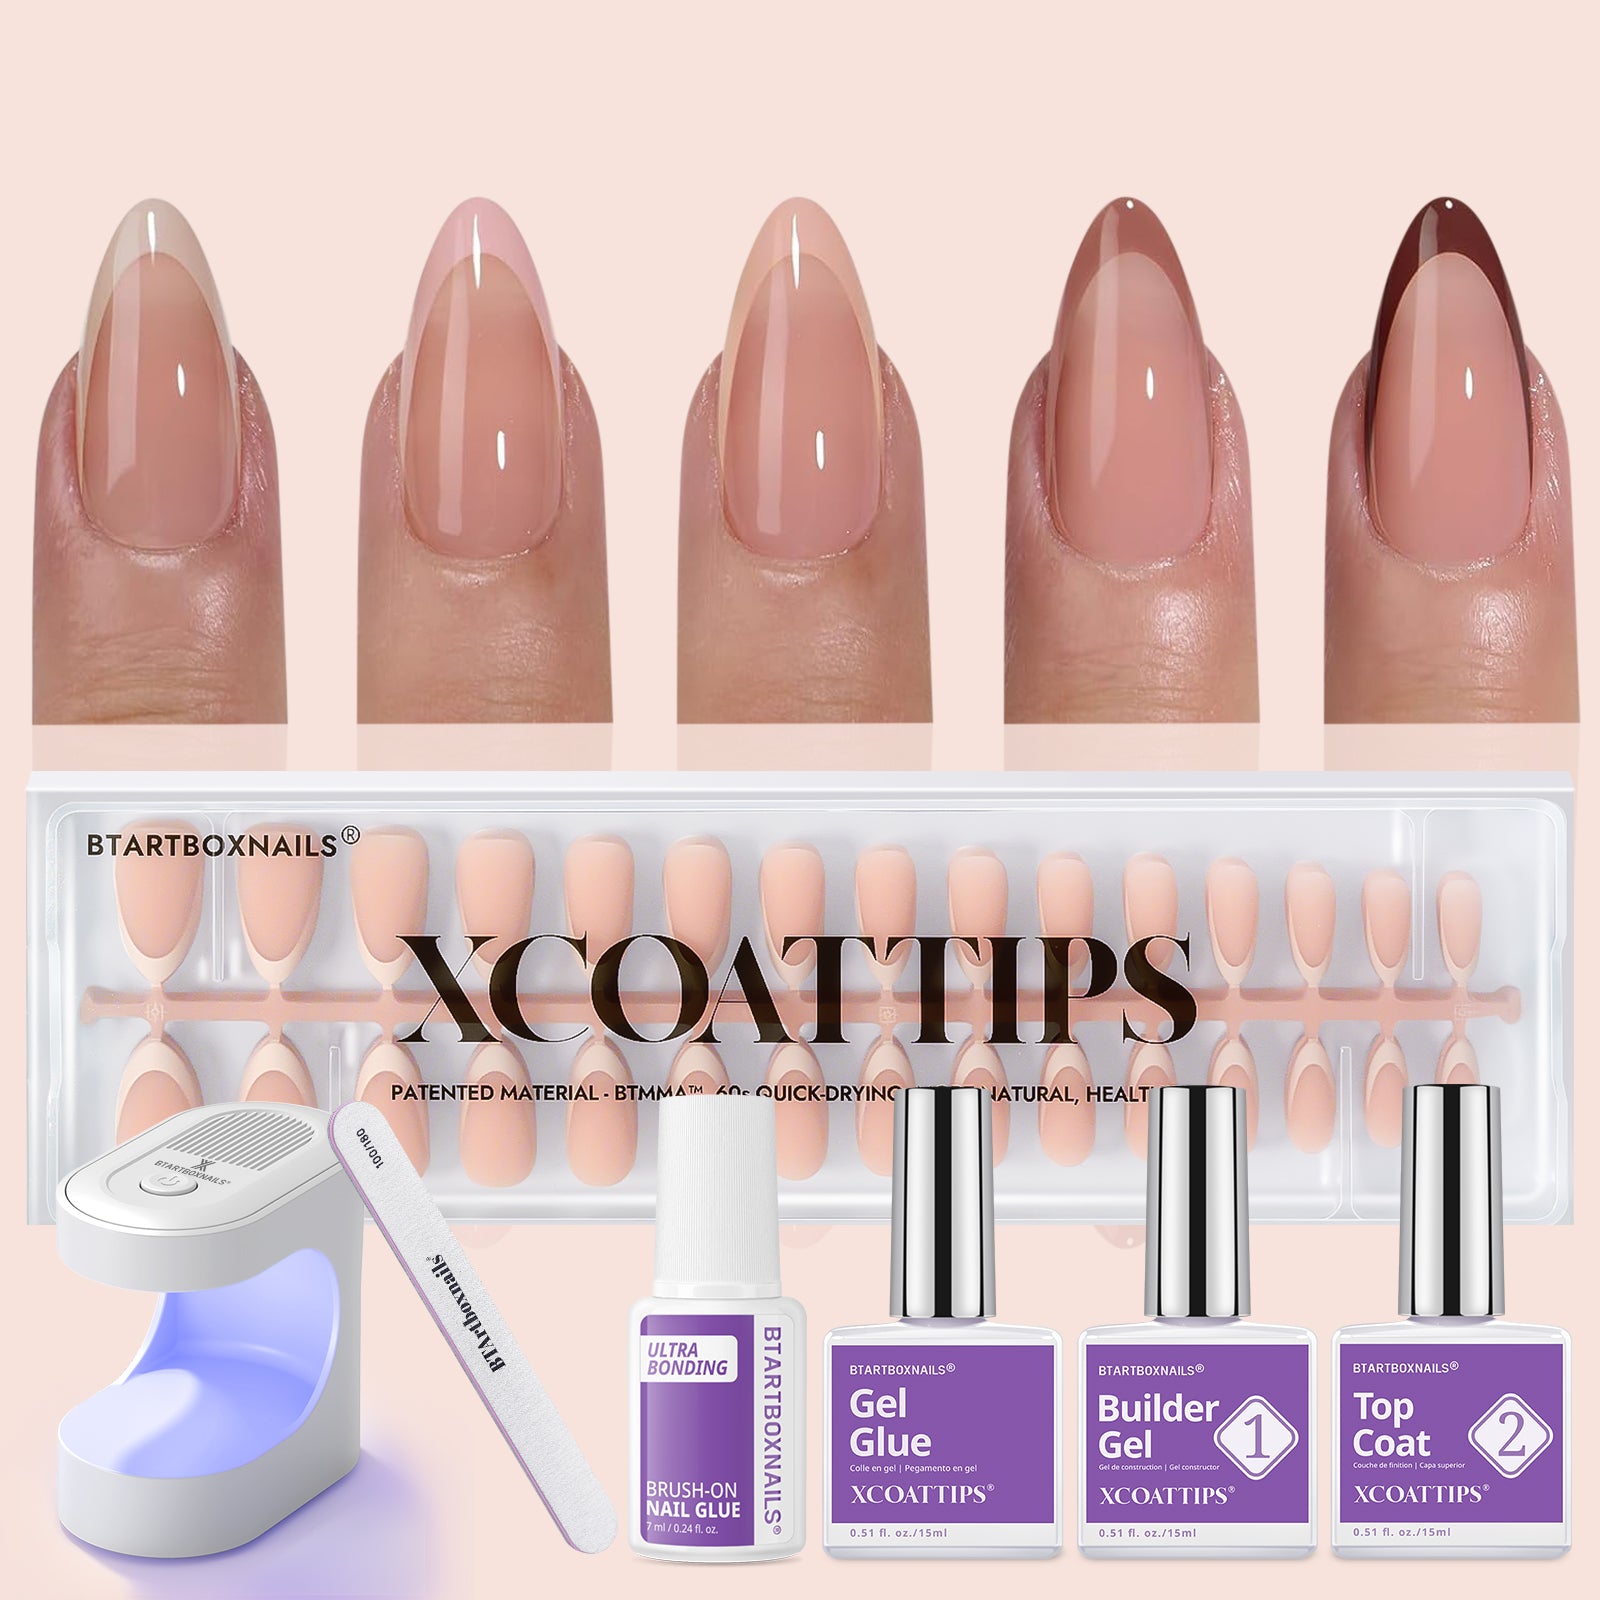
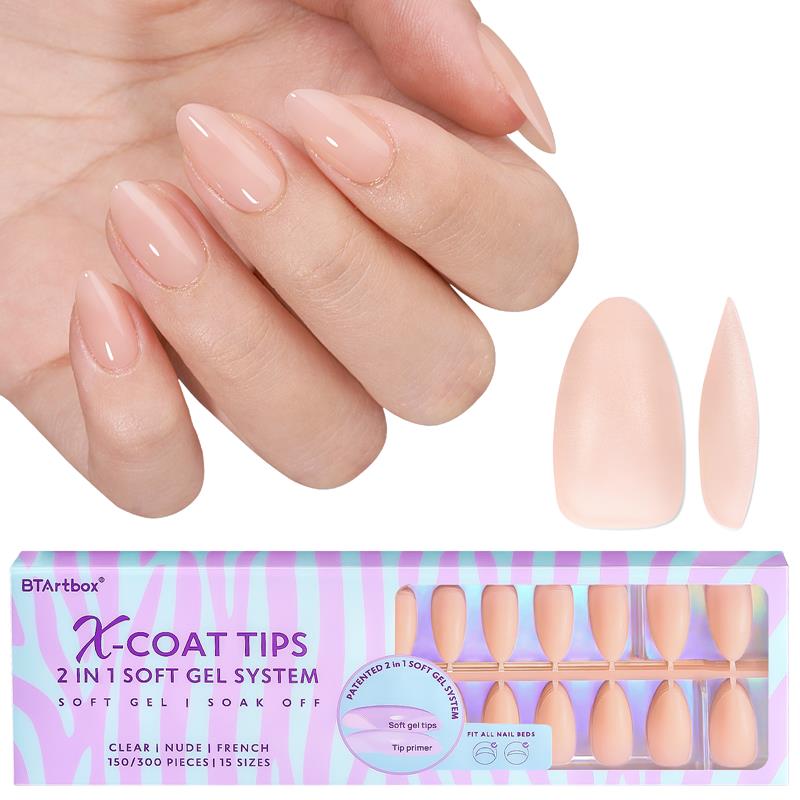
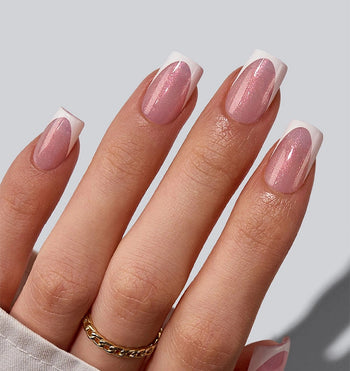
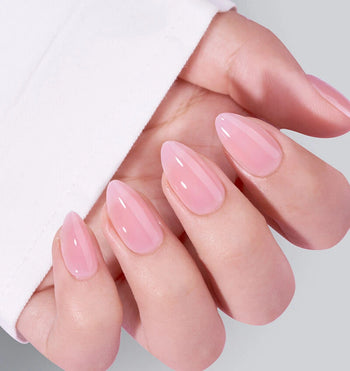
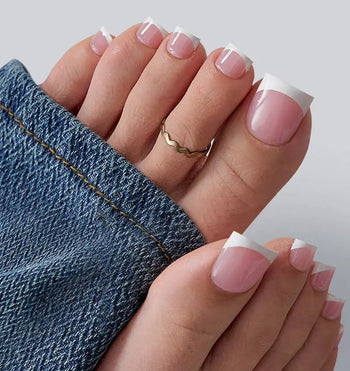
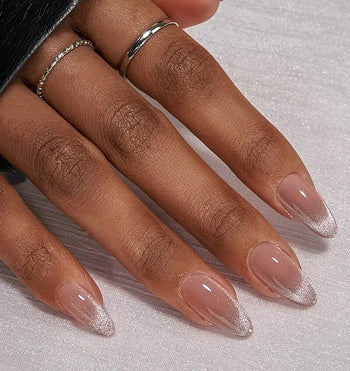
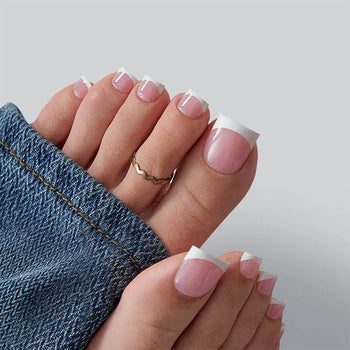
To make press-on nails thicker and ensure they stand up to daily wear, there's a straightforward strategy you can adopt.
Strengthening your nails can be as easy as applying multiple layers of a quality topcoat or gel polish, transforming their durability. This technique not only adds thickness but also fortifies your nails against chips and breakage.
For a lasting, salon-fresh appearance, a regular application of topcoat is key.
Curious about the full range of methods to boost your press-on's resilience? Continue reading for more tips on how to achieve and maintain thicker press-on nails.
Guide on How to Make Press On Nails Thicker

Learn how to make your press-on nails thicker and more durable with these simple steps.
1. Prepare Materials Needed
To make your press-on nails thicker, you need specific materials.
These tools and products are essential for ensuring your press-on nails are durable and have a professional finish.
Materials You’ll Need
- Press-on nails
- Builder gel
- Top gel
- UV/LED nail lamp
- Nail file and buffer
- Alcohol wipes
Make sure to gather all these materials before starting your press-on nail project for the best results.
Start your nail art journey with a reliable brand like BTArtBoxNails for high-quality products.
2. Prepare Your Nails
Making your press-on nails thicker begins with proper preparation.
Ensuring your natural nails are clean and prepped, fitting the press-on nails properly, and securing them can make a big difference.
Cleaning and Prepping Natural Nails
Start with clean and dry nails to ensure good adhesion. Remove any old nail polish using an acetone-based remover.
Dehydrate the nail bed by wiping it with a bit of acetone or rubbing alcohol.
This helps remove oils and moisture that can prevent the press-on from sticking.
Next, use a fine nail buffer to gently buff the surface of your nails.
This helps the adhesive bond better by creating a slightly rough texture.
Finally, wash your hands thoroughly to remove any dust and debris. Make sure your nails are completely dry before moving to the next step.
Related article: How to Use a Cuticle Remover: A Step-by-Step Guide
Properly Fitting and Applying Press-on Nails
Accurate sizing is crucial. Each press-on nail should fit snugly over your natural nail without overlapping the skin or cuticles.
To find the perfect fit, measure your nails and select the right sizes from your press-on nail kit. If a nail is too big, you can gently file the edges to shape it.
Apply a thin, even layer of nail glue to both your natural nail and the press-on nail.
Press firmly for about 10-15 seconds to ensure a secure bond.
For a less permanent option, you can use adhesive tabs. These are less durable than glue but easier to remove.
Related read: Nail Length and Nail Size: Your Guide to the Perfect Fit
Tips for Ensuring a Secure Fit
To maintain a strong hold, avoid water and excessive hand washing for at least an hour after application.
Press down firmly on the nail as you apply it, making sure to press out any air bubbles. Air pockets can weaken the adhesive bond.
For added security, you can lightly file the surface of the press-on nails to create a more textured surface for the adhesive to grip.
Lastly, keep your hands clean and dry. Oils and moisture can weaken the adhesive, so regular cleaning helps maintain the integrity of your press-on nails.
3. Apply the Builder Gel

Applying builder gel will make your press-on nails thicker and more durable. This technique involves several steps to ensure a smooth and strong application. Follow these steps for a flawless finish every time.
How To Apply Builder Gel
-
Prepare Your Nails: Start by cleaning your nails and pushing back cuticles. Buff the nail surface lightly to remove shine.
-
Apply Primer and Base Coat: Apply a thin layer of primer, followed by a base coat. Cure each layer under an LED lamp for 1-2 minutes or a UV lamp for about 2 minutes.
-
Apply Builder Gel: Using a nail brush, apply a small bead of builder gel to the center of your nail.
Spread it evenly towards the edges, ensuring an even layer. If using builder gel in a bottle, brush it on like polish.
-
Cure the Builder Gel: Cure the gel for another 1-2 minutes under an LED lamp or UV lamp to set it.
-
Add More Layers If Needed: For extra thickness, apply additional layers of builder gel, curing each layer separately.
- Finish with a Top Coat: After achieving your desired thickness, apply a top coat and cure it to seal the nails.
Also read our guide: How to Use Builder Gel on Natural Nails: Step-by-Step Guide
Tips for Avoiding Air Bubbles and Ensuring Even Application
-
Use Thin Layers: Applying builder gel in thin layers helps prevent bubbles. Thick layers trap air, causing bubbles.
-
Avoid Shaking the Bottle: Shaking the builder gel bottle can introduce bubbles. Instead, roll the bottle gently in your hands.
-
Smooth Application: Use a gentle touch when applying the gel. Pressing too hard with the brush can create streaks and uneven spots.
-
Check for Bubbles: After each layer, inspect your nails for bubbles. If you spot any, use a clean brush to gently remove them before curing.
-
File and Shape: Once cured, file and shape your nails to smooth out any uneven edges.
Adding builder gel to your press-on nails not only makes them thicker but also adds durability.
For high-quality builder gel products, consider using brands like BTArtBoxNails.
4. Add the Top Gel
Applying a top gel gives your press-on nails a glossy finish and more durability. It also plays a crucial role in sealing the edges to prevent chipping.
How To Apply Top Gel
-
Choose a Top Gel: Select a high-quality top gel that is compatible with your gel polish. Look for one that promises a long-lasting, glossy finish.
-
Apply the First Coat: Start by applying a thin layer of top gel over the entire surface of the nail.
Make sure to cover the whole nail, from the base to the tip.
-
Cure Under UV/LED Light: After applying the top gel, immediately cure it under a UV or LED light.
This step is essential for ensuring the gel hardens properly. Follow the manufacturer’s instructions for the exact duration, commonly between 30-60 seconds.
-
Add a Second Coat: For added thickness and shine, apply a second layer of top gel.
Be just as precise and make sure to keep each layer thin to avoid a bulky appearance.
-
Final Cure: Cure the second layer under the light. This final step locks in the shine and durability of your nails.
Importance of Sealing the Edges to Prevent Chipping
-
Precise Application: When you apply the top gel, it’s crucial to seal the edges of your nails. This means covering the very tips and sides of the nails.
-
Enhanced Durability: Sealing the edges helps make your press-on nails more long-lasting.
Unsealed edges are prone to catching on things, which can lead to chipping or lifting of the nail.
-
Avoiding Chipping: Well-sealed edges help prevent chipping. By thoroughly applying top gel to every part of the nail, you avoid weak spots that can result in cracks or breaks.
-
Professional Finish: Paying attention to the edges gives your nails a more professional look.
It makes them look more polished and ensures they stay intact longer.
For the best results, consider using BTArtBoxNails top gel. Their products are known for high quality and long-lasting finishes.
5. Add Final Touches

Learn about buffing and shaping your press-on nails, cleaning them, and optionally adding extra layers for additional thickness. These steps ensure that your nails look natural and stay strong.
Buff and Shape the Nails
Buffing and shaping your press-on nails are crucial to give them a natural and neat appearance.
Start by using a nail file to shape the nails to your desired size and shape, such as round, square, or oval.
After shaping, take a nail buffer to smooth out any rough edges.
This removes ridges and creates a smooth surface, making them look more like natural and real nails.
Make sure that you buff lightly to avoid thinning the nails too much.
Regular buffing and shaping help in maintaining the nails' thickness and durability.
Clean the Nails with Alcohol Wipes to Remove Any Sticky Residue
Cleaning is critical to ensuring that your press-on nails adhere well and look clean.
Use alcohol wipes to gently cleanse the surface of the nails.
This removes any sticky residue left from the application process or from buffing.
Alcohol wipes are effective in removing oils and dirt, which can interfere with the adhesive.
Make sure to clean both the press-on nails and your natural nails.
This step helps in promoting better adhesion and a cleaner, more professional finish.
Optional: Additional Layers for Extra Thickness
If you prefer thicker and stronger press-on nails, you can add extra layers.
After the initial application, you can apply a second layer of either gel polish or acrylic powder.
For gel polish, cure each layer under a UV light to ensure it's fully hardened.
For acrylic powder, apply a second acrylic bead and smooth it out using a brush.
Adding these extra layers will make your nails feel stronger and more durable.
This method is especially useful if you need your nails to last longer or if you perform activities that require extra protection.
6. Maintenance Tips
Maintaining your thickened press-on nails is crucial for keeping them looking great and lasting as long as possible. Here are some practical tips to care for your nails and ensure their longevity.
How to Care for Your Thickened Press-on Nails
To begin with, always make sure to keep your nails dry.
Water can weaken the adhesive and cause the nails to lift or fall off. When washing your hands or doing dishes, use gloves to avoid water exposure.
Avoid using your nails as tools.
They are not designed to open cans or peel off labels. Such actions can cause them to break or come off. Use the pads of your fingers instead of your nails whenever possible.
Moisturize your cuticles regularly with cuticle oil.
Healthy, moisturized cuticles help to protect your natural nails and maintain the look of your press-ons. Dry cuticles can lead to peeling and lifting of the press-on nails.
Tips for Prolonging the Life of Your Press-on Nails
Start by choosing the right adhesive tabs or glue.
High-quality products provide a more secure hold, making your nails last longer. Always follow the instructions on the adhesive package for the best results.
Be gentle with your nails.
Avoid tapping them on hard surfaces or putting undue stress on them. This can prevent unnecessary damage and keep them looking fresh for longer.
Regular maintenance is key.
Check your nails every few days. If you notice any lifting edges, add a small amount of glue to secure the nail back in place.
This small step can drastically extend the life of your nails.
Lastly, avoid prolonged exposure to hot water.
Long hot baths or showers can loosen the adhesive and cause your nails to fall off. Keep this in mind, especially during activities like swimming.
Conclusion
To make your press-on nails last longer and stay strong, just follow a few easy steps. Begin by cleaning your natural nails, as this helps the press-ons stick better. Soak your nails in warm water to soften them, which makes it easier to apply things that make them harder and thicker.
Use a good nail glue and apply it twice for an even stronger grip. When you put on the press-ons, adding glue to both your natural nail and the fake nail helps them stay on.
For those looking for reliable and high-quality press-on nails, should consider using BTArtBoxNails.
They offer durable options that can help you achieve a beautiful and long-lasting manicure. Plus, they offer durable options that can help you achieve a beautiful and long-lasting manicure, complete with a variety of press-on designs like fancy nails, French tips, summer nails, and more to suit any style or occasion.
Frequently Asked Questions
How can you make press-on nails appear more like natural nails?
File the edges to match the shape of your natural nails. Buff the surface lightly to smooth out any ridges.
Painting over the press-ons with your favorite polish can also help them look more natural. Opt for nails that mimic the natural curve of your nails for a seamless look.
What can prevent press-on nails from coming off prematurely?
Avoid soaking your hands in water for the first hour after applying press-on nails.
Application on clean, dry nails is crucial. Using a primer or pre-dehydrator can also prevent lifting. Pressing and holding each nail down for about 30 seconds during application ensures a strong bond.
How can you achieve a gel nail look with press-ons?
You can achieve a gel look by using a gel top coat.
Apply the top coat over the press-on nails and cure it under a UV light. Besides giving a shiny finish, it also adds to the durability and thickness of the nails.
What are effective techniques to reinforce press-on nails without using acrylic?
Use a silk wrap or fiberglass wrap as an alternative to acrylic.
Additionally, applying multiple layers of topcoat or clear nail polish can reinforce the nails.
Consider using nail strengtheners that are specifically designed to harden and protect nails without the need for acrylic.
