








Easy, no-fuss Halloween nail ideas for beginners. No fancy tools, no artistic talent required — just simple designs anyone can do.
Let us be real: most of us are not professional nail artists. We see those incredible Instagram designs with tiny detailed paintings and 3D elements, and we think, "I could never do that." And you know what? That is okay. You do not have to be a pro to have fun, festive Halloween nails.
Simple Halloween nails are actually underrated. They are easy to do, they look clean and intentional, and they are way less likely to smudge or chip because there is less thick polish on the nail. Plus, they take way less time. Win-win.
This guide is packed with simple Halloween nail ideas that literally anyone can do. Grab some polish and let us get started.
The 5 Easiest Halloween Nail Designs Ever
If you can paint your nails a solid color, you can do these designs. Promise.
1. Two-Tone Color Block
This is the easiest "design" in the book. Paint four nails one color and one nail a different color. That is it. The classic Halloween combo is four black nails + one orange accent nail, but you can mix it up:
- Purple + gold accent
- Burgundy + black accent
- White + red accent (bloody ghost vibe)
- Green + black accent (witchy)
- All different — one color per nail (rainbow Halloween!)
How to do it: Just paint your nails. Seriously. That is the whole thing. If you can do a basic at-home manicure, you can nail this look. (Pun intended.)
2. Dotted Pumpkin Nails
This design uses nothing but dots, which are the easiest shape to make with nail polish. You will need orange polish (base), green polish (stem), and something to dot with (toothpick, bobby pin, or the back of a paintbrush).
- Paint your nails orange and let them dry completely.
- Dip your dotting tool in green polish.
- Make one small green dot near the base of each nail — that is the pumpkin stem.
- Optional: add a few darker orange dots on the body of the pumpkin for texture.
- Let dry and apply top coat.
That is it. You now have adorable pumpkin nails. From a distance, they look like little pumpkins. Up close, they are dots — but who is getting that close to your nails, anyway?
3. Halloween French Tip
If you can do a basic French tip (or even if you cannot — we have tips), you can do a Halloween French tip. Just swap the white tip for a spooky color:
- Nude base + black tips — classic, chic, spooky
- White base + orange tips — pumpkin spice latte vibes
- Black base + red tips — bloody tips, very horror movie
- Purple base + green tips — witchy and fun
- Orange base + black tips — bold and classic Halloween
French tip hack: use reinforcement stickers (the little round stickers for hole-punched paper) as a guide. Stick one on each nail, paint the tip, peel off the sticker. Perfectly curved tips every time.
4. Glitter Gradient
This design is foolproof because it is supposed to look messy. You literally cannot do it wrong.
- Paint your nails a solid base color (black, purple, orange — whatever you like). Let dry.
- Paint a layer of glitter polish on just the tip half of the nail.
- Before it dries, use a second clean brush to gently blend the edge of the glitter upward, so it fades into the base color.
- It does not have to be perfect — gradients are supposed to look soft and blended.
- Let dry and add top coat.
Black base + orange glitter = instant Halloween. White base + silver holographic glitter = ghostly and ethereal. So easy.
5. Sticker Nails
Okay, this one is barely even "doing nail art," but it counts because the result looks amazing. Nail stickers have come a long way — they are not the cheesy things you had as a kid. Modern nail stickers look like professional hand-painted art, and they take about 30 seconds to apply.
Just paint your base color, let it dry, stick on the stickers, and seal with top coat. Done. You can get BTArtbox Halloween Nail Stickers ($7.99) with pumpkins, ghosts, spiders, bats, skulls, and more.
Pro tip: Burnish the sticker down firmly with your finger before applying top coat. This prevents air bubbles and makes it last longer.
Tools You Actually Need (And Ones You Do Not)
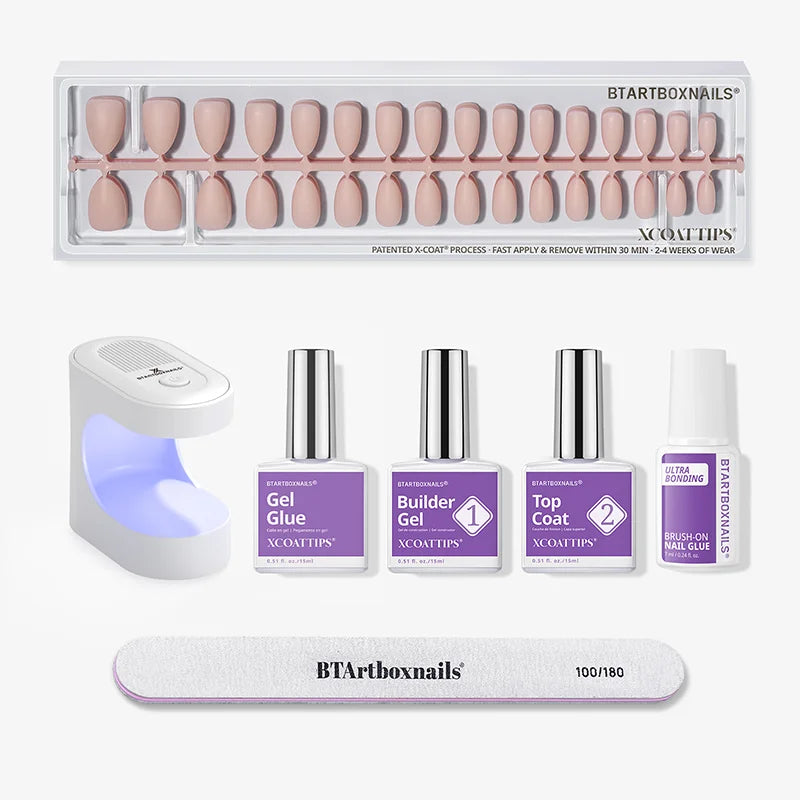
You do not need a 30-piece nail art kit to do simple Halloween nails. Here is what you actually need:
| Essential | Nice to Have | Skip It (For Now) |
|---|---|---|
| Base coat and top coat | Nail art dotting tool (set of 3 sizes) | 20+ piece brush set |
| 2-3 Halloween colored polishes | Nail striping tape | Airbrush machine |
| Nail polish remover + cotton swabs (for cleanup) | Reinforcement stickers (for French tips) | 3D charms and crystals |
| Toothpicks (for dots and lines) | Nail vinyls (for negative space) | Stamping plates (advanced) |
| — | Matte top coat (for different finishes) | Electric nail drill (unless you do this a lot) |
When you are just starting out, less is more. Master the basics with a few tools, then add to your collection as you get more comfortable.
Tips for Beginners Who Think They Are "Bad at Nail Art"
We have all been there. You see a design online, you try it, and... it looks like a toddler painted your nails. Here is the secret: everyone's first attempts look bad. Nail art is a skill, and skills take practice.
That said, these tips will make your early attempts look a lot better:
- Do your dominant hand first. It is harder to paint with your non-dominant hand, and you will have more patience for it when you are fresh.
- Thin coats are everything. Thick polish bubbles, smudges, and takes forever to dry. Two or three thin coats always look better than one thick one.
- Clean up is your friend. No one gets perfect lines on the first try. Use a small brush dipped in nail polish remover to clean up the edges. It makes a huge difference.
- Start with your pinky and work your way to your thumb. This way you are less likely to smudge wet nails with your hand.
- Give it time to dry. Most smudging happens because we think nails are dry when they are not. Wait at least 10 minutes after your top coat before doing anything with your hands.
- It is just nail polish. If you mess up, you can take it off and try again. No pressure.
The only way to get better at nail art is to do it badly a few times. Every nail artist you admire started where you are.
Simple Designs for Short Nails
Short nails are perfect for simple designs. You have less space to fill, so you do not need elaborate art to make an impact.
Our go-to simple designs for short nails:
- Solid color with one tiny accent (a single dot, a small star, a thin stripe)
- Half-moon design at the base of the nail (use a reinforcement sticker as a guide)
- Vertical stripes (they make nails look longer!)
- Color block — split the nail in half with two colors
- One statement nail, rest solid
- Matte top coat over a dark color — instantly looks more expensive
Looking for more short-nail-specific design ideas?
Press-Ons: The Easiest "Simple" Option
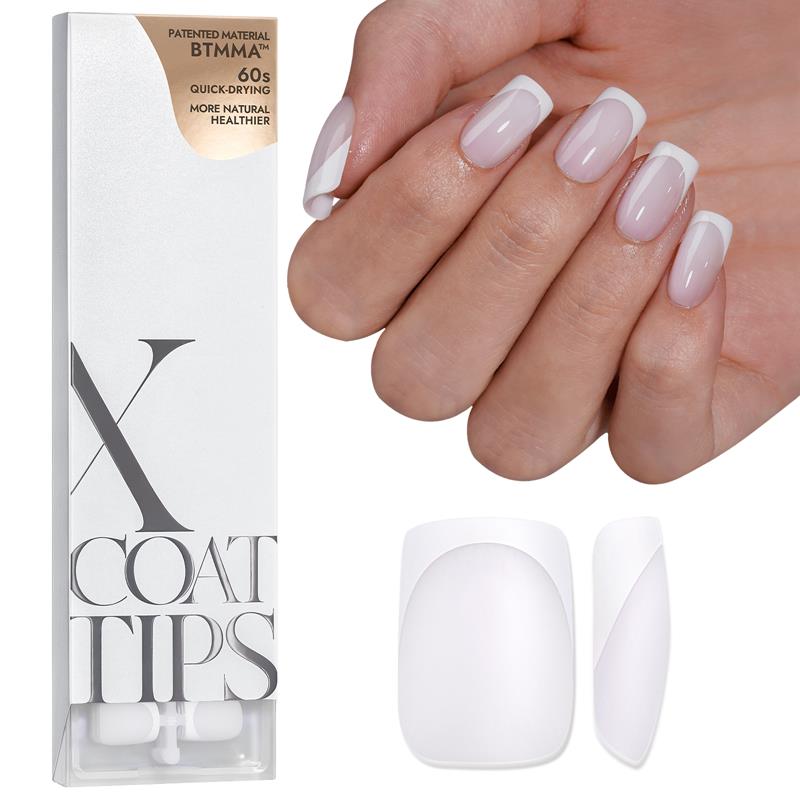
If even the idea of painting your own nails feels overwhelming, let us introduce you to the greatest nail hack of all time: press-on nails.
Modern press-ons are nothing like the cheap plastic ones you remember from the 90s. Today's press-ons:
- Look completely natural — no one will know they are not your real nails
- Come in hundreds of designs, including tons of Halloween options
- Last up to 2 weeks with proper application
- Take 5 minutes to apply
- Are reusable if you remove them carefully
- Cost less than a single salon manicure
Spooky designs like pumpkins, ghosts, spider webs, and more — ready in 5 minutes.
3 Halloween Manicures You Can Do in 10 Minutes
Short on time? These three looks take ten minutes or less:
Look #1: Fast Festive
Paint all nails black. Let dry (5 minutes). Add a single orange dot on each ring finger. Top coat. Done. Total time: ~8 minutes.
Look #2: Stick It to Me
Paint all nails your favorite Halloween color. Let dry (5 minutes). Apply one cute sticker per accent nail. Press firmly. Top coat. Done. Total time: ~7 minutes.
Look #3: Glitter Bomb
Paint all nails a dark base color. Let dry (5 minutes). Dab glitter polish on the tips — do not worry about being neat, it is supposed to look gradient-y. Top coat. Done. Total time: ~9 minutes.
Final Thoughts
Simple does not have to mean boring. Some of the chicest Halloween nails we have seen have been the simplest ones — a great color, a clean application, maybe one small accent. You do not need to cover every nail with 10 different designs to feel festive.
Start simple, have fun, and remember: it is just nail polish. If you do not like it, take it off and try something else. The only way to get better is to practice.
Ready to step up your Halloween nail game with more designs?
Frequently Asked Questions
I have never done nail art before — where should I start?
Start with the absolute easiest thing that still feels festive: two-tone nails. Paint four nails black and one orange, or whatever Halloween color combo you like. It takes the same amount of time as a basic manicure but instantly reads as "Halloween." Once you are comfortable with that, try a French tip in a Halloween color, then move on to dots and simple shapes. The biggest mistake beginners make is jumping straight to complicated designs and getting frustrated. Build your skills slowly and celebrate the small wins.
How long does it take to do simple Halloween nails?
A basic two-color manicure takes about 20 to 30 minutes total, including base and top coat. Adding a simple design like dots or stripes adds another 10 to 15 minutes. If you are using stickers or press-ons, you can be done in 5 to 10 minutes. The variable that trips most people up is drying time — rushing between coats causes smudges and bubbles, so build in at least five minutes of drying time between each layer. A quick-dry top coat or drying drops can speed things up significantly.
What if my nails turn out badly — is there a quick fix?
Remover and a restart is always an option, but there are less drastic fixes too. A messy edge can be cleaned up with a small brush dipped in nail polish remover. A smudge can sometimes be gently smoothed with your finger and then topped with another coat of polish. If one nail is a disaster, just add extra glitter on it — glitter hides almost everything. And if all else fails, slap on a Halloween nail sticker and call it a design feature. No one needs to know it was a mistake.
Do I really need all those different brushes and tools?
No — you can do a surprising amount with just toothpicks and tape. Toothpicks make great dotting tools and can draw lines well enough for simple designs. Tape is perfect for creating sharp straight lines, color blocking, and geometric shapes. The only tool we would actually recommend buying early on is a small detail brush for cleaning up the edges — it makes every manicure look more professional without requiring any artistic skill. Everything else can wait until you know you enjoy doing nail art.
What if I am terrible at painting my dominant hand?
Everyone is bad at painting with their non-dominant hand — even professionals. The trick is to do your dominant hand first, when you have the most patience and steadiness. Rest the hand you are painting on a flat surface and bring the brush to the nail rather than moving the nail to the brush. And honestly? It does not have to be perfect. Most people will never notice a slightly wobbly line on your non-dominant hand. The overall impression of a festive, colorful manicure is what people see, not the microscopic details.