Looking to learn how to do chrome nails at home? Achieving that stunning, mirror-like finish is easier than you might think.
With the right tools and a bit of practice, you can create beautiful chrome nails without a salon visit.
You don’t need to be a nail expert to get this trendy look. Just gather some supplies, follow a few simple steps, and you’ll be on your way to flaunting a dazzling manicure.
To do chrome nails at home, start by prepping your nails with a base coat. Apply two coats of your chosen nail polish color, curing each layer if using gel. Once dry, use a sponge or applicator to rub in chrome powder, then finish with a top coat for lasting shine.
Read on to discover how to make your nails shine!
What Are Chrome Nails?

Chrome nails are a stylish trend that features a shiny, reflective finish. This nail art gives your nails a metallic look, like polished metal.
To achieve the chrome effect, special powders are used that can create a mirror-like surface.
You can apply these powders over a base coat and a top coat to get the desired shine.
Key Features of Chrome Nails:
- Reflective Finish: The standout characteristic is the shiny, mirror-like appearance.
- Versatile Colors: Chrome powders come in various colors, including gold, silver, and even vibrant shades.
- Unique Nail Art: This look can be combined with other nail trends, like nail art designs or matte finishes.
Chrome nails gained popularity thanks to social media and celebrities. Many people love how this look makes their nails stand out.
Doing chrome nails at home is an easy way to keep up with the trend.
You can experiment with different colors and even mix techniques for a custom style.
Just remember, the key to a great chrome effect is a smooth base and a top coat that seals in the look.
With a few tools and some practice, you can enjoy the trendy chrome effect right from the comfort of your home.
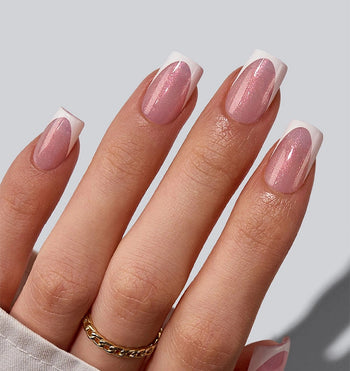
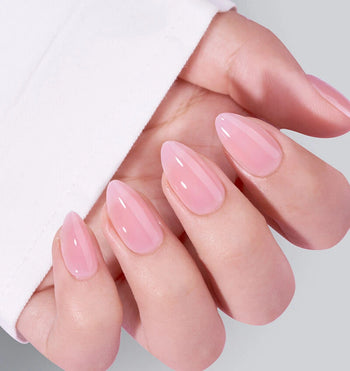
Elevate your manicure game with our stunning pink chrome nails, perfect for adding a touch of glamour to any look!
How To Do Chrome Nails At Home

Creating chrome nails at home can be a fun and rewarding experience.
With the right tools and a clear step-by-step guide, you can achieve a glossy and shiny manicure that stands out.
Follow these tips to get stunning results.
Tools and Materials You Need
To start, gather these essential tools for your chrome nails:
- Base Coat: A good quality base coat protects your natural nails.
- Gel Top Coat: Use a gel top coat for durability and to create the sticky layer necessary for the chrome powder.
- Chrome Powder: Choose your desired chrome shade; there are lots of options.
- Powder Applicator: A soft sponge-tip applicator works best.
- LED Lamp: This is crucial for curing the gel products.
- Isopropyl Alcohol: Use this to clean your nails before you begin.
- Soft Brush: Helps in dusting off excess powder.
Having all these materials ready will make your process smoother and quicker.
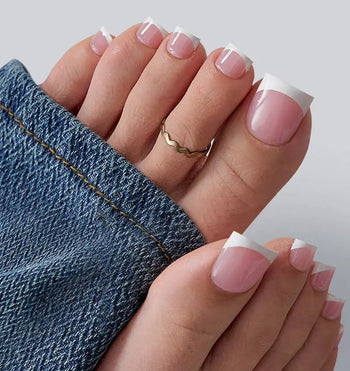
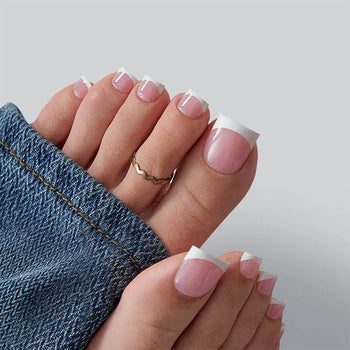
Step into style with our white press-on toenails, offering an effortless way to achieve a chic and polished pedicure in minutes!
Step-by-Step Application Guide
-
Prep Your Nails: Begin by cleaning your nails with isopropyl alcohol to remove any oils or dirt. This ensures a better bond.
-
Apply Base Coat: Put a thin layer of base coat on your nails and cure it under your LED lamp according to the product instructions.
-
Add Gel Top Coat: Apply a gel top coat on top of the base coat and cure it again. This creates the sticky layer necessary for the chrome powder.
-
Apply Chrome Powder: Use the applicator to work the chrome powder into the sticky layer. Start at the cuticle and brush towards the tip. Ensure even coverage for the best effect.
- Seal the Look: After applying the powder, add another layer of top coat and cure it. This will lock in your design and add shine.
Common Mistakes To Avoid
When doing chrome nails at home, avoid these common pitfalls:
-
Not Working on a Clean Surface: Always clean your nails before you start. Any residue can ruin your manicure.
-
Skipping the Top Coat: Forgetting to use a top coat can lead to uneven application. It’s essential for a smooth finish.
-
Applying Too Much Powder: Using excessive powder can make your nails look clumpy. A little goes a long way.
- Over-curing: Follow your LED lamp’s instructions closely. Over-curing can affect the look of your chrome.
How To Choose the Right Chrome Powder

When it comes to chrome nails, the right chrome powder plays a big role in achieving that shiny look. There are several options available, so here’s what you need to know.
First, consider the color.
Chrome powders come in various shades, from classic silver to vibrant colors like gold or rose. If you want a simple yet elegant look, silver is a popular choice. For something bolder, try colored chrome powders.
Next, think about the type of polish you’ll use.
You can apply chrome powder over regular nail polish, but using gel polish often gives a better result. Gel polish provides a tacky layer that helps the chrome powder adhere well.
Tips for Choosing:
- Check Reviews: Look for brands with good reviews for durability and shine.
- Experiment: If you're new to chrome nails, you might want to buy a few different colors. This way, you can see which one you like best.
- Quality: Invest in high-quality chrome powders. Cheaper options may not give you the desired effect or may fade quickly.
Also Read: Metallic Nail Designs: Trending Ideas for a Chic Look
Nail Preparation Tips

Getting your nails ready is an essential step for achieving perfect chrome nails. Proper nail preparation ensures a smooth application and long-lasting results. Here are the key steps to follow.
Proper Nail Care Before Application
Before you start, take care of your nails. Begin with clean, dry nails to ensure the polish adheres well. Use nail polish remover to remove any old polish and dirt.
Next, check your cuticles.
Push them back gently with a cuticle stick. This step not only makes your nails look neat, but it also creates a clean canvas for the polish.
Buff your nails lightly with a buffer. This helps remove shine and allows for better adhesion of your base color.
Make sure to clean away any nail dust with a soft brush. This is crucial because dust can prevent your polish from sticking properly.
Creating the Perfect Base
A strong base is key to beautiful chrome nails.
Start with a gel base or a quality base coat. Apply a thin layer evenly over each nail.
Allow the base coat to dry slightly. This helps make the surface tacky, which is important for the chrome powder to stick.
Choose a base color that complements your chrome finish. Light colors often work best, providing a stunning contrast. Make sure to apply this base layer smoothly.
After the base color is dry, apply another layer of top coat to seal everything in. This will help enhance the chrome effect and improve durability.
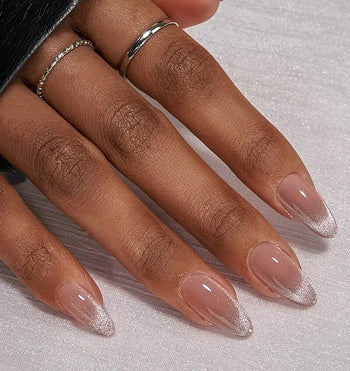
Shine bright with our gold press on nails, the ultimate accessory to elevate your nail art and make a bold statement!
Tips for Long-Lasting Chrome Nails
To keep your chrome nails looking flawless and shiny, using the right techniques is essential.
Focus on sealing the chrome finish and preventing chips and scratches for the best results. Below are key strategies to achieve this.
Sealing the Chrome Finish
After applying chrome powder to your nails, sealing the finish is crucial for durability.
Use a gel top coat or a no-wipe top coat. These types create a strong seal that protects the chrome effect while preserving its shine.
-
Apply a Thin Layer: Make sure to apply a thin layer of top coat to avoid losing the chrome look. Too much product can dull the shine.
-
Cure Under UV Light: If you're using a gel top coat, cure your nails under a UV lamp for the time specified on the product. This step hardens the top coat, giving it extra protection.
- Consider a Clear Top Coat: If you prefer, you can follow with a clear top coat for even more shine. Just ensure it’s compatible with chrome powder.
Avoiding Chips and Scratches
Chipped or scratched chrome nails can spoil your polished look. Here are ways to keep your nails intact:
-
Careful Handling: Be gentle with your hands. Avoid using them as tools, and take care when opening cans or doors.
-
Moisturize Regularly: Keeping your hands and cuticles moisturized helps maintain nail flexibility. Use a good hand cream to prevent dryness, which can lead to chips.
- Limit Exposure to Chemicals: Try to avoid harsh chemicals, such as cleaning products, when possible. Gloves can be a great way to protect your nails while doing chores.
Easy and Quick Option for Chrome Nails: Glue-On and Press-Ons
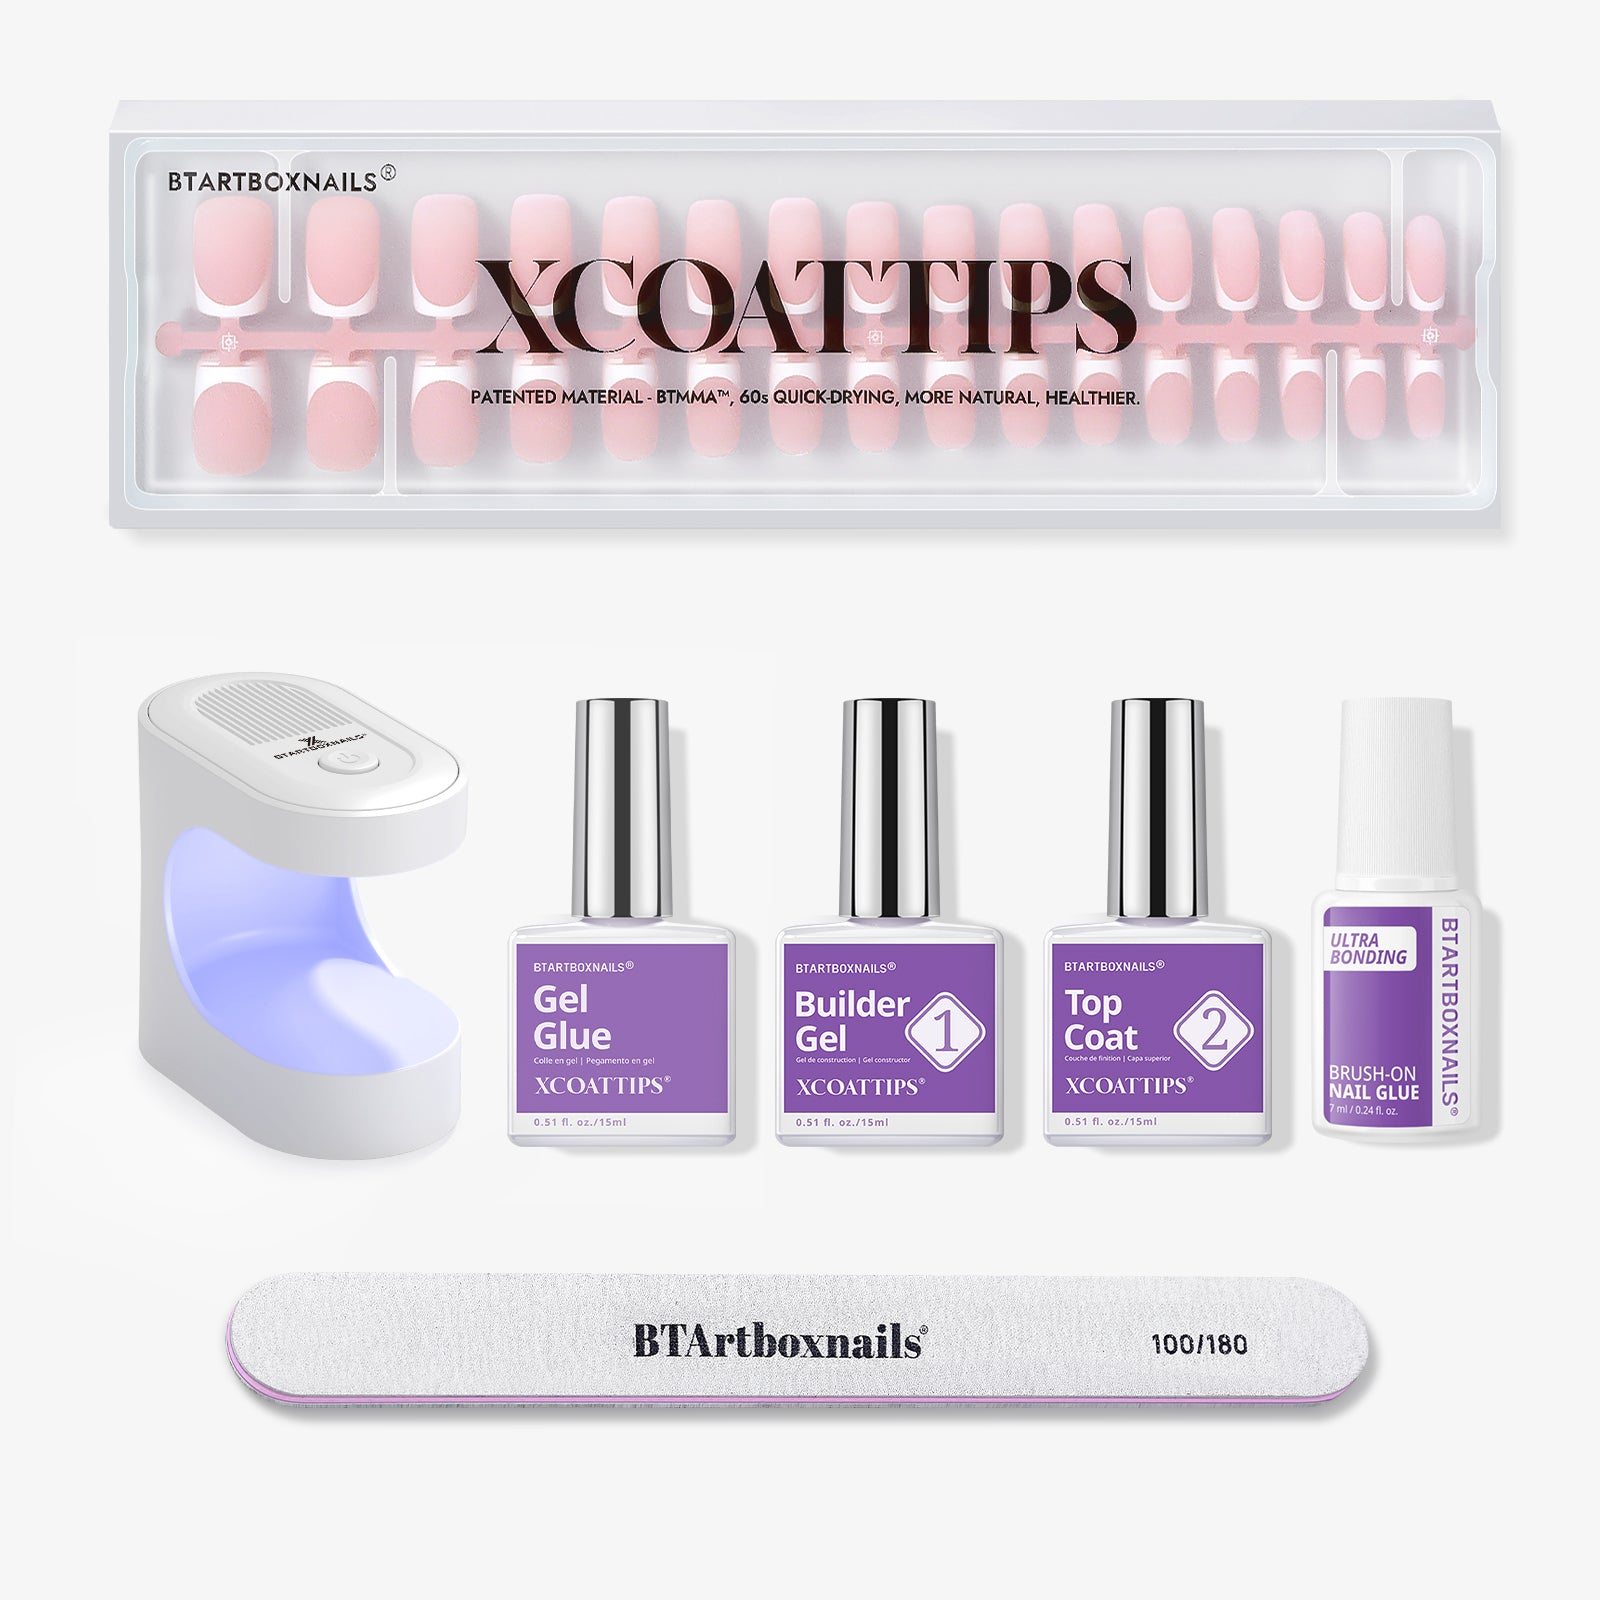
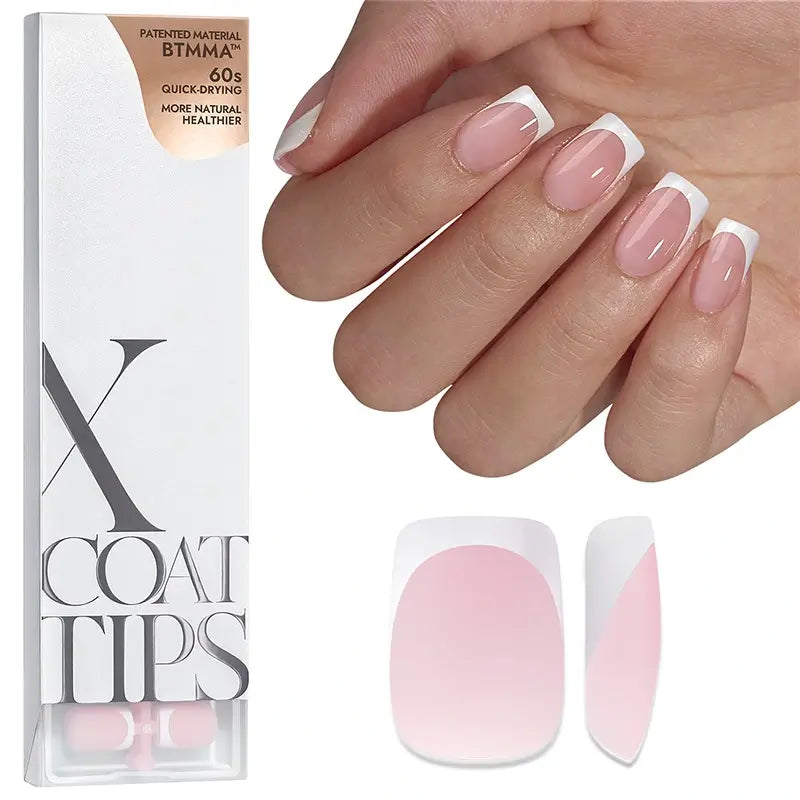
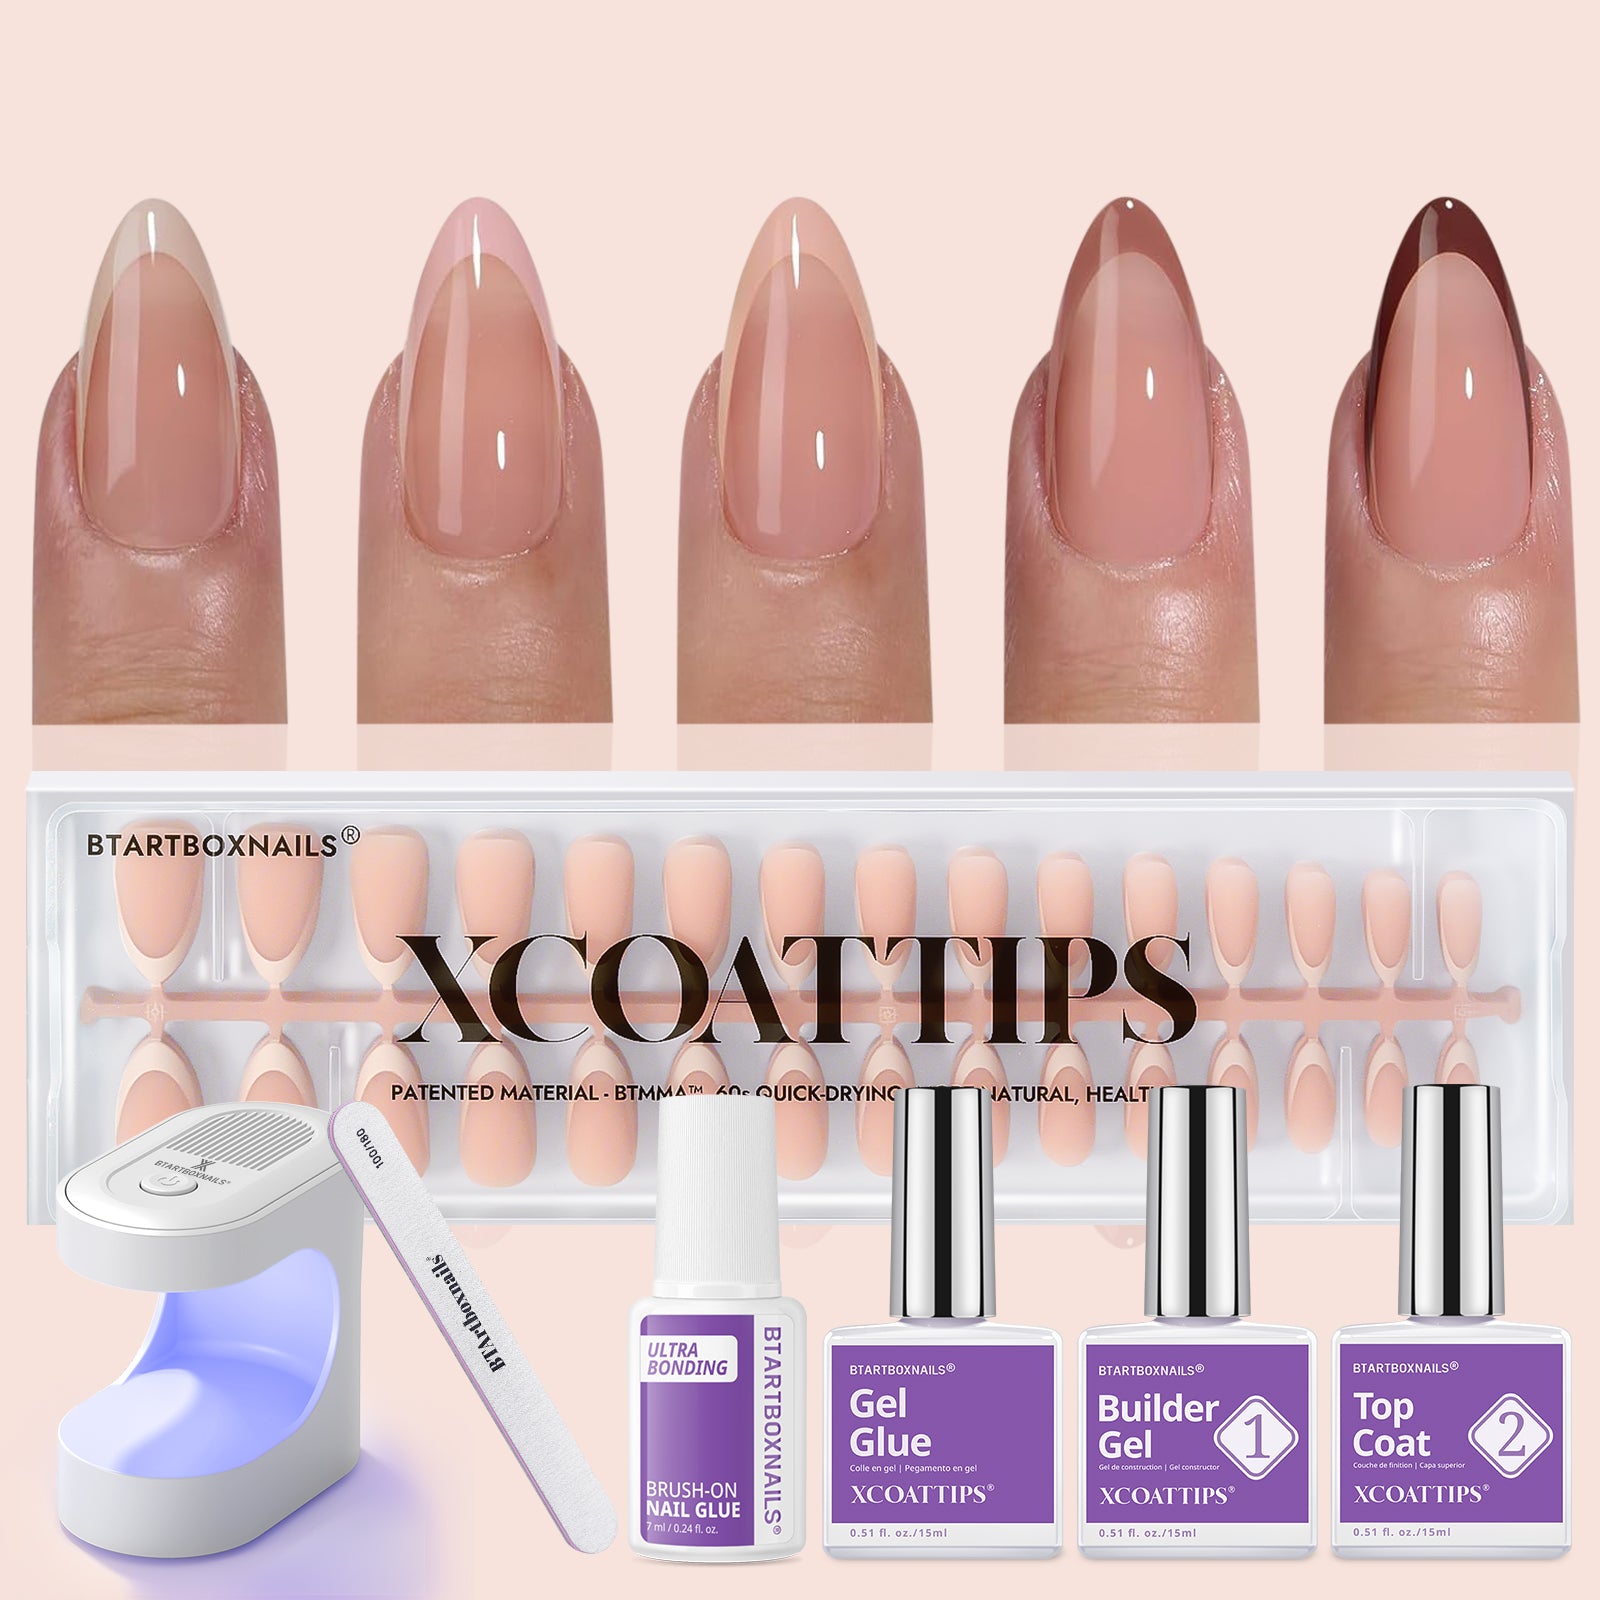
If you're looking for a quick and effortless way to achieve stunning chrome nails, consider using press-on options from BTArtBoxNails. Here are some of their best-selling chrome nail designs:
YCOATTIPS® Chrome - Medium Almond

Available in beautiful shades like pink, pearl white, and blue, the YCOATTIPS® Chrome in Medium Almond makes it easy to find the perfect match for any outfit.
Gold Chrome Grandeur Short Square - Press On Toe Nail

For your toes, the Gold Chrome Grandeur Short Square Press-On Toe Nail offers a chic and stylish look that’s perfect for any occasion.
XCOATTIPS® Toe Nail - Short - Glazed

The XCOATTIPS® Toe Nail - Short - Glazed provides a sleek finish that’s both elegant and easy to apply, making it ideal for a polished pedicure. You can get these in pink, white, and nude.
These press-on nails are perfect for anyone seeking a salon-quality manicure at home without the hassle!
Wrap Up on How To Do Chrome Nails At Home
Creating stunning chrome nails at home is an achievable and rewarding process. With the right tools and techniques, you can achieve a professional-looking manicure without the salon price tag. Take your time during each step, from preparation to application, to ensure a flawless finish.
With BTArtBoxNails, you can experiment with different colors and chrome powders for endless creativity. Whether you prefer subtle elegance or bold statements, chrome nails can elevate your style.
With practice and the right products, you'll master this trendy nail art technique and impress everyone with your beautiful, shiny nails.
Frequently Asked Questions
When trying to do chrome nails at home, you might have some common questions. Here are the answers to help you create the perfect look.
What is the process for applying chrome powder on acrylic nails at home?
To apply chrome powder on acrylic nails, start by buffing your nails to create a rough surface. Then, clean off any dust.
Apply a gel base coat and cure it under a lamp. After that, spread a thin layer of top coat and cure again.
Finally, use a sponge applicator to press the chrome powder onto the nail.
How can you achieve a chrome nail effect using regular nail polish?
You can achieve a chrome effect with regular nail polish by first applying a base coat. Once dry, add several coats of a metallic polish.
After that, use a shiny topcoat to enhance the reflective quality. For extra shine, you can also try using chrome powder over the topcoat, following the powder application steps.
Is it necessary to use a gel top coat for chrome nails, or is there an alternative?
While a gel top coat works best for chrome nails, you can use a regular top coat as an alternative.
However, make sure it's high-shine and dries well to get the chrome effect. If using a regular polish, the finish may not last as long but can still look great.
What are the steps for applying chrome powder on gel nails?
For gel nails, start by buffing the surface lightly. Apply a base coat and cure it.
Next, add a gel color of your choice, cure, and finish with a gel top coat. After curing the top coat, use a sponge applicator to rub in the chrome powder and get that shiny effect.
In what order do you apply the base, chrome powder, and top coat when doing chrome nails?
Start with a base coat, then cure it. Follow up with your chosen color and cure again.
Afterward, add a top coat, cure it, and finally apply the chrome powder. This order ensures the powder adheres well for maximum shine.
Can eyeshadow be used to create a chrome nail effect, and if so, how?
Yes, you can use eyeshadow to create a chrome effect.
After applying your nail polish, wait until it's slightly tacky. Use a soft brush to apply the eyeshadow on the nail, pressing it in to ensure coverage. Finish with a shiny top coat to seal the look.
